Roof flashing is a critical component in protecting your home from water intrusion. When flashing fails, even small leaks can lead to significant water damage, mold growth, and costly repairs. Understanding how to check roof flashing for leaks is essential for any homeowner who wants to maintain a dry, safe living environment. This guide walks through the steps for inspecting flashing, recognizing warning signs, and knowing when to call in a professional.
If you’re already concerned about moisture issues, it’s wise to review the signs your roof may leak soon so you can spot problems before they escalate. Early detection and proper maintenance are key to preventing extensive water damage.
Understanding Roof Flashing and Its Importance
Flashing is typically made of thin metal sheets installed at joints, valleys, chimneys, vents, and other vulnerable areas on your roof. Its main function is to direct water away from seams and prevent it from seeping into your home. Over time, flashing can deteriorate due to weather exposure, improper installation, or physical damage, making routine checks vital.
Neglecting flashing maintenance can result in leaks that damage insulation, wood framing, and even interior finishes. Proactive inspection helps you catch issues early and avoid expensive repairs.
Common Signs of Flashing Failure
Before climbing onto your roof, it’s helpful to know the typical symptoms of flashing problems. Here are some indicators that your flashing may be compromised:
- Water stains on ceilings or walls, especially near chimneys or roof valleys
- Peeling paint or bubbling plaster inside the home
- Visible rust, cracks, or gaps in metal flashing
- Loose or missing shingles around flashing areas
- Mold or mildew growth in the attic or upper walls
If you notice any of these warning signs, it’s time to perform a thorough inspection. For more tips on preventing moisture issues, see the article on how to prevent roof leaks.
Step-by-Step Guide: Inspecting Roof Flashing for Leaks
Conducting a careful examination of your roof’s flashing can help you identify leaks before they cause major damage. Follow these steps for a safe and effective inspection:
1. Prepare for Inspection
- Choose a dry, clear day for your inspection.
- Gather safety gear: sturdy ladder, non-slip shoes, gloves, and eye protection.
- Have a flashlight ready for attic checks.
2. Check Indoors First
Begin inside your home. Look for water stains, peeling paint, or damp spots on ceilings and walls, especially below roof penetrations like chimneys and vents. Inspect the attic for wet insulation, mold, or visible daylight through the roof deck.
3. Examine Exterior Flashing
- Carefully climb onto the roof or use binoculars from the ground for a preliminary view.
- Inspect flashing around chimneys, skylights, dormers, and valleys for rust, corrosion, or separation from the roof surface.
- Look for lifted, bent, or missing flashing pieces.
- Check for cracked or missing sealant at flashing edges.
- Pay attention to any debris buildup that could trap moisture.
4. Test for Leaks
If you suspect a problem area, use a garden hose to gently run water over the flashing while someone observes inside for leaks. Move slowly and test one section at a time to pinpoint the source.
5. Document and Plan Repairs
Take photos of any damaged or questionable flashing. Minor issues, such as small gaps or deteriorated sealant, can often be repaired with roofing caulk or by resealing joints. More extensive damage, like large holes or missing sections, may require professional replacement.
Preventing Flashing Leaks and Water Damage
Regular maintenance is the best way to avoid leaks. Here are some tips to keep your flashing in top condition:
- Schedule annual roof inspections, especially after severe weather.
- Keep gutters and downspouts clear to prevent water backup.
- Trim overhanging branches to reduce debris accumulation.
- Promptly repair any damaged shingles or flashing components.
- Use high-quality sealants and materials for any DIY repairs.
For more on keeping your home safe from water intrusion, explore the importance of gutter maintenance for home protection.
When to Call a Professional Roofer
While many homeowners can handle basic inspections and minor repairs, some situations require expert attention. Contact a licensed roofer if you encounter:
- Extensive rust, corrosion, or missing flashing sections
- Persistent leaks despite resealing efforts
- Structural damage to the roof deck or framing
- Steep or high roofs that pose safety risks
Professional roofers have the tools and experience to address complex issues and ensure your roof remains watertight.
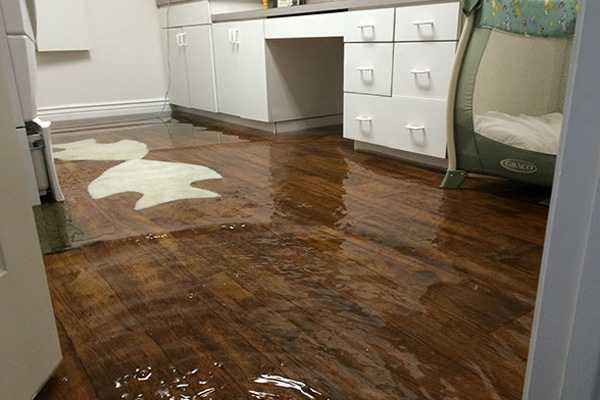
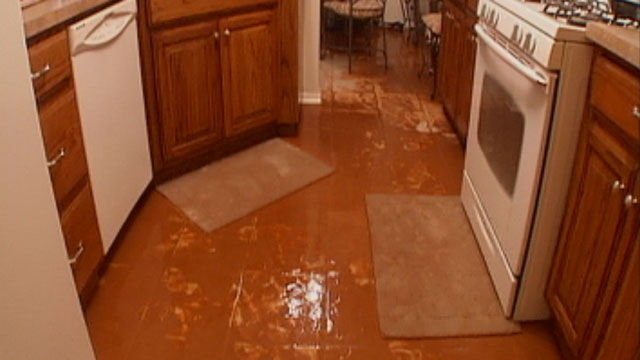
Understanding the Risks of Untreated Leaks
Ignoring flashing problems can have serious consequences. Water infiltration not only damages building materials but can also lead to mold growth, which poses health risks. According to this comprehensive resource on water damage, even minor leaks can cause significant deterioration over time.
If you’re dealing with persistent moisture, you may also want to learn how to improve basement drainage and reduce flooding risks throughout your home.
Frequently Asked Questions
What is the most common cause of roof flashing leaks?
The most frequent cause is aging or improperly installed flashing. Over time, sealants can crack, metal can corrode, and physical shifts in the roof can create gaps where water can enter.
How often should I inspect my roof flashing?
It’s best to check flashing at least once a year, and after any severe storms. Regular inspections help catch issues early before they become major problems.
Can I repair flashing leaks myself?
Minor leaks, such as small gaps or deteriorated sealant, can often be fixed with roofing caulk. However, if you find extensive damage or are unsure about the repair, it’s safer to hire a professional roofer.
What areas of the roof are most vulnerable to flashing leaks?
Vulnerable spots include chimneys, skylights, roof valleys, and places where the roof meets a vertical wall. These areas should be checked carefully during any inspection.