Keeping your bathroom in top condition requires regular attention to the details that protect it from moisture and water damage. Two of the most important elements are grout and caulk. Proper care of these materials not only preserves the appearance of your tiles but also prevents leaks, mold growth, and costly repairs. In this guide, you’ll learn practical steps for cleaning, inspecting, and repairing grout and caulk to ensure your bathroom remains both functional and attractive.
Before diving into maintenance techniques, it’s helpful to understand how these materials contribute to your home’s defense against water intrusion. For additional tips on safeguarding your home, you might also find value in resources like the roof inspection checklist, which highlights other critical areas to monitor for water damage.
Why Grout and Caulk Matter in Bathroom Maintenance
Grout is the material that fills the gaps between tiles, providing a finished look and preventing water from seeping behind the tile surface. Caulk, on the other hand, is a flexible sealant applied at joints where two surfaces meet, such as where the bathtub meets the wall or around sinks. Both play a crucial role in keeping moisture out of places it shouldn’t be.
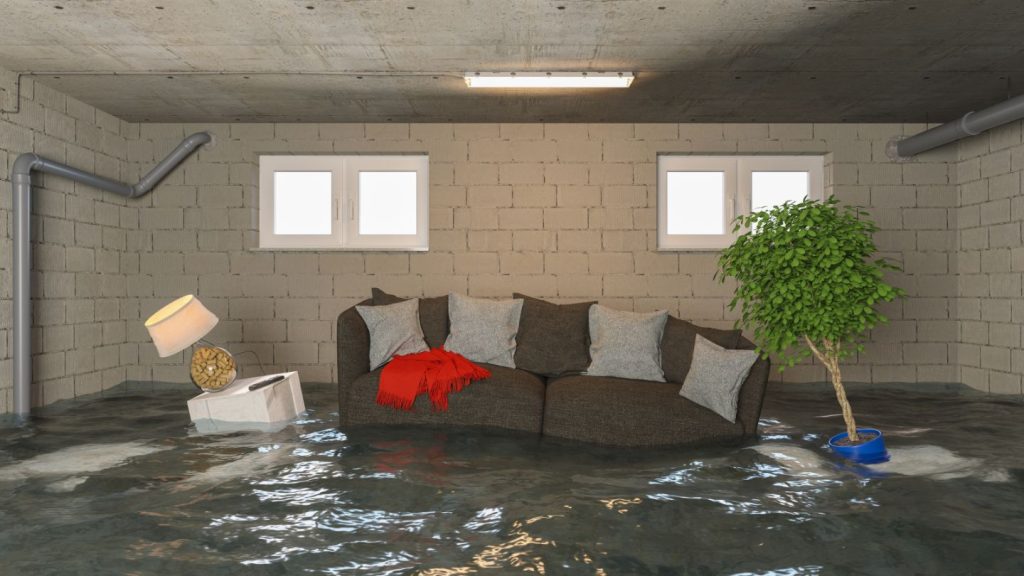
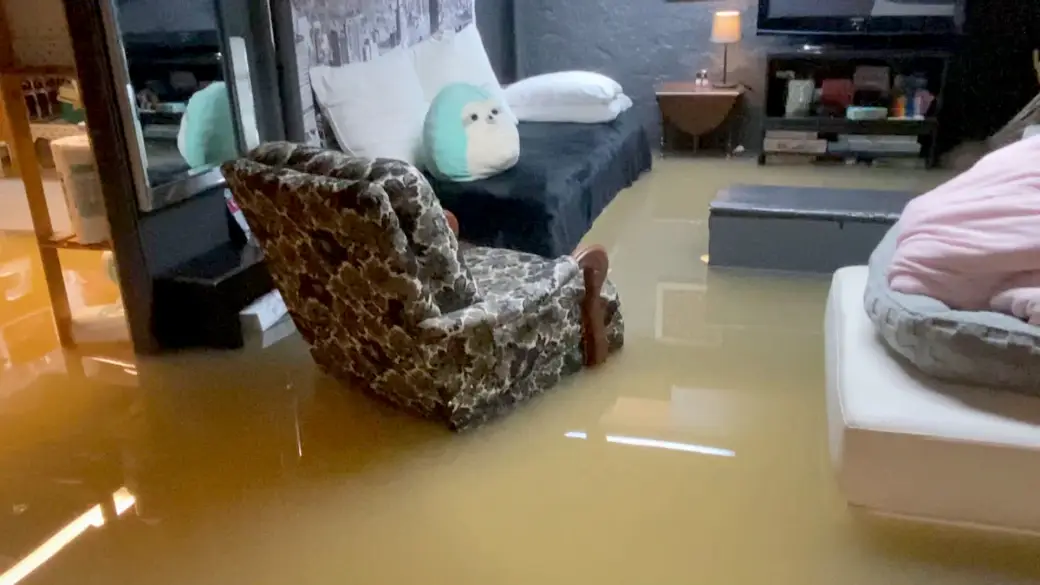
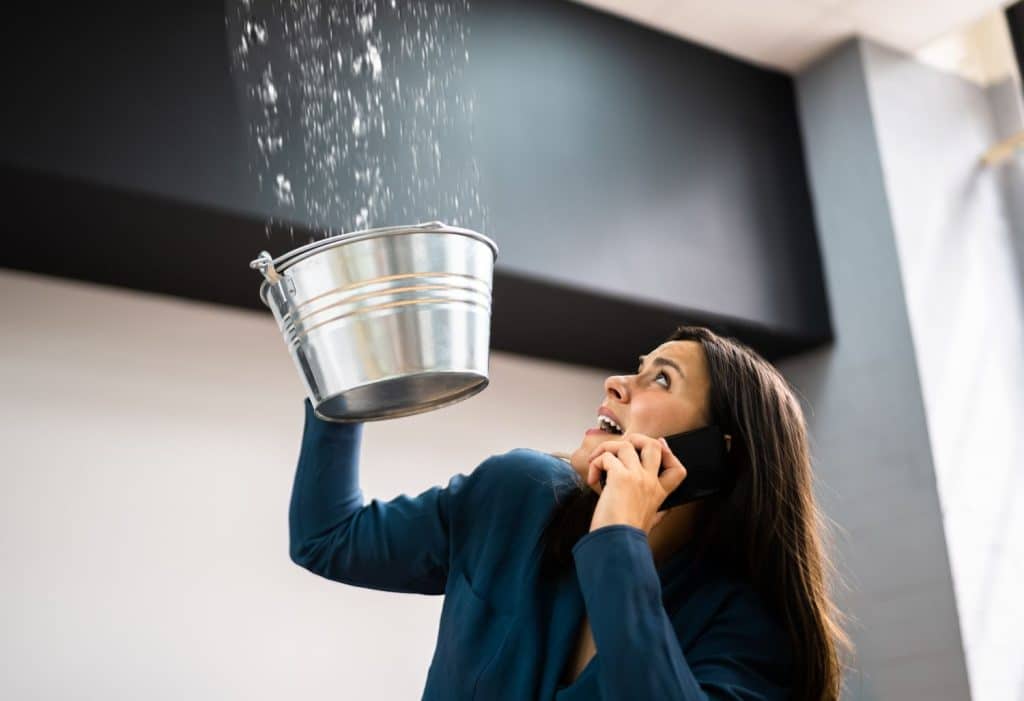
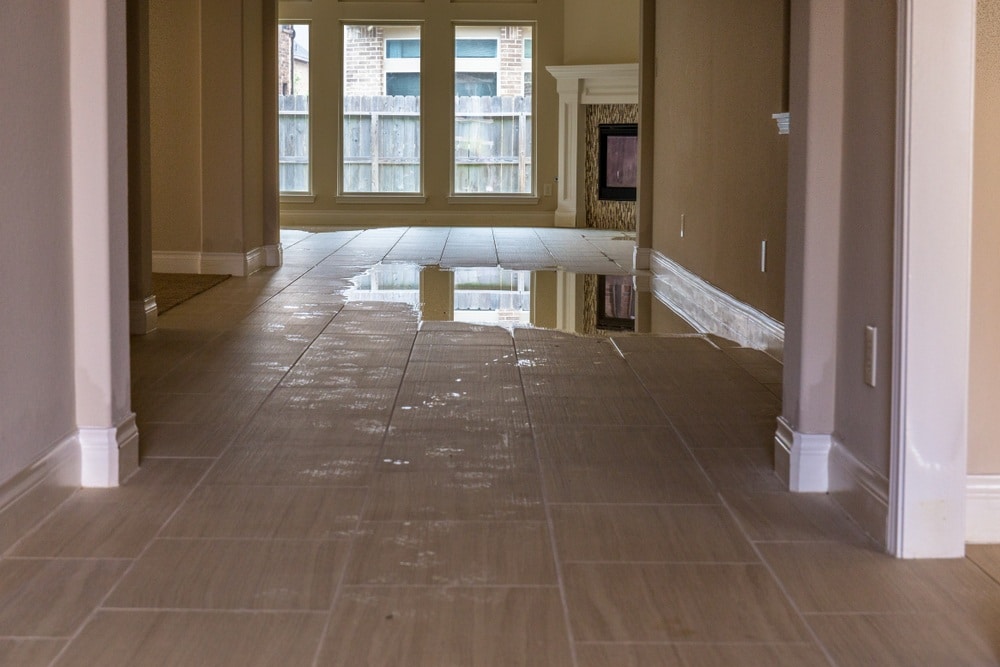
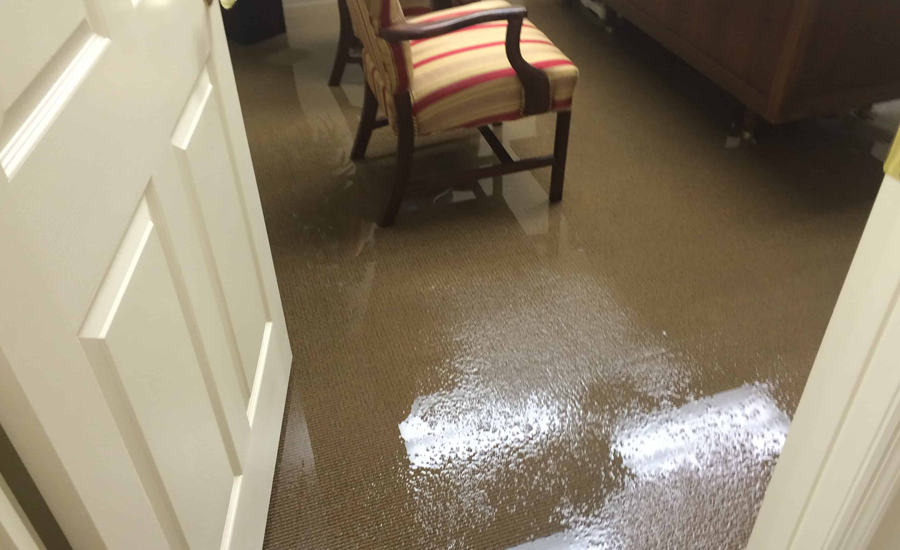
When grout or caulk fails, water can penetrate walls and floors, leading to mold, mildew, and structural issues. Regular upkeep is essential to avoid these problems and extend the life of your bathroom surfaces.
Routine Cleaning for Long-Lasting Protection
Consistent cleaning is the first step in preserving grout and caulk. Dirt, soap scum, and mildew can accumulate quickly in a damp environment, making surfaces look dingy and weakening their protective properties.
- Grout: Use a soft-bristle brush and a mild cleaner or a mixture of baking soda and water. Gently scrub the grout lines to remove buildup. Avoid harsh chemicals that can erode grout over time.
- Caulk: Wipe down caulked areas with a damp cloth and a gentle cleaning solution. Pay special attention to corners and seams where mold is likely to develop.
For persistent stains or mildew, a solution of one part vinegar to one part water can be effective. Always rinse thoroughly and dry the area after cleaning to prevent moisture from lingering.
Inspecting Grout and Caulk for Damage
Regular inspection is key to preventing small issues from turning into major repairs. At least once a month, take a close look at the grout lines and caulked joints in your bathroom.
- Look for cracks, gaps, or discoloration in grout, which can indicate water penetration or mold growth.
- Check caulk for peeling, shrinking, or missing sections. Damaged caulk can no longer provide a watertight seal.
- Press gently on tiles near joints. If they move or feel loose, water may have already seeped behind them.
Early detection allows you to address problems before they escalate. For more comprehensive advice on preventing moisture issues, consider reading about how to prevent water damage from clogged gutters as well.
Repairing and Replacing Grout
When you notice minor cracks or holes in grout, prompt repair can stop water from causing further damage. Here’s how to tackle common grout problems:
- Clean the area thoroughly to remove any dirt or mildew.
- Remove loose or damaged grout using a grout saw or utility knife, being careful not to chip the tiles.
- Mix new grout according to the manufacturer’s instructions and apply it with a rubber float, pressing it firmly into the gaps.
- Wipe away excess grout with a damp sponge before it dries.
- Allow to cure as directed, then seal the grout to protect against moisture and stains.
Sealing grout is an important step that many homeowners overlook. A quality grout sealer forms a barrier that repels water and makes cleaning easier.
Refreshing and Replacing Caulk for a Watertight Seal
Over time, caulk can deteriorate due to constant exposure to moisture and cleaning products. When it loses its flexibility or begins to peel, it’s time to replace it.
- Remove old caulk with a caulk removal tool or utility knife. Be thorough to ensure a clean surface for the new application.
- Clean and dry the area completely before applying new caulk.
- Apply a bead of bathroom-grade silicone caulk along the joint, smoothing it with a wet finger or caulk tool for a neat finish.
- Let the caulk cure for the recommended time before exposing it to water.
Using a high-quality, mold-resistant caulk is essential for areas exposed to frequent moisture. This not only ensures a long-lasting seal but also helps keep your bathroom looking clean and fresh.
Preventive Tips for Grout and Caulk Longevity
Taking a proactive approach can significantly extend the life of your bathroom’s grout and caulk. Here are some practical tips:
- Ventilate your bathroom by using an exhaust fan or opening a window to reduce humidity.
- Wipe down tiles and seams after showers to minimize water exposure.
- Seal grout lines annually to maintain their water resistance.
- Address leaks promptly to prevent water from reaching behind tiles or fixtures.
For a broader perspective on keeping your home dry, you may also want to explore how to maintain exterior drainage around your property.
Recognizing When to Call a Professional
While many grout and caulk repairs can be handled as DIY projects, some situations require expert attention. If you notice persistent mold, extensive water damage, or tiles that feel loose, it’s wise to consult a professional. These signs may indicate underlying problems that need specialized treatment to prevent further damage.
For additional strategies to safeguard your home from water-related issues, check out this comprehensive guide on protecting your home from water damage.
Frequently Asked Questions
How often should I clean and inspect grout and caulk in my bathroom?
It’s best to clean grout and caulk at least once a week to prevent buildup of soap scum and mildew. A thorough inspection for cracks, gaps, or mold should be done monthly to catch issues early.
What is the best way to remove mold from grout and caulk?
For mild mold, use a mixture of vinegar and water or a bathroom cleaner with mold-fighting properties. For stubborn mold, a diluted bleach solution can be effective, but always ensure the area is well-ventilated and follow safety instructions.
Can I apply new caulk over old caulk?
It’s not recommended to apply new caulk over old, deteriorated caulk. For a proper seal, remove all the old material, clean and dry the surface, and then apply the new caulk.