For many households, an icemaker is a convenient appliance that provides a steady supply of ice. However, to ensure that it operates efficiently, it’s essential to understand how to inspect icemaker water lines. This process involves checking for any blockages, leaks, or damages that could affect the icemaker’s performance. Regular inspections can prevent long-term issues, ensuring that your icemaker functions seamlessly.
Why Regular Inspections are Important
Regularly inspecting your icemaker’s water lines is crucial for several reasons. First, it helps in identifying potential leaks early, preventing water damage to your home. Secondly, it ensures that the water flow to the icemaker is consistent, which is essential for producing clear ice. Lastly, it extends the lifespan of the appliance, saving you money on repairs or replacements.
Tools Required for Inspection
Before you start the inspection, gather the necessary tools. You’ll need a flashlight, a small wrench, and a bucket to catch any water that might spill during the process. Having these tools ready will make the inspection process smoother and more efficient.
Step-by-Step Guide to Inspect Icemaker Water Lines
Step 1: Turn Off the Water Supply
The first step in the inspection process is to turn off the water supply to the icemaker. This step is crucial to avoid any water spillage during the inspection. Locate the shut-off valve, usually found behind the refrigerator, and turn it off.
Step 2: Locate the Water Line
Next, locate the water line that connects to your icemaker. This line is typically a thin tube that runs from the wall to the back of the refrigerator. Use a flashlight to inspect it thoroughly.
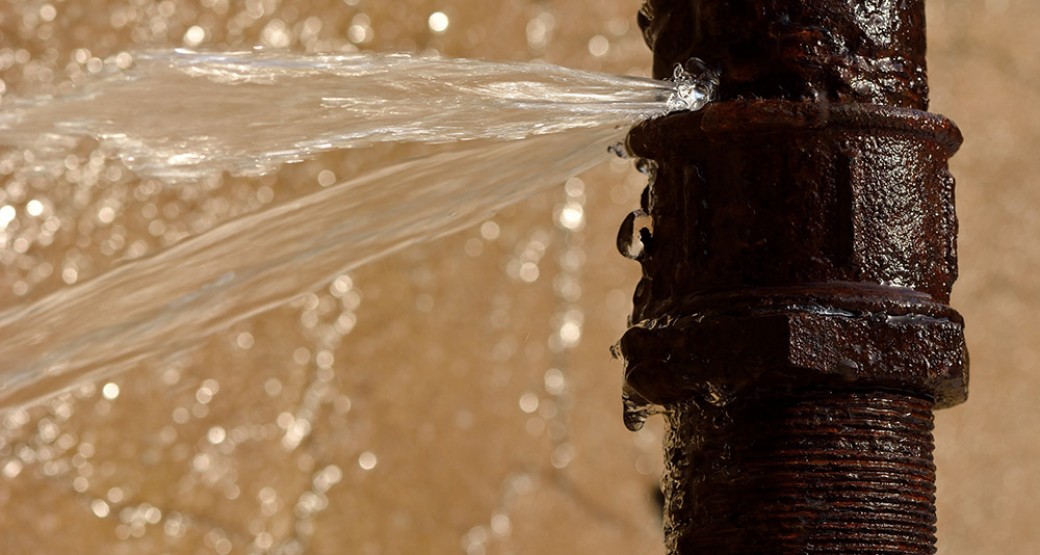
Step 3: Check for Leaks
With the flashlight, inspect the entire length of the water line for any signs of leaks. Look for water droplets, wet spots, or any signs of moisture. If you find any leaks, it’s important to address them immediately to prevent further damage.
Step 4: Inspect for Blockages
Blockages in the water line can hinder the flow of water to the icemaker. Check the line for any kinks or obstructions that could be causing a blockage. If you find any, carefully straighten the line or remove the obstruction.
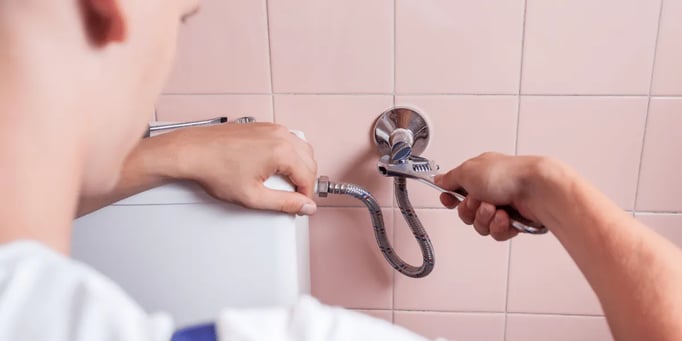
Step 5: Examine the Connections
Inspect the connections where the water line attaches to the icemaker and the water source. Ensure that these connections are secure and free from any corrosion or wear. Tighten any loose connections with a wrench.
Common Issues and Solutions
Leaking Water Lines
If you discover a leak in the water line, it’s important to fix it promptly. You may need to replace the damaged section of the line or the entire line if the damage is extensive. In some cases, using a sealant or waterproof tape can temporarily fix minor leaks.
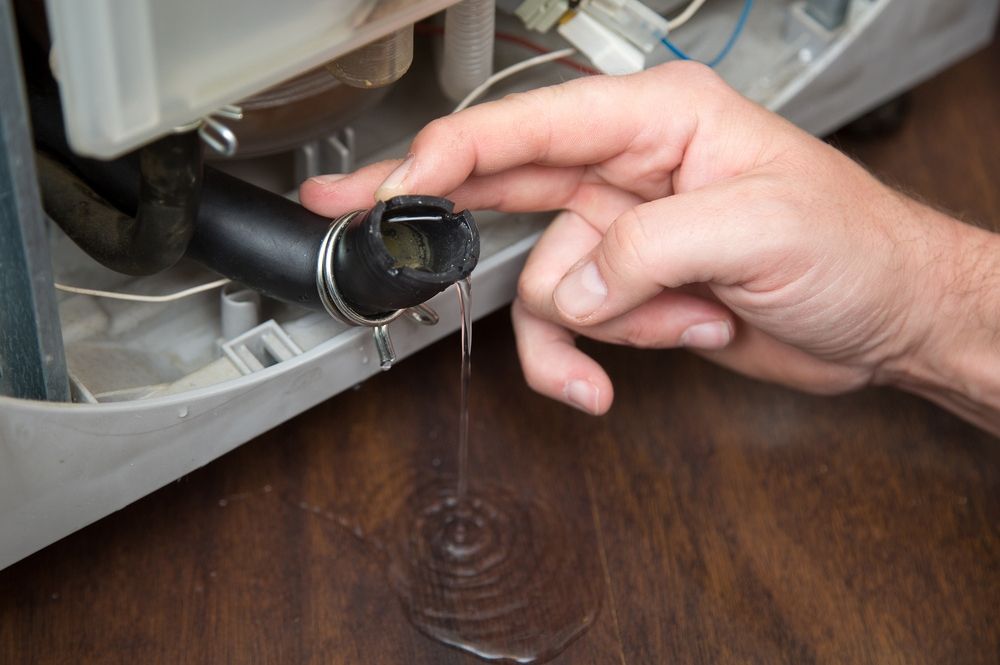
Blocked Water Lines
Blockages can often be cleared by flushing the line with water. Disconnect the line and run water through it to clear any debris. If the blockage persists, consider seeking professional assistance.
Loose Connections
Loose connections can lead to leaks or reduced water flow. Ensure that all connections are tight and secure. If a connection is damaged, it may need to be replaced.
Maintaining Your Icemaker
Beyond regular inspections, maintaining your icemaker involves cleaning it periodically. Remove any ice build-up and ensure the interior is clean and free from mold. This practice not only ensures the production of clean ice but also extends the life of the appliance.
When to Call a Professional
While many issues can be resolved with a simple inspection, some problems may require professional intervention. If you notice persistent leaks, severe blockages, or if the icemaker isn’t producing ice despite a clear water line, it’s time to call a professional for a thorough inspection and repair.
Preventive Measures to Consider
To prevent issues with your icemaker water lines, consider installing a water filter to remove impurities. Regularly check the water pressure and ensure it is at the recommended level. Additionally, avoid pushing the refrigerator too close to the wall, which can kink the water line.
Useful Resources
For more tips on preventing water leaks and maintaining your home appliances, visit Forbes’ Guide to Preventing Water Damage.
Related Topics
For additional insights on preventing water damage, check our article on stopping water leaks. You may also find our plumbing maintenance checklist useful in maintaining your home appliances.

Frequently Asked Questions
What should I do if my icemaker stops making ice?
If your icemaker stops making ice, check the water line for blockages or leaks. Ensure the water supply is turned on and that the connections are secure. If the problem persists, consider seeking professional help.
How often should I inspect my icemaker water lines?
It’s recommended to inspect your icemaker water lines every six months. Regular inspections help identify potential issues early, preventing costly repairs.
Can I use any water line for my icemaker?
It’s important to use water lines specifically designed for icemakers. These lines are typically more durable and can handle the pressure required for efficient operation.
This article contains affiliate links. We may earn a commission at no extra cost to you.