Are you a tech enthusiast looking to embark on a new project? A DIY moisture meter guide might just be what you need! With a focus on both innovation and practicality, creating your own moisture meter can be a rewarding experience. This guide will walk you through the essentials of building your own moisture meter, helping you understand the benefits and applications of this handy device.
The DIY moisture meter guide will not only save you money but also provide a deeper understanding of how moisture detection works. Whether you’re interested in gardening, maintaining your home, or simply exploring new DIY projects, this guide is perfect for you.

What is a Moisture Meter?
A moisture meter is a device used to measure the moisture content in various materials. From detecting water damage in homes to ensuring optimal soil moisture levels for plants, these meters serve multiple purposes. By building your own, you gain insight into its functionality and improve your DIY skills.
Components Needed for a DIY Moisture Meter
Creating a DIY moisture meter requires a few basic components. Here’s a list to get you started:
- Arduino board
- Soil moisture sensor
- Jumper wires
- LED display
- Resistors
- Breadboard
Building Your DIY Moisture Meter
Step 1: Setting Up the Arduino Board
The first step in building your DIY moisture meter is to set up the Arduino board. Connect it to your computer and make sure its working properly.
Step 2: Connecting the Sensor
Next, connect the soil moisture sensor to the Arduino board using jumper wires. This sensor will detect the moisture levels and send the information to the Arduino.
Step 3: Displaying the Data
Attach the LED display to the breadboard and connect it to the Arduino. This display will show the moisture levels detected by the sensor.
Step 4: Coding the Arduino
Write a simple code to read the sensor data and display it on the LED screen. This is where your programming skills come into play!
Applications of a DIY Moisture Meter
A DIY moisture meter has numerous applications. Here are a few:
- Gardening: Ensure your plants receive the right amount of water.
- Home Maintenance: Detect water damage and prevent mold growth.
- Construction: Monitor the moisture levels in building materials.
Benefits of Building Your Own Moisture Meter
Creating a DIY moisture meter offers several benefits:
- Cost-Effective: Save money by building your own device.
- Educational: Learn about electronics and programming.
- Customizable: Modify the design to suit your needs.
Challenges and Tips
While building a DIY moisture meter can be fun, it may also present some challenges. Here are tips to help you:
- Double-check connections to avoid errors.
- Use online resources for coding assistance.
- Experiment with different sensors for various applications.
Conclusion
Embarking on a DIY moisture meter project is an exciting opportunity for tech enthusiasts. With the right components and a little patience, you can create a functional device that serves multiple purposes. Not only will you gain valuable skills, but you’ll also have a tool that helps in gardening, home maintenance, and more.

FAQs
What materials can a moisture meter test?
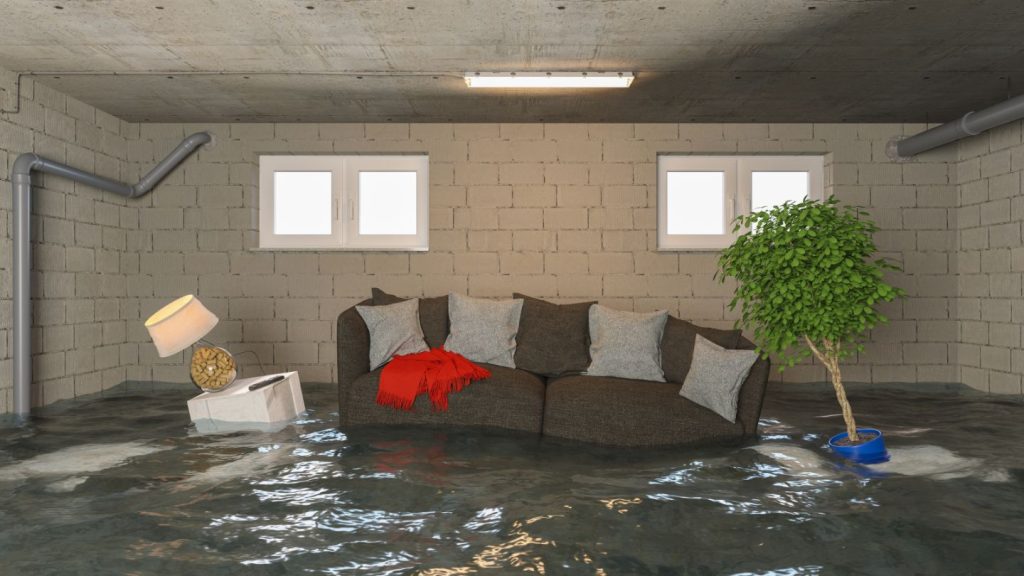
A moisture meter can test soil, wood, drywall, and other building materials.
Is it difficult to build a DIY moisture meter?
With basic electronic skills and some patience, building a DIY moisture meter is manageable.
Can I use my DIY moisture meter for professional purposes?
While a DIY moisture meter is great for personal use, professional applications may require more advanced devices.
For more detailed information on water damage prevention, you can explore additional resources.
This article contains affiliate links. We may earn a commission at no extra cost to you.