Managing stormwater on your property is essential for preventing flooding, reducing erosion, and supporting local ecosystems. One of the most effective and eco-friendly ways to handle excess runoff is by creating a rain garden. These shallow, planted depressions are designed to capture and filter rainwater, allowing it to soak into the ground rather than flowing into storm drains. This guide walks you through the process of planning, building, and maintaining a rain garden to improve water management around your home.
Before diving into the steps, it’s helpful to understand the broader benefits of rain gardens. They not only help with water infiltration but also support pollinators, add beauty to your landscape, and can even increase property value. If you’re interested in other practical home improvement tips, you might also enjoy our article on how to press tortillas for gorditas de azucar.
Understanding the Purpose of a Rain Garden
A rain garden is a landscaped area that temporarily holds and absorbs rainwater runoff from roofs, driveways, patios, or lawns. Unlike a traditional garden, it is specifically engineered to manage water efficiently. The plants and soil in a rain garden filter out pollutants and slow down the movement of water, which helps recharge groundwater supplies and reduces the risk of flooding.
By installing a rain garden, you’re taking a proactive step toward sustainable water management. This approach is especially valuable in urban and suburban areas where impervious surfaces prevent natural water absorption.
Planning Your Rain Garden Project
Proper planning is the foundation of a successful rain garden. Start by identifying the best location on your property. Ideally, choose a spot that receives runoff from downspouts or paved surfaces but is at least 10 feet away from your home’s foundation to prevent water damage. Avoid areas with poor drainage or where water already pools for extended periods.
Next, determine the size of your rain garden. A general rule is to make the garden about 20% of the area that drains into it. For example, if your roof and driveway contribute 1,000 square feet of runoff, a 200-square-foot rain garden is a good starting point. Consider the slope of your yard as well; a gentle slope (between 3% and 8%) is ideal for capturing and filtering water.
Gathering Materials and Tools
To build a rain garden, you’ll need:
- Shovels and spades for digging
- Measuring tape and stakes for marking the area
- Compost or soil amendments
- Mulch (such as shredded bark or wood chips)
- Native plants suited to wet and dry conditions
- Optional: river rocks or edging materials for aesthetics and erosion control
Before you begin, call your local utility company to mark underground lines. This step is crucial for safety and compliance.
Step-by-Step Guide to Building a Rain Garden
1. Mark and Excavate the Area
Use stakes and string to outline the shape of your rain garden. Ovals or kidney shapes are both attractive and functional. Dig down to a depth of 6–12 inches, sloping the sides gently. Pile the excavated soil on the downhill side to create a berm, which helps contain water within the garden.
2. Amend the Soil
Healthy, well-draining soil is key to a functioning rain garden. Mix in compost or sand as needed to improve infiltration. The goal is to allow water to soak in within 24–48 hours after a storm. Test drainage by filling the excavated area with water and observing how quickly it disappears.
3. Select and Plant Native Species
Choose a mix of native grasses, wildflowers, and shrubs that tolerate both wet and dry conditions. Place water-loving plants in the center, where the soil stays moist longest, and drought-tolerant varieties near the edges. Native plants require less maintenance and provide habitat for pollinators and birds.
Some popular choices include:
- Blue flag iris
- Swamp milkweed
- Joe-Pye weed
- Switchgrass
- Black-eyed Susan
4. Mulch and Water
Apply a 2–3 inch layer of mulch to suppress weeds, retain moisture, and prevent erosion. Water your new garden thoroughly after planting, and continue to water regularly until the plants are established.

Maintaining Your Rain Garden
Once established, rain gardens require minimal upkeep. During the first year, weed regularly and water during dry spells. After that, native plants should thrive with little intervention. Refresh mulch annually and remove any debris that could block water flow. Inspect the garden after heavy rains to ensure water is draining as expected.
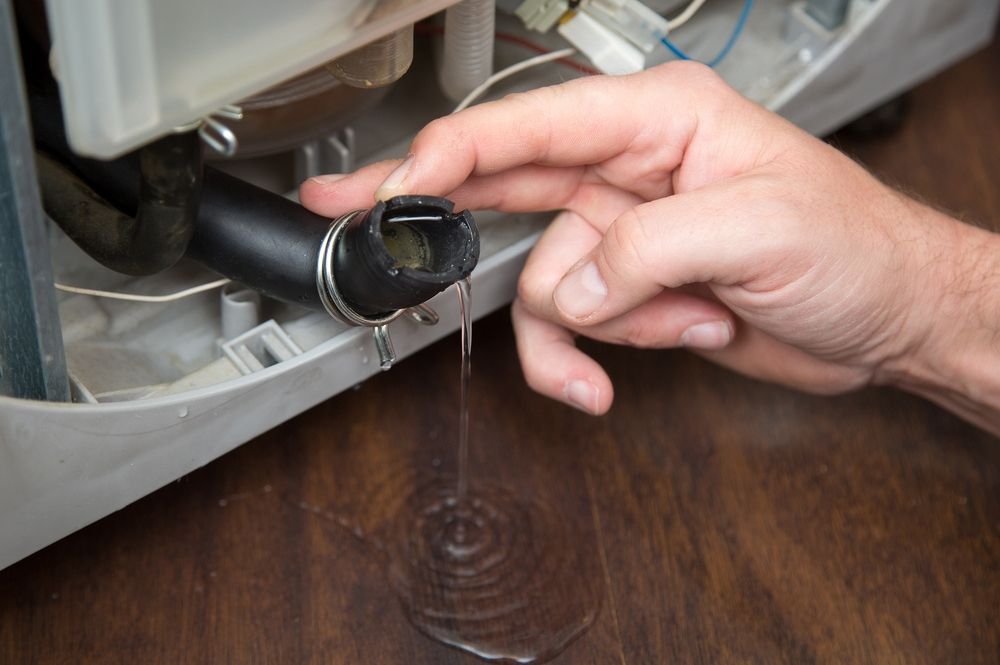
To further protect your property from water issues, consider using a pipe leak detector or a toilet leak detector for early warning of plumbing problems.
Benefits of Rain Gardens for Water Management
Rain gardens offer a range of environmental and practical benefits:
- Reduces runoff and helps prevent flooding
- Filters pollutants from stormwater before it enters local waterways
- Supports biodiversity by providing habitat for beneficial insects and birds
- Enhances curb appeal and property value
- Helps recharge groundwater supplies
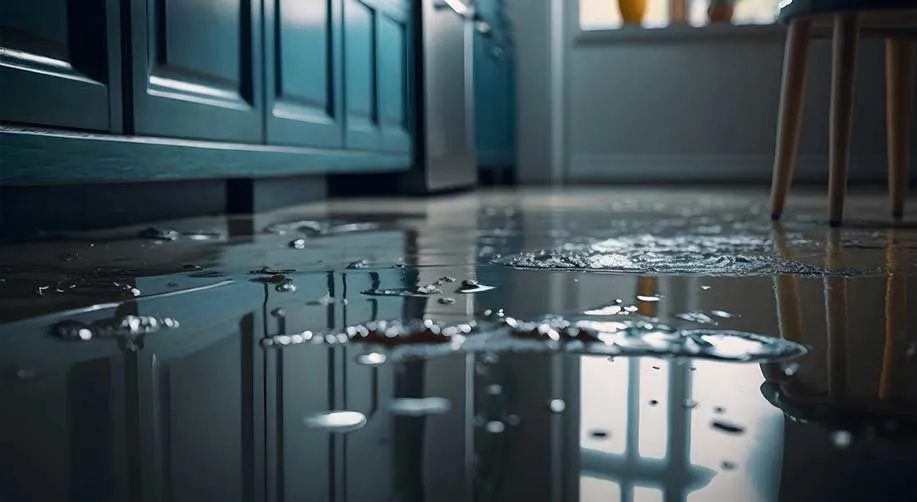
For more strategies on protecting your home from water-related issues, see this comprehensive guide to safeguarding your home from water damage.
Common Mistakes and How to Avoid Them
While rain gardens are straightforward to install, a few common errors can reduce their effectiveness:
- Placing the garden too close to the house, risking foundation issues
- Choosing plants that aren’t suited to local conditions
- Ignoring soil drainage—if water stands for more than 48 hours, amend the soil further
- Failing to maintain the garden during the first year, leading to weed takeover
By following the steps outlined here and selecting appropriate plants, you can avoid these pitfalls and enjoy a thriving, functional rain garden for years to come.
Frequently Asked Questions
How do I know if my yard is suitable for a rain garden?
Most yards can accommodate a rain garden as long as the site is at least 10 feet from foundations and not directly over septic systems or utility lines. Test the soil’s drainage by digging a hole and filling it with water—if it drains within 24–48 hours, the site is suitable.
What types of plants work best in a rain garden?
Native species adapted to both wet and dry conditions are ideal. Look for deep-rooted grasses, wildflowers, and shrubs that will help filter water and stabilize the soil. Consult local extension services for plant lists tailored to your region.
How much maintenance does a rain garden require?
During the first year, regular watering and weeding are important. Once established, maintenance is minimal—mostly annual mulching and occasional removal of debris or invasive plants.
Conclusion
Creating a rain garden is a practical, attractive, and environmentally responsible way to manage stormwater on your property. With careful planning, the right materials, and a selection of native plants, you can build a feature that not only protects your home but also supports local wildlife and improves the health of your watershed. For more home improvement and sustainability tips, explore our other resources, such as how to store a cast iron press long term.