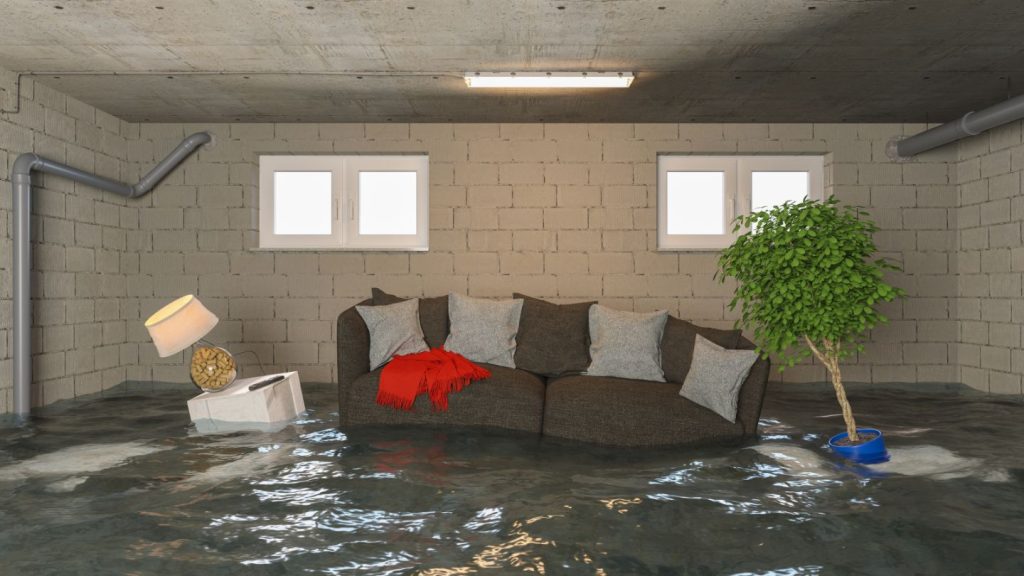
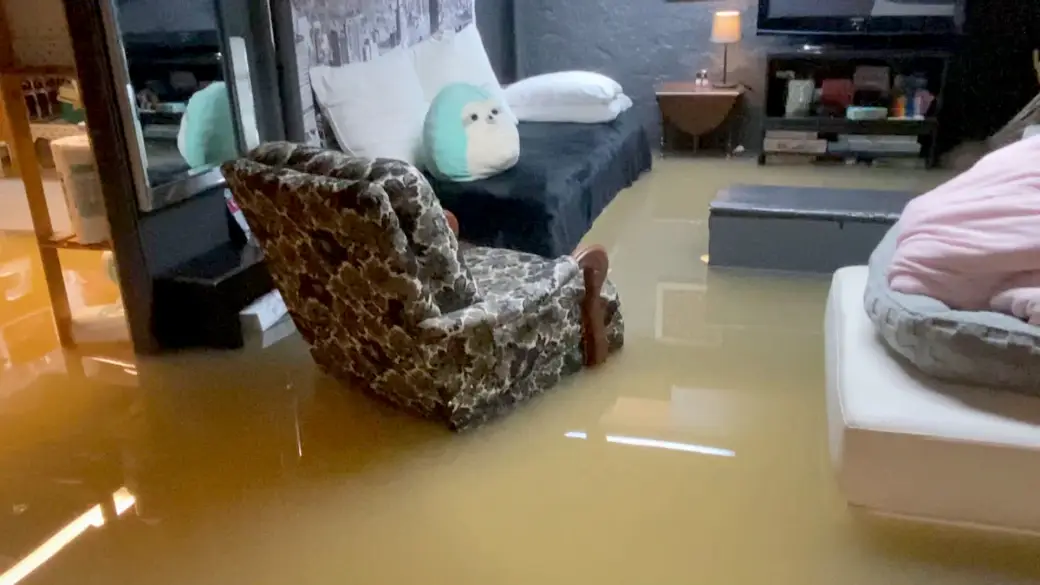
Experiencing water leaks in your home can be distressing. Whether it’s due to a burst pipe, a leaking roof, or an overflowing sink, the aftermath can lead to significant damage if not addressed promptly. One of the most effective tools to combat moisture and prevent further damage is a dehumidifier. In this article, we will explore how to use dehumidifiers after leaks to restore your home to its former glory.

Understanding the Importance of Dehumidifiers
Before diving into the specifics of using a dehumidifier after leaks, it’s crucial to understand why these devices are invaluable in moisture control. Dehumidifiers help in reducing humidity levels, thereby minimizing the risk of mold growth and structural damage.
Immediate Actions After a Leak
As soon as you discover a leak, it’s essential to take immediate action. Start by stopping the source of the leak, if possible. This might involve turning off the water supply or patching a hole temporarily. Once the immediate threat is mitigated, begin the drying process.
Step 1: Assess the Damage
Evaluate the extent of water damage. This assessment will help you determine the number and size of dehumidifiers required. For minor leaks, a single unit might suffice, but larger areas may need multiple devices.
Step 2: Remove Excess Water
Before setting up your dehumidifier, remove as much standing water as possible. Use towels, mops, or a wet/dry vacuum. This step is crucial as it allows the dehumidifier to focus on removing moisture from the air rather than dealing with puddles.
Setting Up Your Dehumidifier
Proper setup is key to maximizing the effectiveness of your dehumidifier. Place the device in the center of the affected area, ensuring there are no obstructions to air flow. Consult the manufacturer’s instructions for specific guidelines on optimal placement.
Step 3: Adjust Settings
Most dehumidifiers come with adjustable settings. Set the humidity level to around 30-50% for optimal drying. If the unit has a fan speed option, choose a higher setting to increase air circulation.
Step 4: Monitor Progress
Regularly check on the progress of the drying process. Empty the water collection tank as needed to ensure continuous operation. Some dehumidifiers offer a continuous drainage option, which can be beneficial for prolonged use.
Additional Tips for Effective Use
To enhance the efficiency of your dehumidifier, consider these additional tips:
- Seal off the affected area from the rest of the house to concentrate the drying efforts.
- Use fans in conjunction with your dehumidifier to improve air circulation.
- Keep windows and doors closed to prevent outside humidity from entering.
Preventing Future Leaks
While dehumidifiers are excellent for mitigating damage, preventing leaks should be a priority. Regular maintenance of plumbing and roofing systems can help avert potential disasters. For more tips on preventing leaks, refer to this guide.
When to Seek Professional Help
In cases of severe water damage, professional restoration services might be necessary. They have specialized equipment and expertise to handle extensive repairs. Learn more about choosing the right professionals here.

FAQs
What size dehumidifier do I need?
The size of the dehumidifier you need depends on the size of the affected area and the level of humidity. Check the manufacturer’s guidelines for recommendations based on square footage.
Can I use a dehumidifier in conjunction with other drying methods?
Yes, using a dehumidifier alongside fans and heaters can help speed up the drying process.
How long should I run a dehumidifier after a leak?
Run the dehumidifier until the area is completely dry, which can take several days depending on the extent of the water damage.
For more insights on water damage prevention, visit this resource.
This article contains affiliate links. We may earn a commission at no extra cost to you.