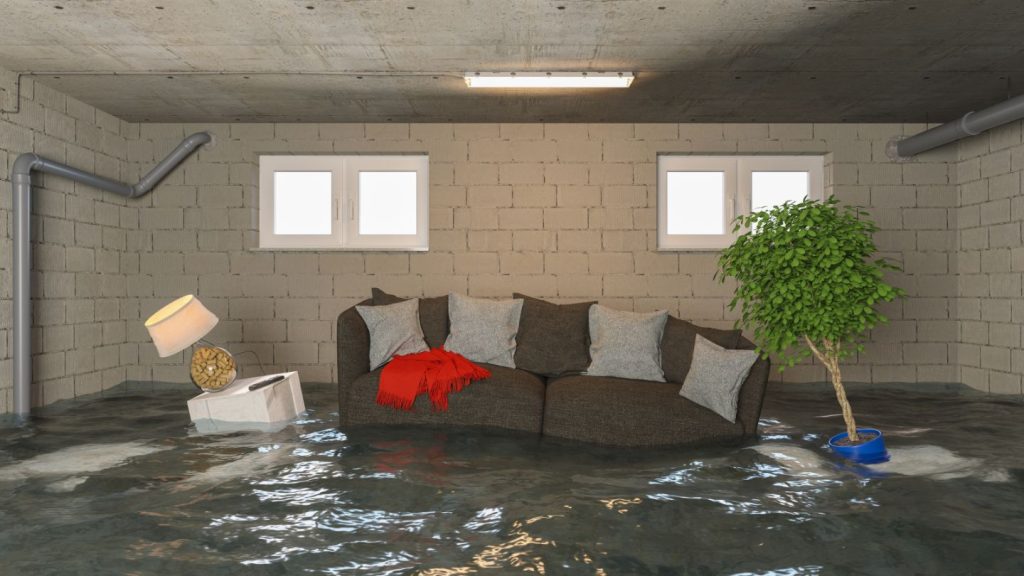
Detecting and addressing leaks in your shower pan is crucial for maintaining a safe and dry bathroom environment. Shower pan leaks can lead to significant water damage and mold growth if not properly managed. In this article, we’ll delve into the details of how to stop shower pan leaks and ensure your bathroom remains leak-free.

Understanding Shower Pan Leaks
Before diving into solutions, it’s important to understand what constitutes a leak in your shower pan. A shower pan is the floor of your shower, designed to catch water and direct it to the drain. Leaks occur when the pan or its surrounding components fail to contain water effectively.
Common Causes of Shower Pan Leaks
Several factors can lead to a leaking shower pan. These include:
- Cracks or holes in the shower pan
- Poor installation or worn-out materials
- Improper sealing of joints and edges
Understanding these causes can help in diagnosing and fixing the problem.
Signs of a Leaking Shower Pan
Spotting a shower pan leak early can save you from extensive repairs. Look for these signs:
- Water stains on the ceiling below the shower
- Mold or mildew around the base of the shower
- Loose tiles or grout
If you detect any of these signs, it’s time to take action.
How to Stop Shower Pan Leaks
Step 1: Inspect the Shower Pan
Begin by thoroughly inspecting the shower pan and the surrounding area for any visible damage. Look for cracks, holes, or signs of wear and tear.
Step 2: Test for Leaks
To confirm a leak, conduct a water test. Fill the shower pan with a few inches of water and let it sit. If water levels drop without using the drain, you may have a leak.
Step 3: Repair Cracks or Holes
If you find cracks or holes, it’s essential to repair them immediately. Use a waterproof epoxy or sealant designed for shower pan repairs. Apply it evenly over the damaged area and allow it to dry completely.
Step 4: Re-seal Joints and Edges
Ensure that all joints and edges are properly sealed. Use a high-quality silicone caulk to seal the seams where the shower pan meets the walls and corners.
Step 5: Replace Damaged Tiles
If tiles around the shower pan are loose or damaged, replace them to prevent water from seeping through.
Preventing Future Leaks
While fixing leaks is essential, prevention is even better. Here’s how you can avoid future shower pan leaks:
- Regularly inspect and maintain your shower
- Ensure proper installation of the shower pan during renovations
- Use a quality waterproof sealant on grout and tiles
By following these steps, you can significantly reduce the risk of future leaks.
When to Call a Professional
If you’re unable to fix the leak yourself or if the damage is extensive, it’s best to call a professional. They have the tools and expertise to address complex issues effectively. If you suspect water damage in other areas of your home, it’s also worth checking resources on detecting leaks around chimneys.
Additional Resources
For more information on preventing water damage, check out this helpful external guide on preventing water damage.

FAQs
What materials are used for shower pans?
Shower pans are typically made from materials like acrylic, fiberglass, or tile. Each material has its pros and cons in terms of durability and maintenance.
Can I repair a shower pan leak myself?
Yes, minor leaks can often be repaired yourself with the right tools and materials. However, extensive damage may require professional assistance.
How often should I inspect my shower pan?
It’s advisable to inspect your shower pan at least once a year, or more frequently if you notice signs of wear or damage.
This article contains affiliate links. We may earn a commission at no extra cost to you.