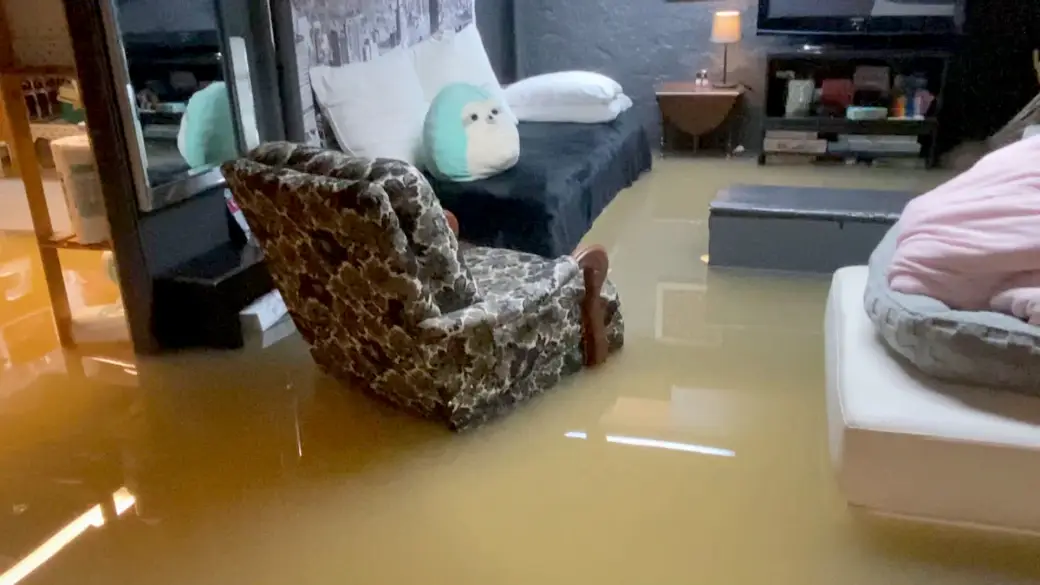
Dealing with a dripping faucet can be a common nuisance in many households. Not only does the constant drip sound annoying, but it can also lead to unnecessary water wastage and increased bills. Learning how to fix dripping faucets is not only a valuable skill but also an environmentally friendly practice. In this guide, we’ll explore the steps and tips to help you tackle this issue effectively.

Understanding the Basics of a Dripping Faucet
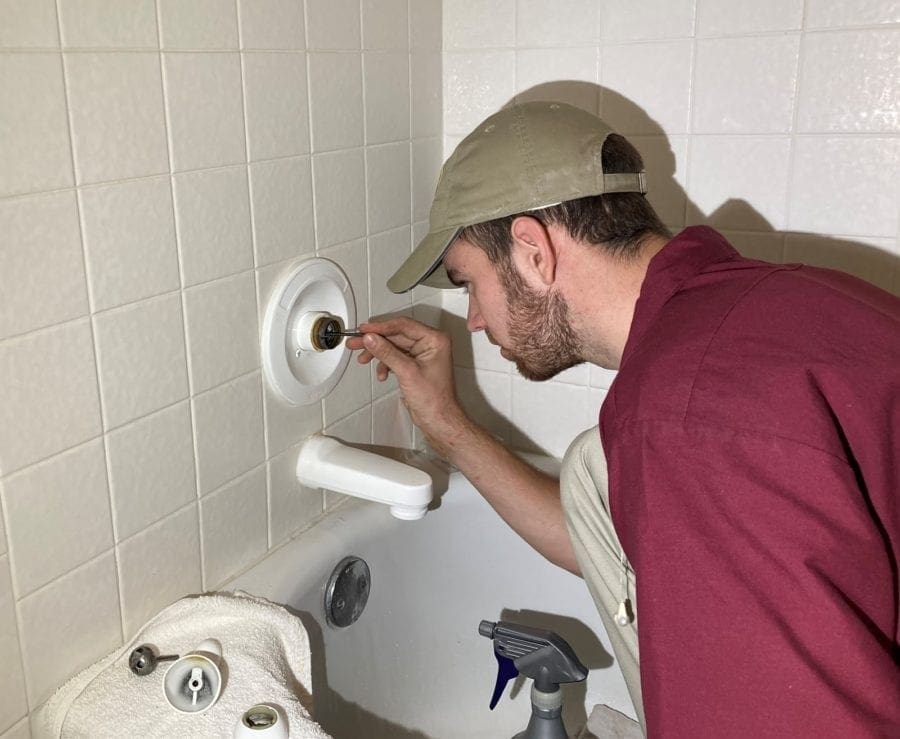
Before diving into the repair process, it’s essential to understand the anatomy of a faucet. Faucets generally consist of several parts such as the spout, handle, cartridge, washers, and O-rings. Knowing these components can help you diagnose and fix the problem more efficiently.
Common Reasons for a Dripping Faucet
Worn-Out Washers
One of the most common causes of a dripping faucet is worn-out washers. Over time, the friction between the washer and the valve seat can cause the washer to wear out, leading to leaks.
Damaged O-Rings
O-Rings are small rubber rings that provide a seal around the faucet’s spout. A damaged or worn O-Ring can lead to a leaky faucet.
Corroded Valve Seat
The valve seat connects the faucet and the spout. Corrosion can occur, causing leaks around the spout area.
Loose Parts
Loose or damaged parts can also lead to leaks. Regular maintenance and tightening of these components can prevent this issue.
Tools You Will Need
- Adjustable wrench
- Screwdriver
- Replacement washers and O-Rings
- Plumber’s tape
- Penetrating oil (if needed)
Step-by-Step Guide to Fixing a Dripping Faucet
Step 1: Turn Off the Water Supply
Before starting any repair, ensure that the water supply to the faucet is turned off. You can usually find the valve under the sink. Turn it clockwise to shut off the water.
Step 2: Remove the Faucet Handle
Use a screwdriver to remove the screw securing the handle. Once the screw is removed, gently pull the handle off the faucet.
Step 3: Take Apart the Faucet
After removing the handle, you will need to disassemble the faucet to access the washer or O-Ring. Use an adjustable wrench to unscrew the packing nut and remove the stem.
Step 4: Identify the Faulty Component
Inspect the washer, O-Ring, and any other components for signs of wear or damage. Replace any faulty parts with new ones.
Step 5: Reassemble the Faucet
Once the faulty parts have been replaced, reassemble the faucet by reversing the disassembly process. Make sure all components are tightened securely.
Step 6: Turn On the Water Supply
Turn the water supply back on and test the faucet to ensure the leak has been fixed. If the faucet continues to drip, you may need to recheck the components for proper installation.
Preventative Measures
Regular Maintenance
Regularly checking and maintaining your faucet can prevent leaks before they start. Tighten any loose parts and replace worn components as needed.
Water Pressure Management
High water pressure can cause damage to your faucet’s components. Consider installing a pressure regulator to maintain optimal water pressure levels.
When to Call a Professional
While fixing a dripping faucet is often a simple DIY task, there are times when calling a professional plumber is necessary. If you’re unable to identify the problem or if the leak persists despite your efforts, it may be time to seek expert help.
Additional Resources
For more tips on preventing water-related issues in your home, consider visiting Preventing Water Damage and Water Damage Prevention.

FAQ
Why is my faucet still dripping after replacing the washer?
There may be other components, such as the O-Ring or valve seat, that also need replacement. Ensure all parts are checked and replaced as necessary.
Can I use any type of washer for my faucet?
No, it’s important to use washers that are compatible with your specific faucet model to ensure a proper fit and seal.
Is fixing a dripping faucet a difficult task?
While it may seem daunting at first, fixing a dripping faucet is generally a straightforward task that can be completed with basic tools and a little patience.
This article contains affiliate links. We may earn a commission at no extra cost to you.