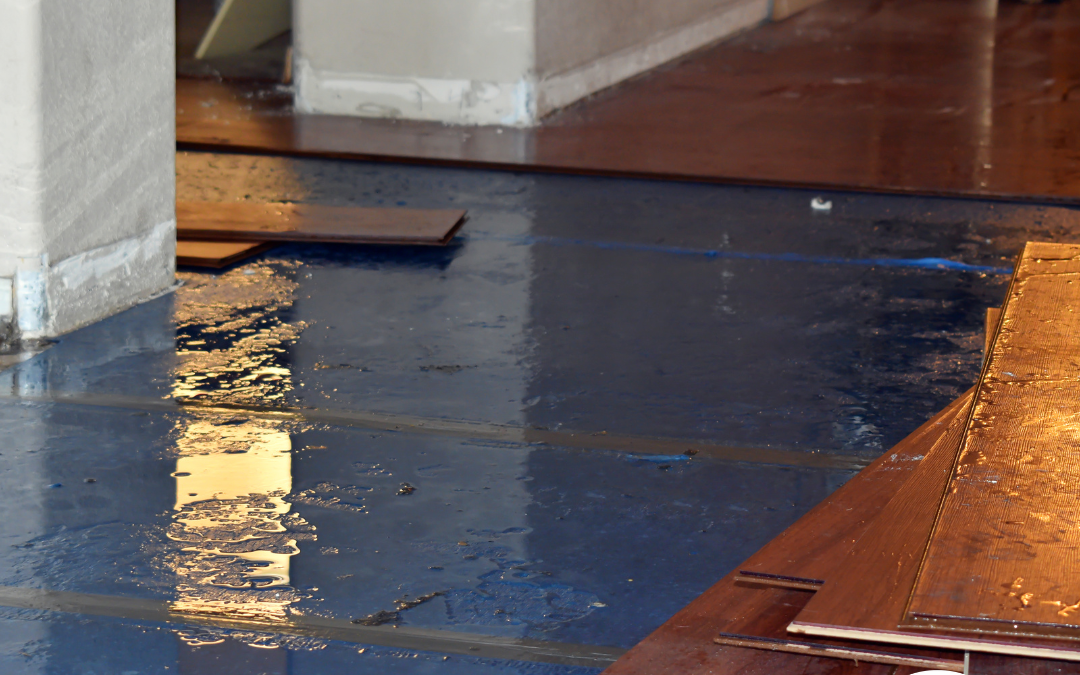
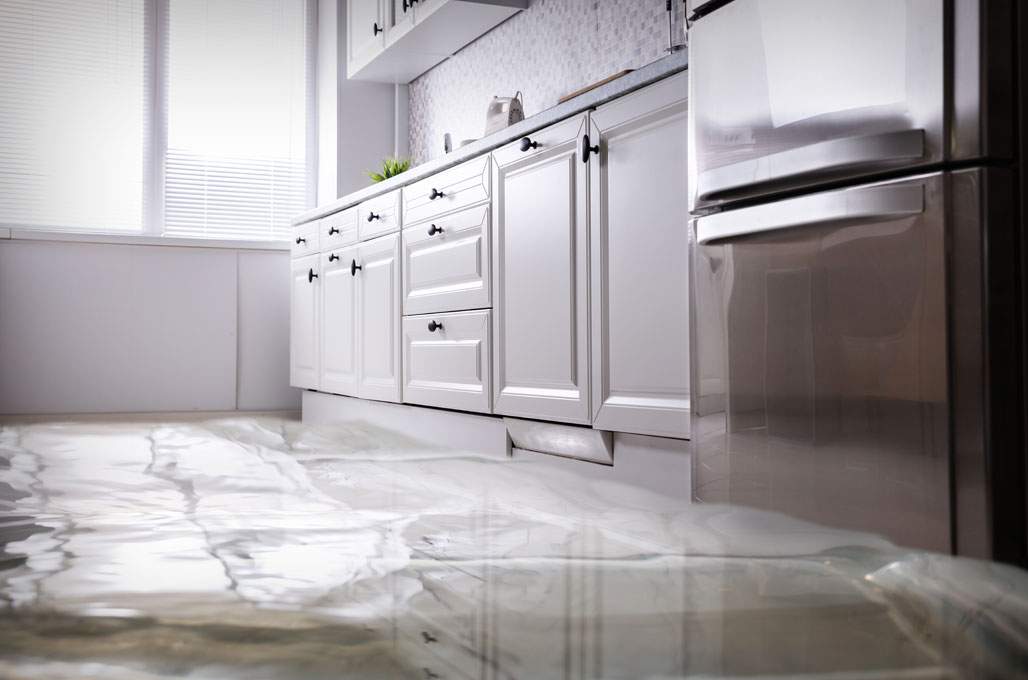
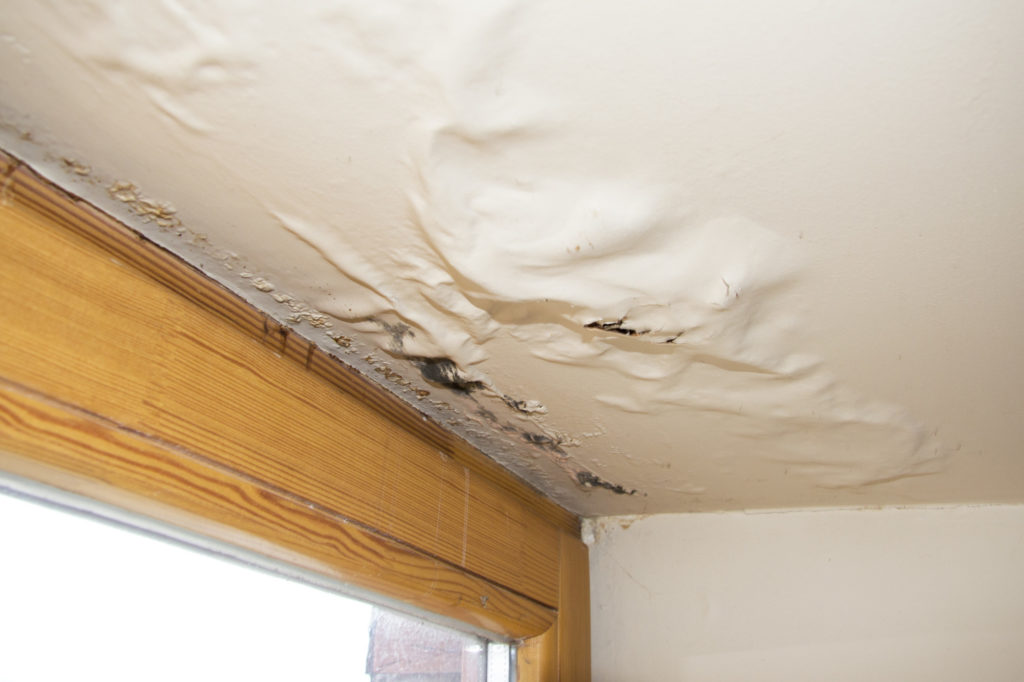
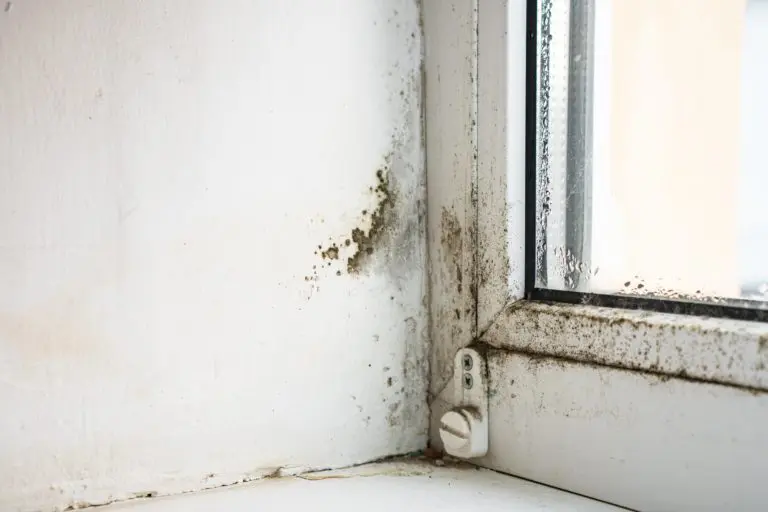
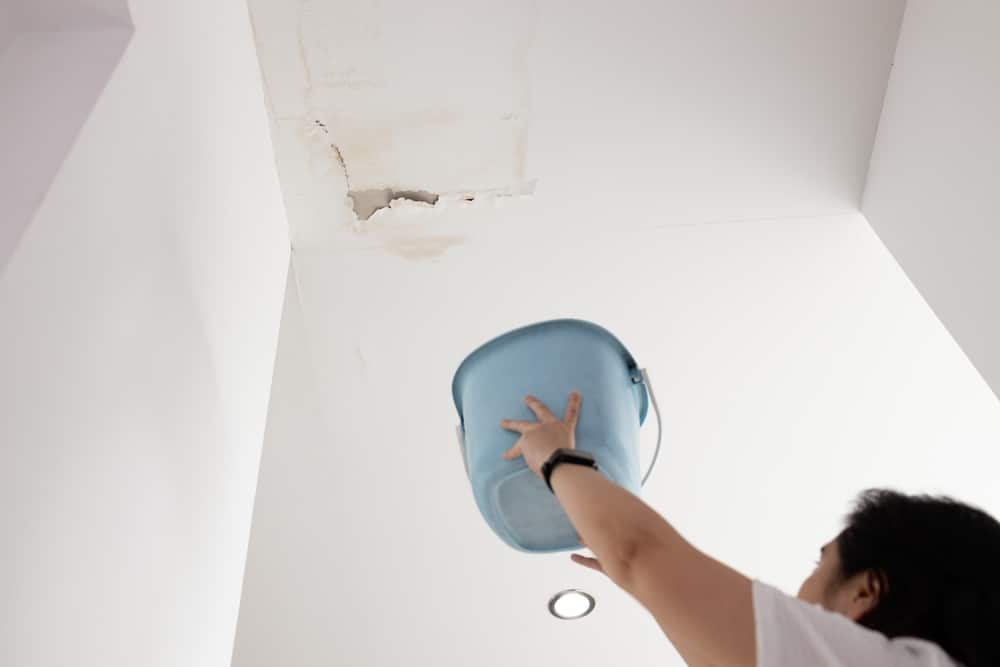
In today’s world, safeguarding your home from potential water damage is more important than ever. Knowing how to install smart leak alarms can be an essential step in protecting your property. These advanced devices alert you to leaks before they become costly problems, saving you money and stress. In this guide, we’ll walk you through the installation process, ensuring that your smart leak alarms are set up correctly and efficiently.

Why Consider Smart Leak Alarms?
Before diving into the installation process, let’s explore why smart leak alarms are a valuable addition to your home. These devices offer real-time alerts, allowing you to respond quickly to any water leaks. They integrate seamlessly with your existing smart home systems, providing an added layer of protection. With the rise of smart technology, having a leak detection system is no longer a luxury but a necessity.
Choosing the Right Smart Leak Alarm
When considering how to install smart leak alarms, selecting the right device is crucial. There are various models available, each with unique features. Some are wireless, while others require a wired connection. Additionally, features like battery life, integration capabilities, and sensor sensitivity should be considered. You may want to read more about choosing sensors to find the best fit for your home.
Preparation for Installation
Before installing your smart leak alarms, ensure you have all the necessary tools and materials. This includes the leak alarm system, batteries, mounting hardware, and a smartphone or tablet for setup. Additionally, check that your Wi-Fi connection is strong and stable, as most smart leak alarms rely on this for communication.
Step-by-Step Installation Guide
- Choose Installation Locations: Identify areas prone to leaks, such as basements, under sinks, and near appliances like washing machines and water heaters.
- Prepare the Area: Clear the area of any debris or obstructions to ensure the sensor can accurately detect water.
- Mount the Sensor: Follow the manufacturer’s instructions to securely attach the sensor to the chosen location. This may involve using adhesive strips or screws.
- Connect to Wi-Fi: Use your smartphone or tablet to connect the device to your home Wi-Fi network. Most products will have an app for this purpose.
- Test the System: Once installed, test the system by placing a damp cloth near the sensor to trigger an alert. Ensure you receive the notification on your smart device.
Troubleshooting Common Issues
If you encounter any problems while figuring out how to install smart leak alarms, don’t worry. Common issues include connectivity problems or false alarms. Ensure your Wi-Fi signal is strong and that the device is properly placed. You might also consider checking the manufacturer’s support page or contacting customer service for assistance.
Maintaining Your Smart Leak Alarms
Regular maintenance is key to keeping your leak alarms functioning optimally. Check the battery levels periodically and replace them as needed. Additionally, test the alarms regularly to ensure they are still responsive. For more detailed maintenance tips, you can refer to leak sensor maintenance.
Expanding Your Smart Home Ecosystem
Smart leak alarms can be just the beginning of your smart home journey. Consider integrating these devices with other smart home systems like security cameras and automated lights. This not only enhances security but also adds convenience to your daily life.
Cost-Benefit Analysis
While the initial investment in smart leak alarms may seem significant, the long-term benefits outweigh the costs. By preventing severe water damage, these devices save you from expensive repairs and insurance claims. It’s a small price to pay for peace of mind and the protection of your home.
Expert Recommendations
Experts recommend placing a sensor in every room with a water source to ensure comprehensive coverage. Additionally, opting for devices with high user ratings and positive reviews can provide assurance of quality and reliability.
Common Mistakes to Avoid
Many homeowners make the mistake of installing sensors in areas that are too dry or not prone to leaks. Ensure you choose strategic locations for installation. Additionally, neglecting regular maintenance can lead to malfunctioning devices, so be sure to follow up with routine checks.
How to Deal with False Alarms
False alarms can be a nuisance, but they are often easy to resolve. Verify that the sensor is positioned correctly and that there are no environmental factors triggering the alarm. If false alarms persist, consult the user manual or manufacturer for guidance.
Enhancing Home Safety
By learning how to install smart leak alarms, you’re taking a proactive step in enhancing your home’s safety. These devices provide early detection of leaks, allowing you to address them before they escalate. For additional ways to protect your home from water damage, consider visiting this external guide.
Conclusion
Installing smart leak alarms is a wise investment for any homeowner. By following the steps outlined in this guide, you’ll be well-equipped to safeguard your home from potential water damage. Embrace the future of home security and enjoy the peace of mind that comes with knowing your home is protected.

Frequently Asked Questions
What is the best location for installing smart leak alarms?
It’s best to install smart leak alarms in areas prone to water exposure, such as basements, bathrooms, and near appliances like dishwashers and washing machines.
Can smart leak alarms integrate with other smart devices?
Yes, many smart leak alarms can be integrated with other smart home devices, enhancing your home’s overall security and functionality.
What should I do if my smart leak alarm is not connecting to Wi-Fi?
First, check your Wi-Fi connection and ensure the device is within range. Restart your router and try reconnecting the device. If issues persist, consult the manufacturer’s support resources.
This article contains affiliate links. We may earn a commission at no extra cost to you.


