Preventing water damage in your bathroom starts with choosing the right sealant for your tile joints. The best caulking for bathroom tiles not only stops leaks but also helps maintain the integrity of your walls and floors. With so many caulk types and brands on the market, it can be difficult to know which option will provide long-lasting protection against moisture and mold. This guide covers the most effective caulking solutions, how to apply them, and tips to ensure your bathroom stays dry and damage-free.
Addressing leaks early is essential for avoiding costly repairs. Along with proper caulking, regular home maintenance—such as following a roof inspection checklist—can further reduce the risk of water intrusion in other areas of your home.
Why Proper Caulking Matters for Bathroom Tiles
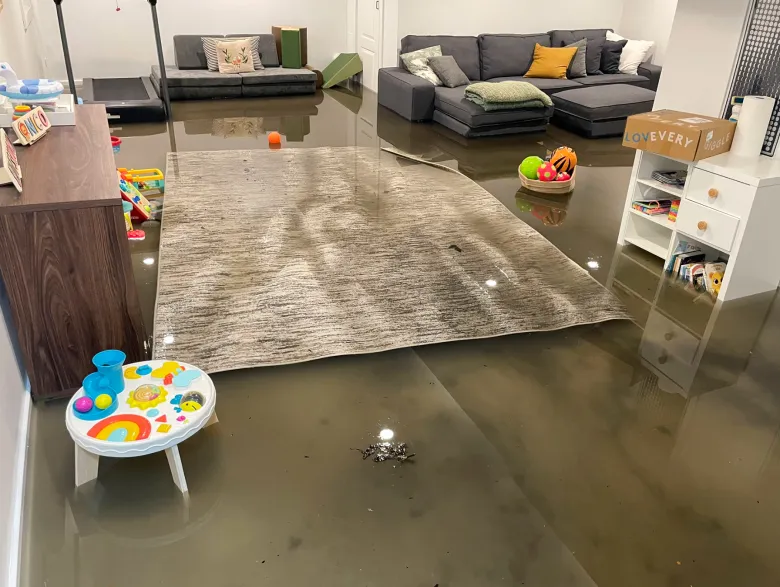
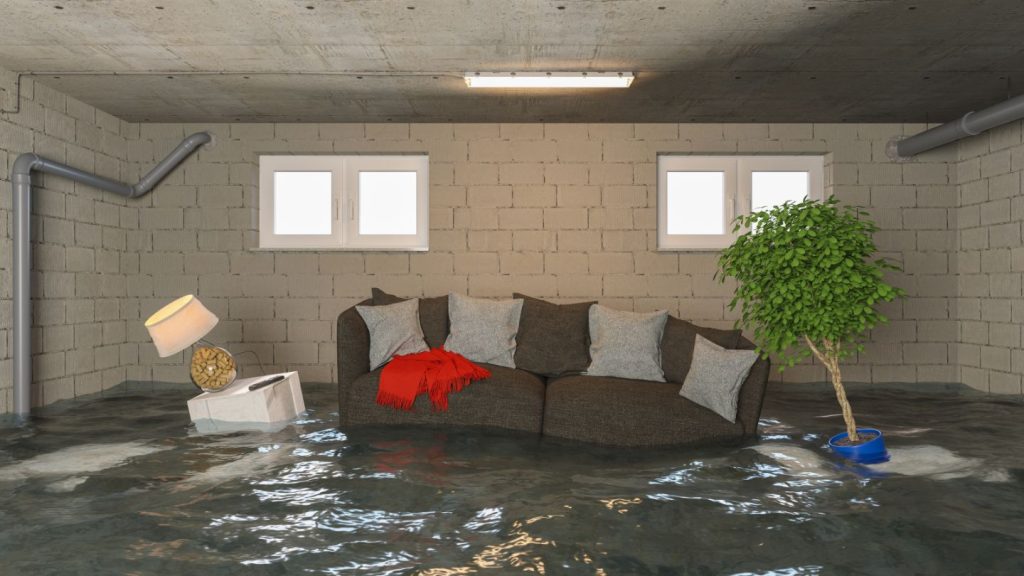
Bathrooms are constantly exposed to moisture from showers, baths, and sinks. If tile joints are not sealed correctly, water can seep behind walls and under floors, leading to mold growth, structural damage, and expensive repairs. Using a high-quality sealant at tile intersections, corners, and around fixtures is one of the most effective ways to prevent these issues.
The right caulk forms a waterproof barrier that flexes with temperature changes and daily use. This flexibility is key in bathrooms, where surfaces expand and contract due to humidity and heat. A durable, mildew-resistant product will help keep your bathroom looking clean and functioning well for years.
Types of Caulk for Bathroom Tile Sealing
Not all caulks are created equal. When searching for the best caulking for bathroom tiles, consider the following types:
- Silicone Caulk: Highly flexible, waterproof, and resistant to mold and mildew. Ideal for areas with frequent water exposure, such as showers and tubs.
- Acrylic Latex Caulk: Easier to apply and clean up, paintable, and suitable for less wet areas. Some formulas include added mildew resistance.
- Hybrid Caulks: Combine properties of silicone and latex for improved adhesion, flexibility, and durability.
For most bathroom tile applications, 100% silicone caulk is recommended due to its superior water resistance and longevity. However, hybrid caulks are gaining popularity for their ease of use and strong performance.
Key Features to Look for in Bathroom Tile Caulking
Selecting the right product involves more than just picking a tube off the shelf. Here are the most important features to consider:
- Waterproofing: The caulk must create a watertight seal to block moisture from penetrating tile joints.
- Mold and Mildew Resistance: Bathrooms are prone to fungus growth, so choose a product with built-in protection.
- Flexibility: The sealant should flex with movement to prevent cracks and gaps over time.
- Adhesion: Good caulk bonds well to both tile and adjacent surfaces like tubs, sinks, or walls.
- Color Matching: Many brands offer clear, white, and color-matched options to blend with your grout or tile.
- Ease of Application: Some caulks are easier to smooth and clean up, making DIY projects simpler.
How to Apply Caulk to Bathroom Tiles for Maximum Leak Protection
Proper application is just as important as choosing the right sealant. Follow these steps to ensure a long-lasting, watertight seal:
- Remove Old Caulk: Use a utility knife or caulk remover tool to scrape away any existing material. Clean the area thoroughly to remove soap scum, mold, and debris.
- Dry the Surface: Make sure all surfaces are completely dry before applying new caulk. Moisture can prevent proper adhesion.
- Apply Painter’s Tape: For clean, straight lines, place tape along both sides of the joint.
- Cut the Nozzle: Cut the caulk tube nozzle at a 45-degree angle to match the width of the joint.
- Apply Caulk: Squeeze a steady bead into the joint, moving slowly to avoid gaps or air bubbles.
- Smooth the Bead: Use a caulk finishing tool or a wet finger to smooth the caulk and press it firmly into the joint.
- Remove Tape: Carefully pull away the painter’s tape before the caulk skins over.
- Let It Cure: Allow the caulk to cure fully according to the manufacturer’s instructions—usually 24 hours—before exposing it to water.
For a more comprehensive approach to water damage prevention, consider learning about how to prevent water damage from clogged gutters as well.
Common Mistakes to Avoid When Sealing Bathroom Tiles
Even with the best caulking for bathroom tiles, mistakes during installation can compromise your efforts. Here are some pitfalls to watch out for:
- Applying Caulk Over Wet or Dirty Surfaces: This prevents proper adhesion and can lead to early failure.
- Using the Wrong Type of Caulk: Not all sealants are suitable for wet environments. Avoid general-purpose or painter’s caulks in bathrooms.
- Skipping Mold Removal: Sealing over mold traps it underneath, allowing it to spread unseen.
- Not Allowing Enough Curing Time: Using the shower or tub before the caulk has set can wash it away or cause gaps.
- Applying Too Much or Too Little Caulk: Excess caulk looks messy, while too little won’t seal properly.

Maintaining Your Caulked Tile Joints
Once you’ve sealed your bathroom tiles, regular inspection and maintenance will help extend the life of your work. Check caulked joints every few months for signs of cracking, peeling, or discoloration. Promptly remove and replace any damaged sections to maintain a watertight seal.
Keeping your bathroom well-ventilated and wiping down wet surfaces after use can also minimize mold growth and prolong the effectiveness of your caulk. For tips on managing water around your home’s exterior, see this guide on how to maintain exterior drainage.
Additional Resources for Preventing Water Damage
Sealing tile joints is just one part of a broader water protection strategy. For more ways to safeguard your property, explore this comprehensive guide to preventing water damage from a leading insurance provider. Staying proactive with maintenance and using quality materials will help you avoid unexpected repairs and keep your bathroom in top condition.
Frequently Asked Questions
How often should I replace caulk around bathroom tiles?
It’s best to inspect caulked joints every six months. Replace the sealant if you notice cracks, gaps, or mold growth. Most high-quality silicone caulks last 5–10 years with proper care.
Can I use regular caulk instead of bathroom-specific products?
Bathroom environments require caulks that are waterproof and mold-resistant. General-purpose or painter’s caulks do not provide adequate protection in wet areas and should be avoided.
What’s the difference between grout and caulk in tile installations?
Grout is used to fill spaces between tiles and is not flexible or waterproof. Caulk is applied at joints where movement or water exposure occurs, such as corners and where tile meets tubs or sinks. Both are necessary for a durable, leak-free installation.