Regularly inspecting your heating, ventilation, and air conditioning (HVAC) system is essential for maintaining indoor comfort, preventing costly repairs, and protecting your property from water damage. Whether you’re a homeowner or property manager, understanding how to check HVAC system for leaks and signs of damage can help you address small issues before they escalate. This guide outlines practical steps for identifying leaks, recognizing warning signs, and taking preventive measures to keep your system running efficiently.
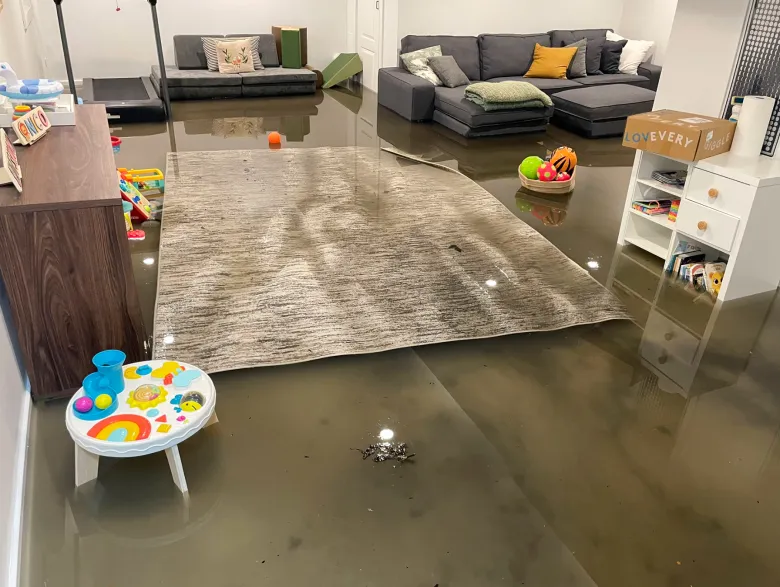
Early detection of leaks in your HVAC setup not only saves money on repairs but also helps prevent secondary problems like mold growth and structural deterioration. Alongside HVAC maintenance, it’s wise to stay proactive with other home protection strategies, such as following a roof inspection checklist to prevent water damage.
Why Inspect Your HVAC System for Leaks?
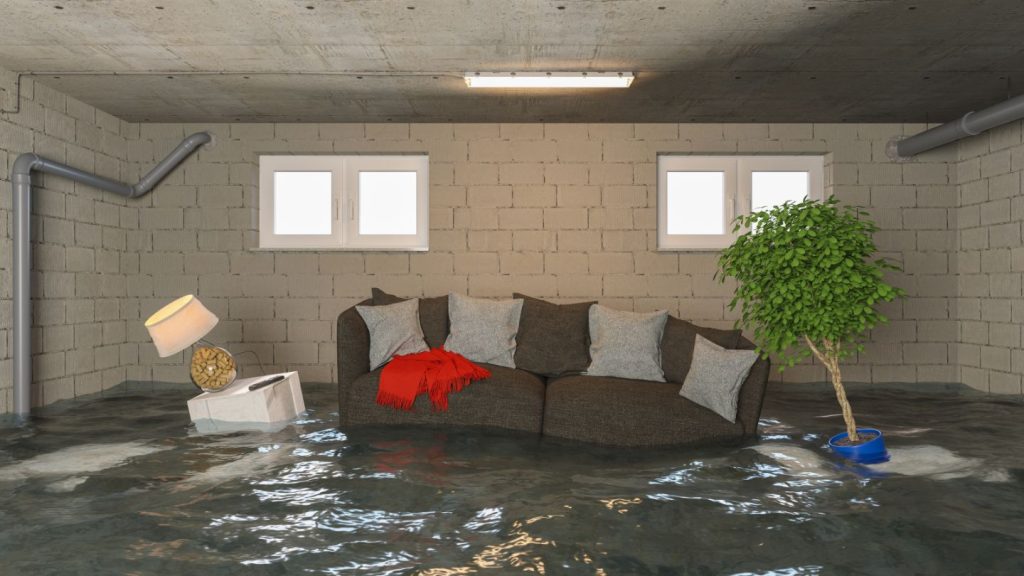
HVAC systems circulate air and manage temperature, but they also handle significant amounts of condensation and, in some cases, refrigerant. Over time, wear and tear or improper installation can lead to leaks. Water and refrigerant leaks can cause:
- Water damage to floors, ceilings, and walls
- Mold and mildew growth
- Reduced system efficiency and higher energy bills
- Potential health hazards due to poor air quality
- Expensive repairs or replacement of HVAC components
By learning how to check HVAC system for leaks, you can minimize these risks and extend the lifespan of your equipment.
Common Signs of Leaks and Damage in HVAC Systems
Before diving into a step-by-step inspection, it’s helpful to recognize the most frequent indicators of trouble. Look out for:
- Unusual moisture or puddles near the indoor unit
- Musty odors or visible mold around vents or ductwork
- Decreased cooling or heating performance
- Hissing or bubbling sounds (possible refrigerant leaks)
- Unexplained spikes in utility bills
- Rust or corrosion on pipes and fittings
Step-by-Step Guide: Inspecting for Leaks in Your HVAC System
Performing a thorough check doesn’t require advanced tools, but attention to detail is key. Here’s a practical walkthrough for homeowners and property managers:
1. Turn Off the Power
Safety comes first. Before inspecting any part of your HVAC system, switch off the power at the breaker panel to avoid electrical hazards.
2. Examine the Condensate Drain Line and Pan
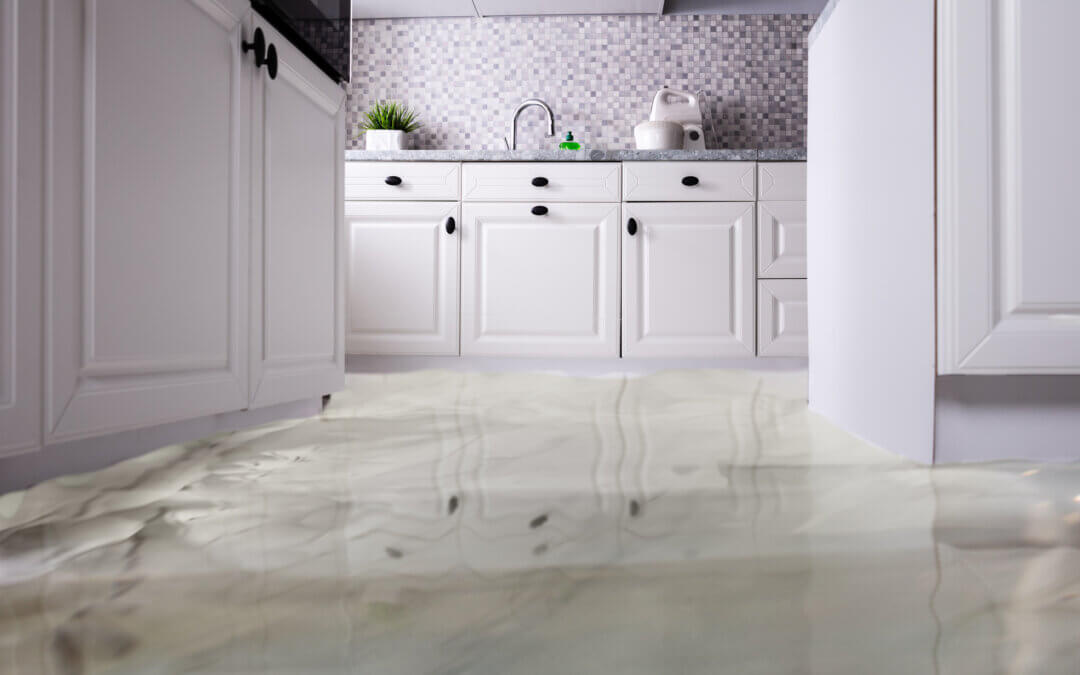
The condensate drain line removes moisture collected during the cooling process. If it becomes clogged or disconnected, water can back up and leak onto floors or ceilings.
- Locate the drain line (usually a PVC pipe near the indoor unit).
- Check for standing water in the drain pan beneath the evaporator coil.
- Clear any visible blockages and ensure the line is securely attached.
- Flush the line with a mixture of water and vinegar to prevent algae buildup.

3. Inspect Refrigerant Lines and Connections
Refrigerant leaks not only reduce system efficiency but can also be hazardous. Look for:
- Oil stains or residue around copper lines and fittings
- Frost or ice buildup on the evaporator coil
- Hissing noises near the refrigerant lines
If you suspect a refrigerant leak, contact a licensed HVAC technician. Handling refrigerants requires specialized training and equipment.
4. Check Air Ducts and Vents for Moisture
Leaky ducts can allow conditioned air to escape and let in humid air, leading to condensation and potential water damage. Examine:
- Joints and seams in ductwork for gaps or loose connections
- Registers and vents for signs of moisture or mold
- Insulation around ducts for dampness or deterioration
Sealing duct leaks with mastic or foil tape can improve efficiency and prevent moisture problems.
5. Assess the Outdoor Unit
The condenser unit outside your home should be level and free of debris. Check for:
- Pooling water or muddy areas around the base
- Corrosion on refrigerant lines or electrical connections
- Blocked drainage holes or clogged fins
Keeping the area around the outdoor unit clear helps maintain proper drainage and airflow.
Preventive Tips to Avoid HVAC Leaks and Water Damage
Prevention is always easier and less expensive than repairs. Here are some actionable steps to reduce the risk of leaks and related issues:
- Schedule annual professional inspections and maintenance
- Replace air filters regularly to maintain airflow and reduce strain
- Keep the condensate drain line clean and unobstructed
- Seal and insulate ductwork to prevent condensation
- Ensure the outdoor unit is on a stable, level surface
- Monitor humidity levels inside your home
For more strategies on safeguarding your property, consider learning how to prevent water damage from clogged gutters and other common sources of moisture.
What to Do If You Find a Leak or Damage
If your inspection reveals a leak, take prompt action:
- Turn off the HVAC system to prevent further damage
- Clean up standing water to avoid mold growth
- Contact a qualified HVAC technician for repairs, especially if refrigerant is involved
- Document the issue with photos for insurance purposes
For more comprehensive advice on protecting your home’s interior, you can review these tips for preventing water damage indoors.
Integrating Leak Detection Technology
Modern leak detectors can provide early warnings and help you avoid extensive repairs. Devices designed for pipes and toilets can alert you to leaks before they become major problems. Investing in these technologies is a smart step for any homeowner concerned about water damage.
FAQ: HVAC Leak and Damage Checks
How often should I inspect my HVAC system for leaks?
It’s recommended to perform a visual inspection every few months and schedule professional maintenance at least once a year. Seasonal checks—especially before summer and winter—can help catch issues early.
What are the most common causes of HVAC water leaks?
The most frequent sources include clogged condensate drain lines, disconnected or damaged drain pans, frozen evaporator coils, and leaky ductwork. Regular maintenance can prevent most of these problems.
Can I fix HVAC leaks myself, or should I call a professional?
While you can clear drain lines or tighten duct connections, refrigerant leaks and complex repairs should always be handled by certified HVAC technicians. Attempting these repairs yourself can be dangerous and may void warranties.
Are there other areas in my home I should check for leaks?
Yes, in addition to your HVAC system, it’s wise to inspect your roof flashing, gutters, and exterior drainage. For example, you can learn more about how to check roof flashing for leaks and how to maintain exterior drainage for a comprehensive approach to water damage prevention.
Conclusion
Staying vigilant and knowing how to check HVAC system for leaks can save you from unexpected expenses and protect your property’s value. By following the steps outlined in this guide, performing regular inspections, and investing in leak detection tools, you can keep your HVAC system running smoothly and your home safe from water-related issues.