Pipes are the veins of your home’s plumbing system, transporting water efficiently to where it’s needed most. However, without proper insulation, these pipes can become prone to leaks, leading to potential water damage in your home. Understanding how to insulate pipes to prevent leaks is essential for every homeowner, especially those enthusiastic about using technology for home improvements.
In this guide, we will explore various methods and materials for pipe insulation, ensuring your plumbing system remains leak-free, efficient, and energy-saving. Knowing how to insulate pipes can not only prevent leaks but also save on energy bills and reduce the risk of costly repairs.

Why Insulate Pipes?
Insulating your pipes is crucial for several reasons. Proper insulation helps maintain the temperature of the water inside, which is especially important during colder months. By keeping the water temperature consistent, you reduce the risk of condensation and, subsequently, leaks. Additionally, insulation can prevent freezing in extremely cold weather, which often leads to burst pipes and significant water damage.
Benefits of Insulating Pipes
- Prevents Freezing: Insulation acts as a barrier against freezing temperatures, keeping the water inside from turning into ice.
- Reduces Energy Costs: By maintaining water temperature, your water heater works less, saving on energy bills.
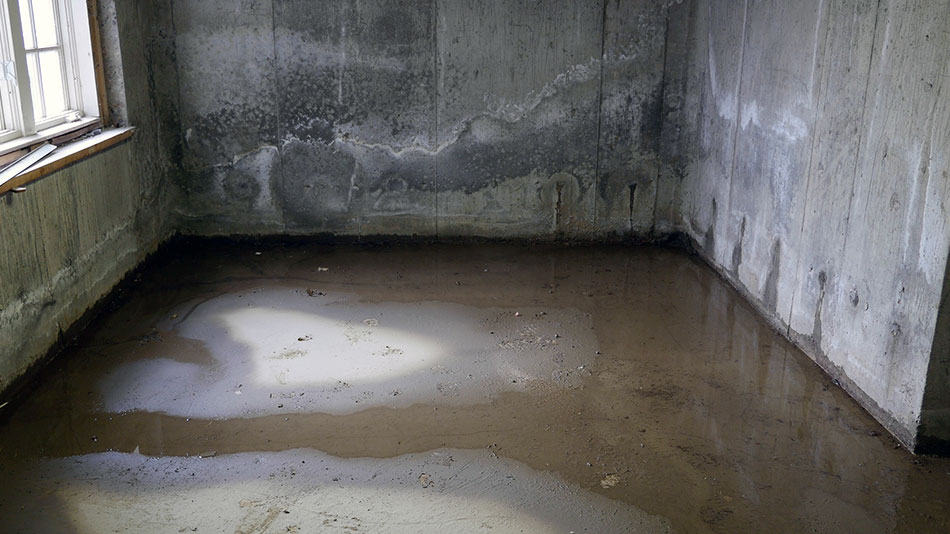
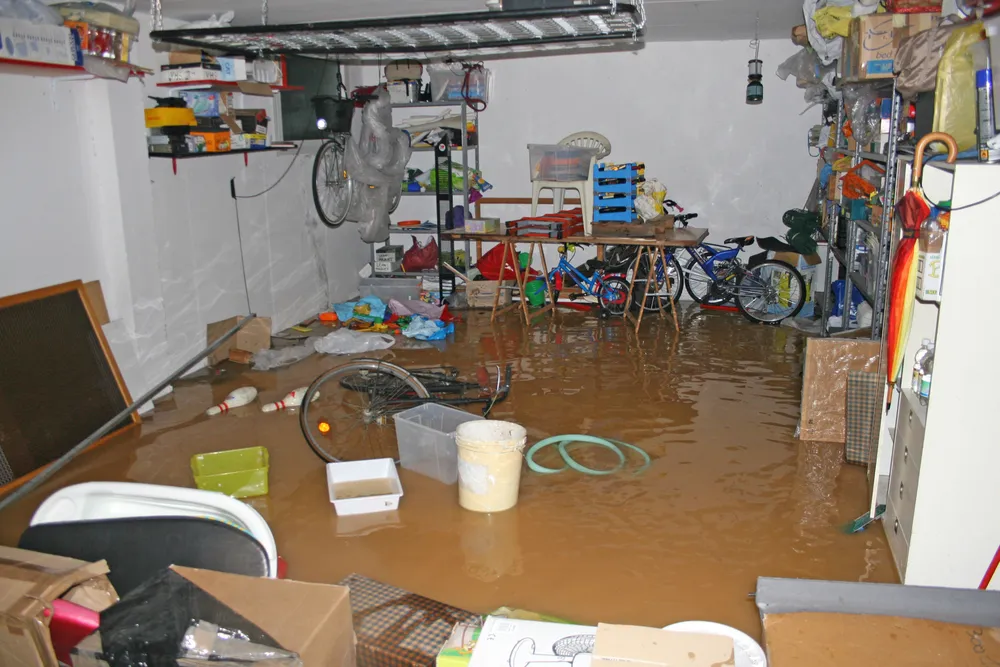
- Minimizes Water Damage Risks: Preventing leaks reduces the likelihood of water damage, which can lead to mold and structural issues.
For more on preventing water damage, you might find this guide insightful.
Types of Pipe Insulation
Choosing the right type of insulation is essential for effective protection. Here are the most common types:
Foam Pipe Insulation
Foam pipe insulation is popular due to its ease of installation and cost-effectiveness. It’s available in various diameters to fit different pipe sizes and is easy to cut and fit.
Fiberglass Pipe Insulation
Fiberglass insulation is highly effective in extreme temperatures. It includes a vapor barrier to prevent condensation, making it ideal for both hot and cold pipes.
Rubber Pipe Insulation
This type is flexible and durable, suitable for a range of temperatures. It can expand and contract, making it ideal for pipes that experience temperature fluctuations.
Reflective Foil Insulation
Reflective foil is used to wrap pipes in high-heat environments. It reflects heat away, reducing energy consumption and preventing heat loss.
Step-by-Step Guide to Insulating Pipes
Gathering Materials
Before starting, gather all necessary materials: pipe insulation, measuring tape, utility knife, duct tape, and insulation tape.
Measuring and Cutting
Measure the length of the pipe you intend to insulate. Cut the insulation material to the appropriate length using a utility knife or scissors.
Installing the Insulation
Wrap the insulation around the pipe, ensuring it fits snugly. Secure it with duct tape or insulation tape, paying attention to joints and corners.
Sealing the Joints
Use duct tape to seal any joints or cracks in the insulation. This step is crucial to prevent moisture ingress and ensure maximum efficiency.
Tech Innovations in Pipe Insulation
With the rise of smart home technology, pipe insulation has also seen innovative advancements. Smart sensors can now be installed alongside insulation to detect changes in temperature and alert homeowners of potential leaks. This proactive approach can prevent damage before it occurs.
For more on integrating technology into home maintenance, check out this resource on leak detection.
Maintaining Insulated Pipes
Regular maintenance is key to ensuring your insulated pipes remain effective. Inspect the insulation periodically for signs of wear or damage and replace or repair as necessary. Keeping the area around your pipes clean and free of debris also helps maintain their integrity.
Common Mistakes to Avoid
While insulating pipes, avoid these common mistakes:
- Overlooking Joints: Ensure all joints are well-insulated and sealed to prevent leaks.
- Using Incorrect Insulation: Choose the right insulation type for your specific needs and temperature conditions.
- Failing to Secure the Insulation: Properly secure insulation with tape to prevent slipping or exposure.
When to Call a Professional
While many aspects of pipe insulation can be a DIY project, there are times when professional assistance is necessary. If you’re dealing with complex plumbing systems or are unsure about the best insulation type for your pipes, consulting a professional can save time and prevent costly mistakes.
Additional Resources
For further reading on home maintenance and preventing water damage, consider visiting this page on preventing mold.
Conclusion
Understanding how to insulate pipes to prevent leaks is an essential part of home maintenance. By choosing the right materials and following proper installation techniques, you can protect your home from water damage, save on energy costs, and ensure your plumbing system operates efficiently. Incorporating smart technologies into your insulation strategy can provide additional peace of mind.

FAQ
How often should I check my pipe insulation?
It’s a good practice to inspect pipe insulation at least once a year, preferably before winter.
Can I use any type of insulation on all pipes?
No, different types of insulation are suited for different environments and temperatures. Choose based on your specific needs.
Is professional installation necessary?
While DIY is possible, for complex systems or specific materials, professional installation is recommended for optimal results.
For more detailed guidance, explore this external resource on avoiding water damage.
This article contains affiliate links. We may earn a commission at no extra cost to you.