Protecting your basement from water damage is crucial for maintaining a safe and healthy home. One of the most effective solutions is installing a sump pump, which helps prevent flooding and moisture buildup. Whether you’re dealing with a high water table, frequent storms, or just want peace of mind, learning how to install a sump pump can save you from costly repairs and long-term issues.
In this guide, we’ll break down the process step by step, covering everything from preparation to maintenance. If you’re also interested in additional strategies, you may want to read about how to seal basement walls for even more comprehensive protection.
Why a Sump Pump Is Essential for Basement Safety
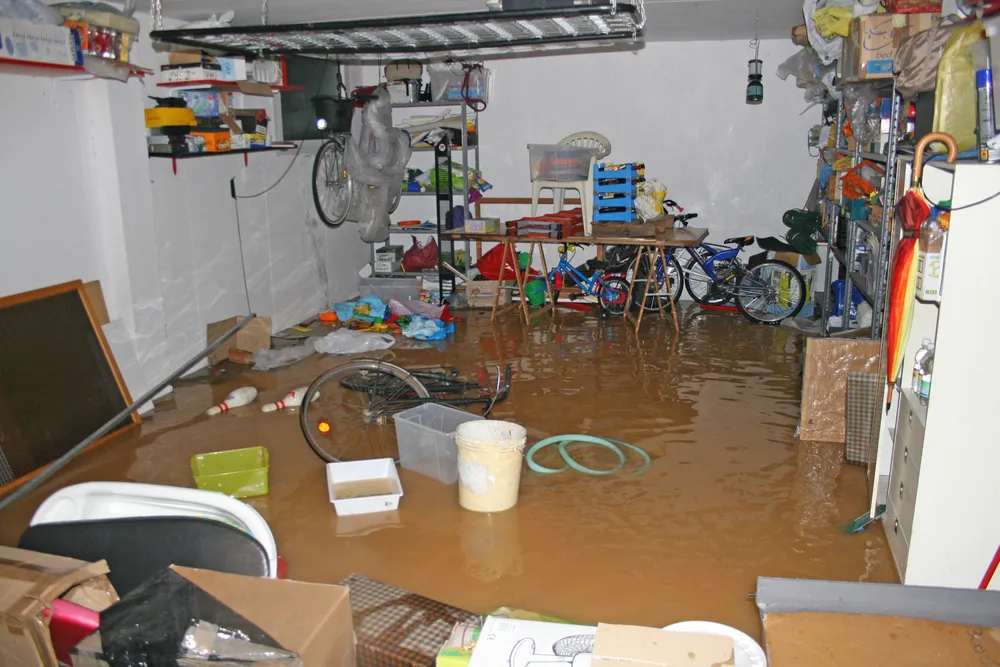
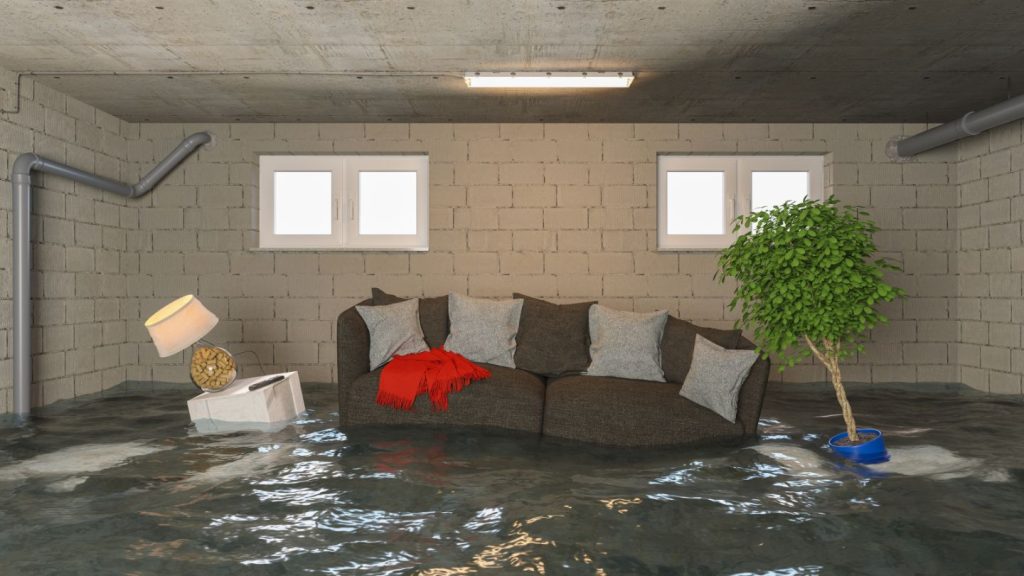
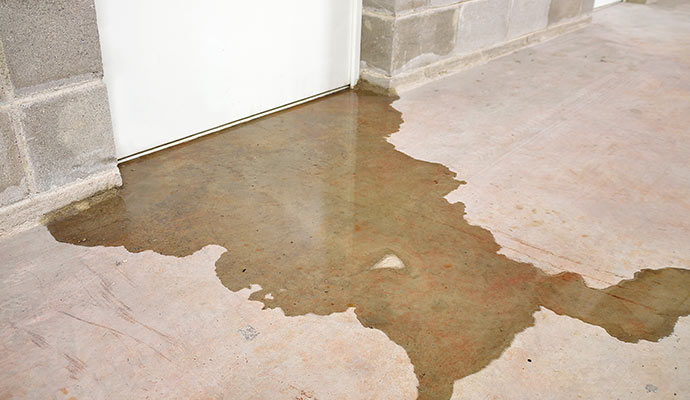
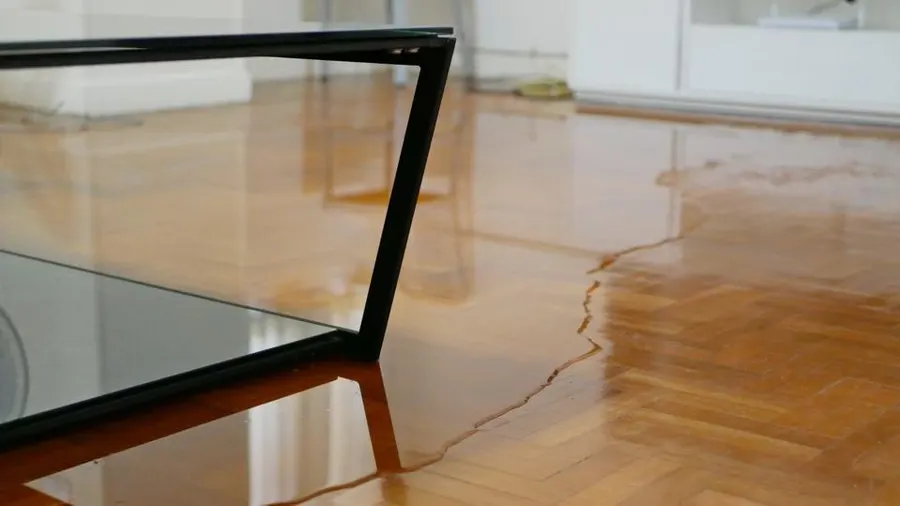
Water intrusion in basements is a common problem, especially in areas with heavy rainfall or poor drainage. Excess moisture can lead to mold growth, structural damage, and ruined belongings. A sump pump system acts as your first line of defense by collecting water in a pit (the sump basin) and pumping it safely away from your home’s foundation.
According to water damage experts, even a small leak can cause significant issues over time. That’s why proactive measures like installing a sump pump, sealing cracks, and maintaining gutters are recommended for all homeowners with basements.
Preparation: Tools and Materials Needed
Before starting the installation, gather the following tools and materials:
- Sump pump (submersible or pedestal type)
- Sump basin (pit liner)
- PVC piping and fittings
- Check valve
- Gravel and concrete mix
- Drill with masonry bit
- Shovel and digging tools
- Level and measuring tape
- Utility knife
- Silicone sealant
- Extension cord or dedicated GFCI outlet
- Work gloves and safety glasses
Make sure to review the manufacturer’s instructions for your specific pump model. If you’re unsure about any electrical work, consult a licensed electrician.
Choosing the Right Location for Your Sump Pump
Selecting the optimal spot is key to effective water removal. The best location is usually the lowest point of your basement, where water naturally collects. Avoid placing the pit near utilities or finished areas if possible.
Consider proximity to an exterior wall for easier discharge pipe routing. Also, ensure there’s access to a power source—ideally a GFCI-protected outlet.
Step-by-Step Guide: Installing a Sump Pump
1. Mark and Excavate the Sump Pit
Outline the sump basin on the basement floor. Using a demolition hammer or concrete saw, carefully cut through the concrete slab. Excavate a hole deep and wide enough for the basin, allowing for a few inches of gravel at the bottom.
The pit should be deep enough so the top of the basin sits flush with or slightly below the floor level.
2. Prepare the Basin and Surrounding Area
Pour a layer of gravel into the bottom of the hole to promote drainage. Set the sump basin in place and fill the gap around it with more gravel, up to a few inches below the surface. This helps filter debris and stabilize the pit.
If your basin has pre-drilled holes, make sure they’re below the floor line to allow water entry but prevent soil from entering.
3. Install the Pump and Check Valve
Place the sump pump inside the basin, following the manufacturer’s guidelines. Attach a PVC discharge pipe to the pump outlet, then install a check valve on the vertical section of the pipe. The check valve prevents water from flowing back into the pit after the pump shuts off.
Secure all connections with pipe cement or clamps as recommended.
4. Route the Discharge Pipe
Run the discharge pipe from the pump to the outside of your home. Drill a hole through the rim joist or foundation wall, sloping the pipe downward to ensure proper drainage. Seal the opening with silicone to prevent leaks and drafts.
Direct the pipe at least 10 feet away from your foundation, aiming for a spot where water can safely disperse.
5. Backfill and Seal the Pit
Mix and pour concrete around the basin’s edge to restore the floor surface. Smooth it out so it’s level with the rest of the slab. Allow the concrete to cure fully before walking on it.
6. Connect Power and Test the System
Plug the pump into a GFCI outlet. Fill the basin with water to trigger the float switch and observe the pump in action. Check for leaks, proper operation, and ensure the discharge line is carrying water away efficiently.
For added safety, consider installing a battery backup system to keep your pump running during power outages.
Maintenance Tips for Long-Term Protection
Once your sump pump is in place, regular maintenance is essential for reliable performance. Here are some tips:
- Test the pump every few months by pouring water into the basin.
- Inspect the discharge line for clogs or freezing, especially in winter.
- Clean the pit and remove any debris that could block the float switch.
- Replace the check valve if you notice water flowing back into the pit.
- Consider a backup power source to ensure operation during outages.
For more advice on keeping your basement dry, explore our article on how to prevent basement flooding and water damage.
Additional Strategies for Basement Water Control
While installing a sump pump is a powerful way to manage water, combining it with other methods can offer even better results. Sealing cracks, improving exterior drainage, and applying waterproof coatings are all effective steps. For a deeper dive, see our resource on how to waterproof a basement to prevent flooding.
Homeowners should also check pipes regularly for leaks. Our guide on how often to check pipes for leaks provides helpful maintenance tips.
Frequently Asked Questions
How long does it take to install a sump pump?
The process typically takes one full day for most DIYers, depending on your experience and the complexity of your basement. Cutting and excavating the pit is the most time-consuming step.
Can I install a sump pump myself, or should I hire a professional?
Many homeowners can complete the installation with basic tools and careful planning. However, if you’re uncomfortable with concrete work, plumbing, or electrical wiring, hiring a professional is recommended for safety and compliance.
What type of sump pump is best for my basement?
Submersible pumps are quieter and handle larger volumes, making them ideal for finished basements. Pedestal pumps are easier to service and may last longer in some situations. Consider your specific needs and consult product reviews before purchasing.
How do I know if my sump pump is working properly?
Regularly test the system by adding water to the basin and observing the pump’s response. Listen for unusual noises and check for water discharge outside. Routine maintenance helps catch issues early.
What should I do if my sump pump fails during a storm?
If your pump stops working, check the power supply and float switch first. A backup battery system can keep your basement protected during outages. If flooding occurs, act quickly to remove water and dry affected areas to prevent mold.
For more information about basement flooding causes and prevention, read our article on why basements flood after heavy rain.