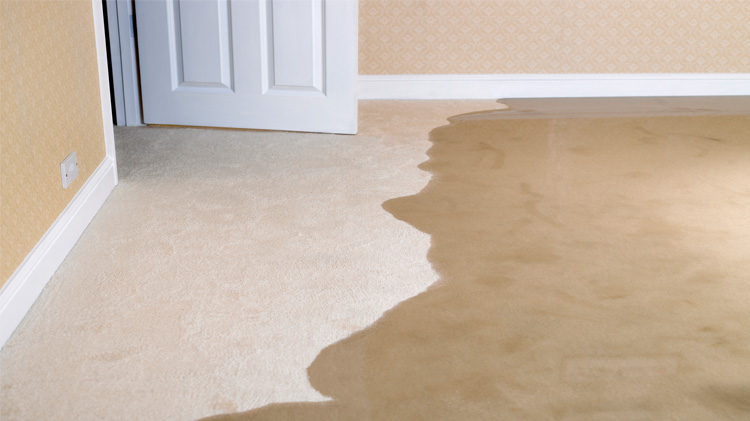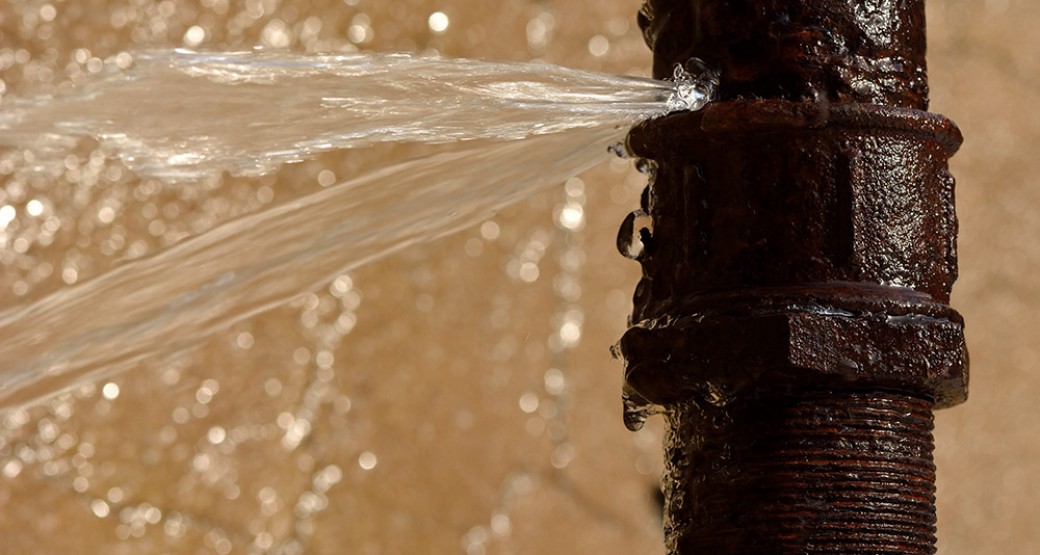
Water leaks can cause significant damage to your home, leading to costly repairs and potential health hazards from mold growth. One of the most effective ways to protect your property is by installing a water shut-off valve. This essential plumbing component allows you to quickly stop the flow of water in case of a leak, burst pipe, or when performing maintenance. Whether you’re a homeowner looking to improve your plumbing safety or preparing for emergencies, understanding the process of adding a shut-off valve is a valuable skill.
Before diving into the installation steps, it’s important to recognize how this simple device can prevent extensive water damage. Alongside other preventative measures—like following a roof inspection checklist or maintaining exterior drainage—having a reliable shut-off valve is a cornerstone of home safety.
Why a Water Shut-Off Valve Matters
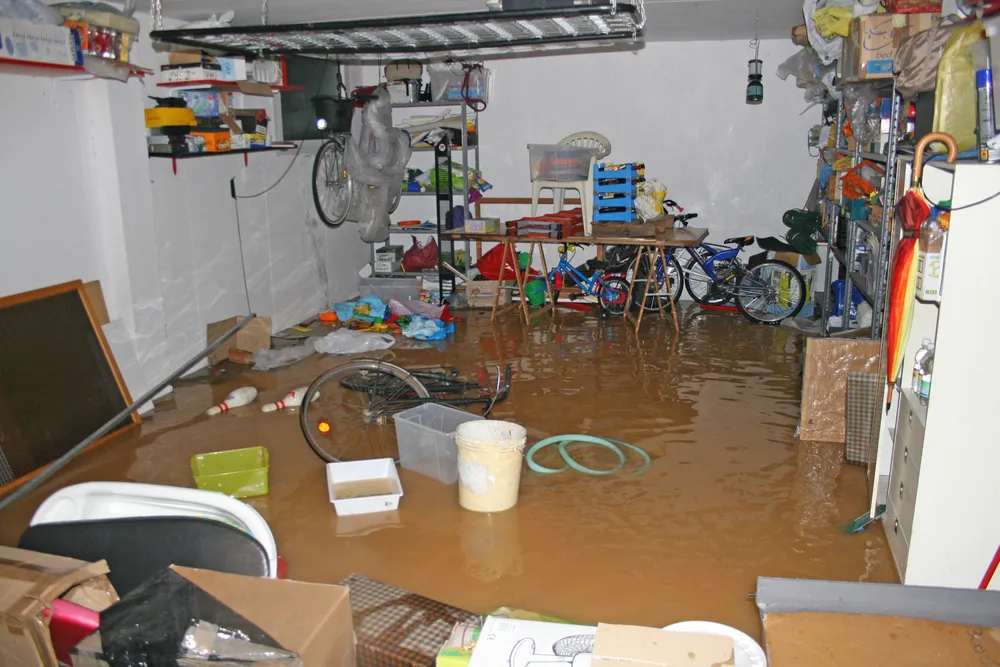
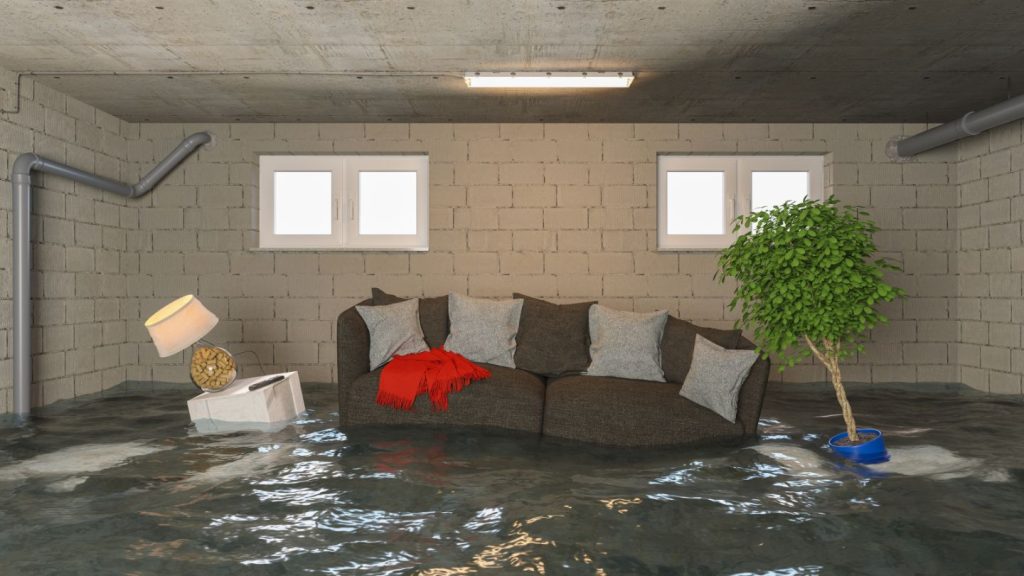
A shut-off valve acts as your first line of defense against plumbing disasters. It lets you isolate sections of your water system or the entire supply, minimizing the risk of flooding and damage. This is especially important if you need to repair fixtures, replace appliances, or respond to unexpected leaks.
In addition to valves, other strategies—like regular gutter cleaning and checking roof flashing—help reduce the risk of water intrusion. For more on related topics, see our guide on how to prevent water damage from clogged gutters.
Choosing the Right Shut-Off Valve for Your Needs
There are several types of shut-off valves, each suited for different applications:
- Ball valves: Durable and reliable, these offer a simple lever mechanism for quick shut-off.
- Gate valves: Common in older homes, these use a round handle and are best for infrequent use.
- Compression valves: Often used under sinks and toilets, these are easy to install without soldering.
- Push-to-connect valves: Ideal for DIYers, these require no special tools and work with copper, PEX, or CPVC pipes.
When selecting a valve, consider your pipe material, location, and whether you prefer a tool-free installation.
Tools and Materials for Installing a Shut-Off Valve
Before starting the process, gather the following tools and supplies:
- Appropriate shut-off valve (ball, compression, or push-to-connect)
- Pipe cutter or hacksaw
- Adjustable wrench
- Pipe cleaning tool or sandpaper
- Teflon tape or pipe thread sealant
- Bucket and towels (to catch residual water)
- Measuring tape and marker
- Safety goggles and gloves
Make sure to turn off the main water supply before beginning any work. Open a faucet at the lowest point in your home to drain the pipes and relieve pressure.
Step-by-Step Guide: Adding a Water Shut-Off Valve
1. Identify the Installation Location
Decide where you need the valve—common spots include under sinks, behind toilets, or on the main supply line. Ensure there’s enough space to operate the valve handle and access the pipe.
2. Cut and Prepare the Pipe
Use a pipe cutter or hacksaw to make a clean, straight cut at the chosen location. Remove any burrs or rough edges with a pipe cleaning tool or sandpaper. Wipe the area dry to ensure a good seal.
3. Install the Valve
- Compression valve: Slide the compression nut and ring onto the pipe, then fit the valve body. Tighten the nut with an adjustable wrench, being careful not to overtighten.
- Push-to-connect valve: Push the valve onto the pipe until it clicks into place. No tools or sealant are needed.
- Threaded valve: Wrap Teflon tape around the pipe threads, then screw on the valve and tighten with a wrench.
4. Test for Leaks
Slowly turn the main water supply back on. Open and close the new valve several times to ensure smooth operation. Check for leaks at all connections. If you notice any drips, tighten the fittings or reapply sealant as needed.

Tips for Maintaining Your Shut-Off Valve
Regular maintenance ensures your valve will function properly in an emergency. Here are some best practices:
- Operate the valve every six months to prevent it from seizing up.
- Inspect for corrosion, leaks, or mineral buildup.
- Replace old or faulty valves promptly to maintain safety.
- Label the valve clearly so all household members know its location.
For broader home protection, consider pairing your shut-off valve with leak detectors and smart monitoring systems. These devices can alert you to problems early, reducing the risk of major water damage.
Additional Resources for Water Damage Prevention
Installing a shut-off valve is just one part of a comprehensive approach to safeguarding your property. Explore more tips on how to check roof flashing for leaks and how to maintain exterior drainage to further reduce your risk.
For a deeper dive into mitigation strategies, see this in-depth article on water mitigation techniques.
Frequently Asked Questions
What type of shut-off valve is best for DIY installation?
Push-to-connect valves are often the easiest for homeowners to install, as they require no soldering or special tools. They work with various pipe materials and provide a secure, leak-free connection.
How do I know if my current valve needs replacement?
If your valve is difficult to turn, leaks, or shows signs of corrosion, it’s time to replace it. Regularly testing and inspecting your valves helps ensure they’ll work when needed.
Can I install a shut-off valve on any water line?
Most household water lines can accommodate a shut-off valve. However, always verify your pipe material and diameter before purchasing a valve to ensure compatibility.
Is it necessary to hire a plumber for this project?
Many homeowners can handle this task with basic tools and careful attention to instructions. However, if you encounter complex plumbing configurations or feel unsure, consulting a licensed plumber is recommended for safety and compliance.
Conclusion
Adding a water shut-off valve is a practical step toward protecting your home from leaks and water damage. With the right tools, a bit of preparation, and regular maintenance, you can ensure peace of mind and minimize the risk of costly repairs. Combine this effort with other preventative measures for a comprehensive approach to home safety.