Learning how to install water shutoff valves is a valuable skill for any homeowner. The process is straightforward if you follow the right steps, and it can save you from potential water damage. In this guide, we’ll walk you through the process, ensuring you have all the necessary information to complete this task with confidence.

Why Install Water Shutoff Valves?
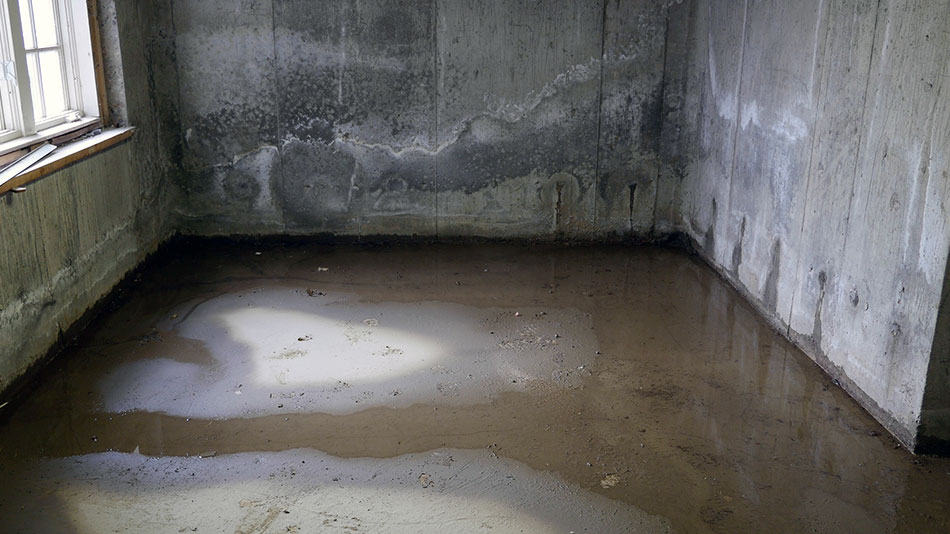
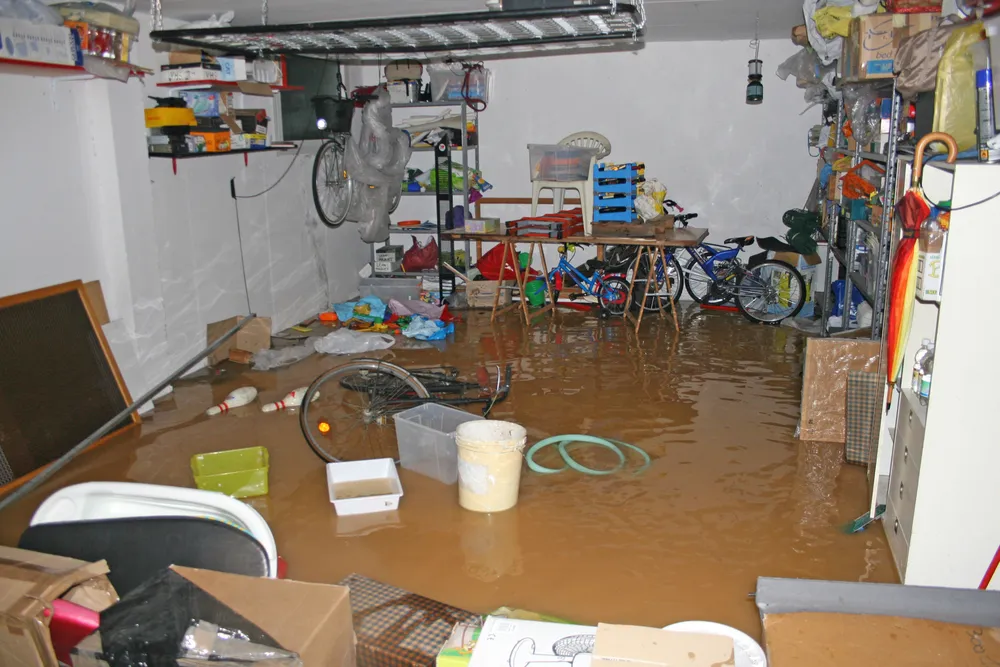
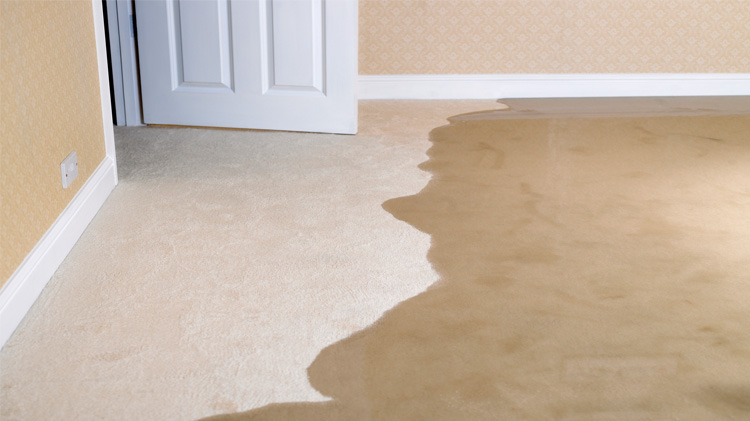
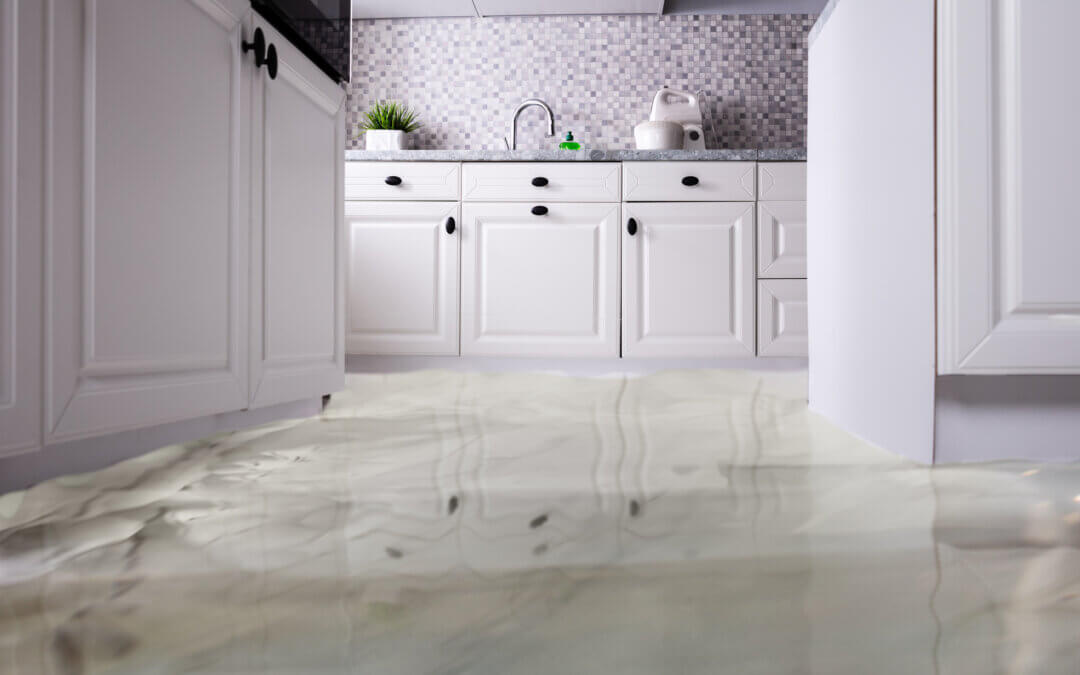
Understanding the importance of water shutoff valves is crucial. These valves allow you to control the flow of water to various parts of your house. This can help you in emergencies, routine maintenance, or when you need to replace plumbing fixtures.
Types of Water Shutoff Valves
Before diving into the installation process, it’s essential to know the different types of water shutoff valves available:
Ball Valves
Ball valves are durable and reliable. They are known for their long lifespan and are commonly used in many households.
Gate Valves
Gate valves are used for on-off control. They are not recommended for flow regulation.
Globe Valves
Globe valves are excellent for regulating flow. They provide precise control over water flow.
Tools Needed for Installation
Gathering the right tools is the first step in the installation process. Here is what you’ll need:
- Adjustable Wrench
- Pipe Cutter
- Teflon Tape
- Plumber’s Tape
- Bucket
Preparation Steps Before Installation
Preparation is key. Follow these steps before you start the installation:
Shut Off Main Water Supply
Ensure you shut off the main water supply to prevent any water leakage during the process.
Drain Remaining Water
Open the faucets to drain any remaining water from the pipes.
Step-by-Step Installation Guide
Step 1: Cut the Pipe
Use a pipe cutter to cut the section of the pipe where the valve will be installed. Make sure the cut is clean and straight.
Step 2: Apply Teflon Tape
Wrap Teflon tape around the threads of the valve to ensure a snug fit and prevent leaks.
Step 3: Install the Valve
Place the valve onto the pipe and tighten it using an adjustable wrench.
Step 4: Check for Leaks
Turn on the main water supply and check for any leaks. If there are no leaks, the installation is successful.
Maintenance Tips
Regular maintenance can extend the life of your water shutoff valves. Here are some tips:
Inspect for Leaks
Regularly inspect the valves for any signs of leaks.
Operate the Valve Periodically
Turn the valve on and off periodically to ensure it remains functional.
Common Mistakes to Avoid
Avoid these common mistakes to ensure a smooth installation:
Over Tightening the Valve
Over-tightening can damage the valve or the pipe.
Skipping Teflon Tape
Skipping this step can lead to leaks.
Benefits of DIY Installation
Installing water shutoff valves yourself can save you money and provide a sense of accomplishment. It also allows you to handle emergency situations more effectively.
For more insights on maintaining and monitoring your home plumbing, you might find this article useful.
Expert Advice
If you’re unsure about any step, it’s always best to consult with a professional. This can prevent any potential damage or future plumbing issues.
For further reading on preventing water damage, check out this resource.

FAQs
What type of valve should I use for my home?
The choice depends on your specific needs. Ball valves are generally recommended for their durability.
Can I install a water shutoff valve myself?
Yes, with the right tools and instructions, you can install it yourself.
How often should I check my valves?
It’s a good practice to check your valves at least twice a year.
This article contains affiliate links. We may earn a commission at no extra cost to you.