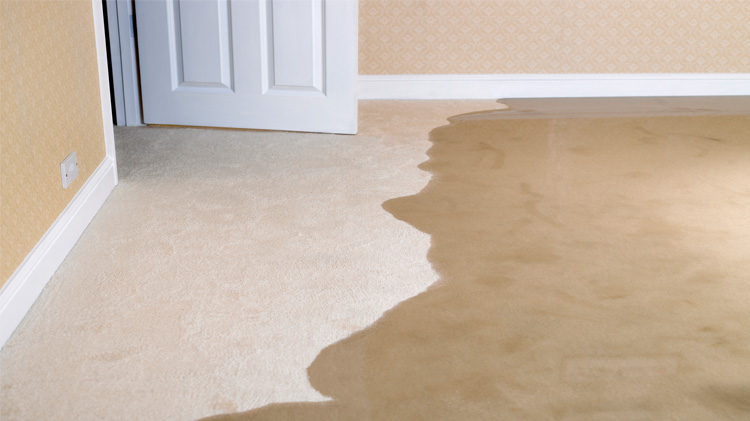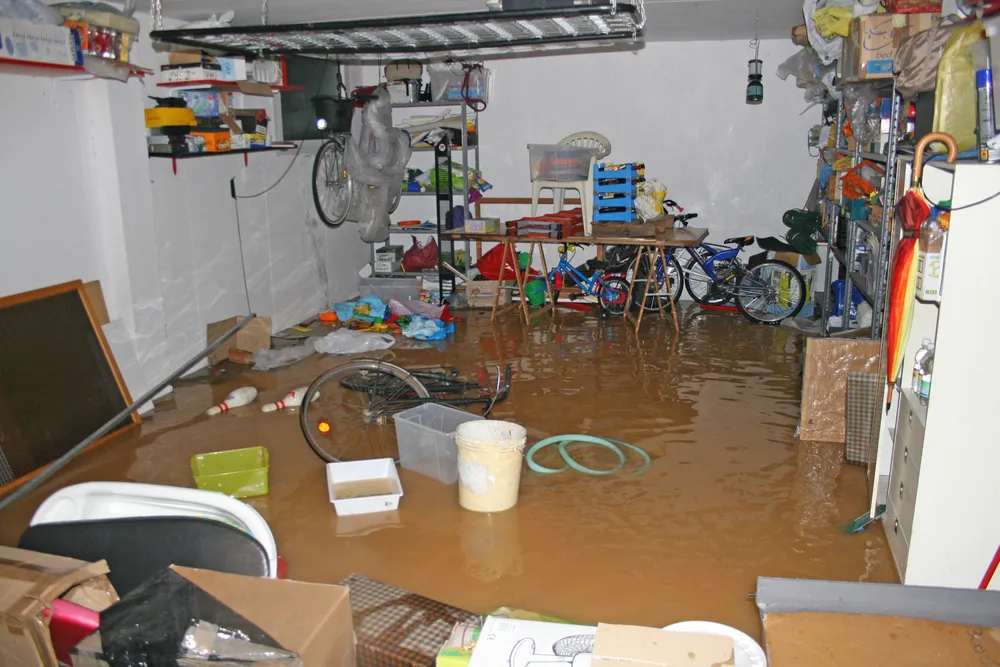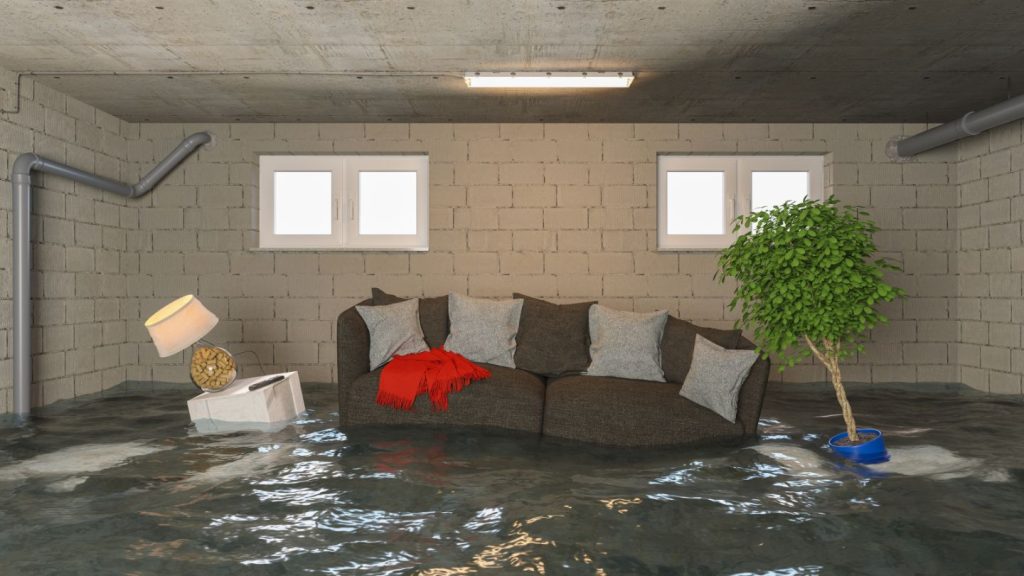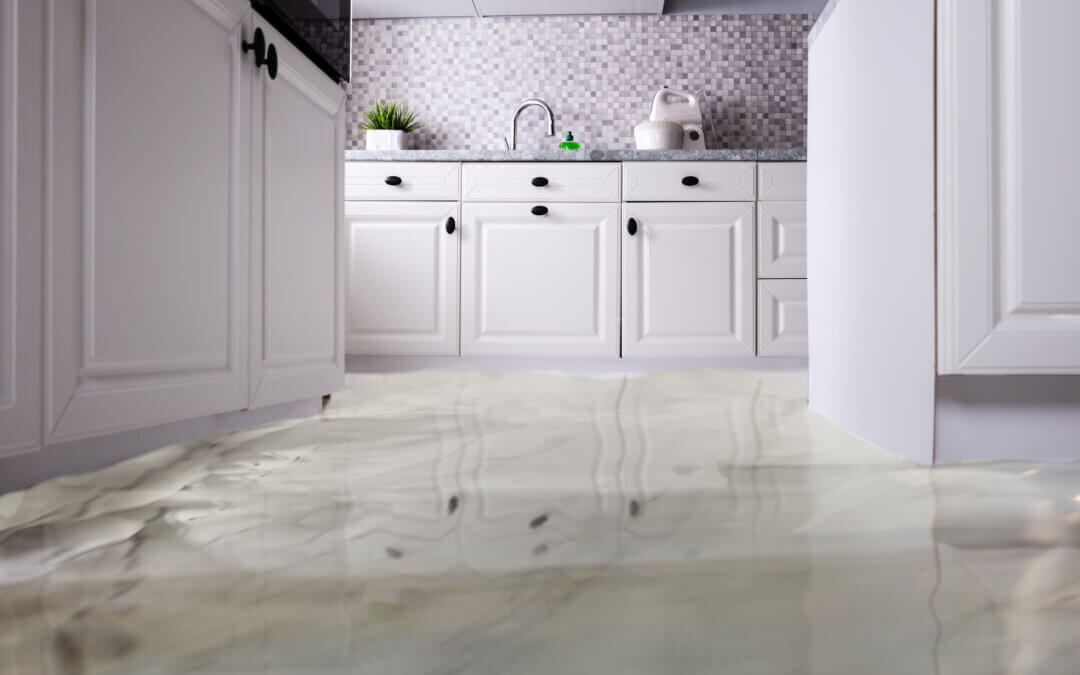
A damp or leaky basement can cause serious problems for any homeowner, from structural damage to mold growth and ruined belongings. Learning how to seal basement walls is one of the most effective ways to protect your home from water intrusion, maintain a healthy environment, and preserve property value. This guide covers the essential steps, materials, and best practices to help you create a dry, secure basement space.
Before diving into the step-by-step process, it’s important to understand why moisture enters basements in the first place. If you’re curious about the root causes, check out why basements flood after heavy rain for a deeper look at common triggers and prevention tips.
Why Waterproofing Your Basement Matters
Water infiltration can lead to a host of issues, including foundation deterioration, musty odors, and even health hazards from mold and mildew. By properly sealing your basement walls, you not only prevent these problems but also improve energy efficiency and make the space more usable for storage or living purposes.
If you’ve experienced persistent moisture or want to understand more about what causes foundation water damage, it’s worth exploring the underlying factors before starting any sealing project.
Assessing Basement Wall Conditions
The first step in any waterproofing project is a thorough inspection. Look for visible cracks, efflorescence (white powdery residue), peeling paint, or damp spots. These signs indicate where water is entering and help you determine the best sealing approach.
- Cracks and Gaps: Even small fissures can allow water to seep through. Mark these areas for repair.
- Surface Condition: Check for loose paint, old sealant, or crumbling mortar that needs to be removed.
- Moisture Sources: Identify if water comes from outside (rain, groundwater) or inside (plumbing leaks, condensation).
Preparing Basement Walls for Sealing
Proper preparation is crucial for long-lasting results. Start by cleaning the walls with a wire brush and mild detergent to remove dirt, mold, and old coatings. Allow the surface to dry completely before proceeding.
- Remove Loose Material: Scrape off any flaking paint, efflorescence, or old sealant.
- Repair Cracks: Use hydraulic cement or an epoxy injection kit to fill cracks and gaps. Follow manufacturer instructions for best results.
- Address Mold: If you find mold, treat the area with a commercial mold remover and ensure proper ventilation during the process.

Choosing the Right Waterproofing Products
There are several types of sealants and coatings designed for basement walls. The best choice depends on your wall material (concrete, block, stone) and the severity of your moisture problem.
- Masonry Waterproofing Paint: Ideal for minor dampness, this paint forms a waterproof barrier on interior walls.
- Elastomeric Coatings: These flexible coatings bridge small cracks and provide robust moisture protection.
- Cementitious Waterproofers: Easy to apply with a brush or trowel, these are suitable for concrete and masonry surfaces.
- Crack Fillers and Hydraulic Cement: For patching active leaks or larger cracks before applying a surface coating.
Always follow the product instructions and consider consulting a professional if you encounter structural issues or persistent leaks.
Step-by-Step Guide to Sealing Basement Walls
Once your walls are clean and repaired, you can begin the sealing process. Here’s a straightforward approach to ensure effective results:
- Prime the Surface: Some waterproofing paints and coatings require a primer. Apply it evenly and let it dry as directed.
- Apply the Sealant: Use a brush, roller, or sprayer to coat the walls with your chosen waterproofing product. Start at the bottom and work your way up, ensuring full coverage.
- Pay Attention to Joints: Seal corners, wall-floor joints, and around pipes or windows with extra care.
- Allow to Cure: Let the first coat dry completely before applying a second layer if recommended. Proper curing is essential for long-term effectiveness.
- Inspect and Maintain: After sealing, regularly check for new cracks or signs of moisture and address them promptly.
Additional Tips for Keeping Water Out
While sealing interior walls is a key defense, combining it with other strategies will maximize protection:
- Improve Exterior Drainage: Make sure gutters and downspouts direct water away from your foundation.
- Grade Soil Properly: Slope landscaping so water flows away from the house.
- Install a Sump Pump: For areas with high water tables, a sump pump can prevent flooding.
- Monitor for Leaks: Use smart leak detectors to catch plumbing issues early and avoid hidden water damage.
For more comprehensive solutions, see how to prevent basement flooding and how to waterproof a basement for additional guidance.
Common Mistakes to Avoid
Even with the best intentions, some missteps can undermine your efforts:
- Skipping Surface Prep: Failing to clean and repair walls before sealing leads to poor adhesion and future leaks.
- Using the Wrong Product: Not all sealants are suitable for every wall type or moisture level.
- Ignoring Exterior Issues: Sealing inside alone won’t solve problems caused by poor drainage or grading outside.
- Neglecting Regular Maintenance: Over time, new cracks can appear. Inspect your basement periodically and address issues promptly.
When to Call a Professional
If you notice extensive cracks, bowing walls, or persistent leaks despite your best efforts, it’s time to consult a foundation specialist or waterproofing contractor. Structural issues often require more advanced solutions, such as exterior excavation or drainage system installation.
For more tips on safeguarding your home, see this comprehensive guide to protecting your home’s interior from water damage.
FAQ
What is the best product to use for sealing basement walls?
The ideal product depends on your wall material and the severity of moisture. For minor dampness, masonry waterproofing paint works well. For active leaks or larger cracks, use hydraulic cement or elastomeric coatings. Always match the product to your specific needs for the best results.
How long does basement wall waterproofing last?
Most quality sealants and coatings can last 5–10 years or more when properly applied and maintained. Regular inspections and timely repairs will extend the effectiveness of your waterproofing efforts.
Can I seal basement walls from the inside only?
Sealing from the inside can stop minor leaks and dampness, but for chronic water issues or high water tables, exterior solutions and improved drainage may be necessary. Combining both approaches offers the best protection.
Is it safe to use waterproofing products myself?
Most DIY waterproofing products are safe when used as directed. Wear gloves, eye protection, and ensure good ventilation. For extensive repairs or if you’re unsure, consult a professional.
Taking the time to properly seal your basement walls is a smart investment in your home’s longevity and comfort. With the right preparation, materials, and ongoing maintenance, you can keep water out and enjoy a dry, healthy basement for years to come.