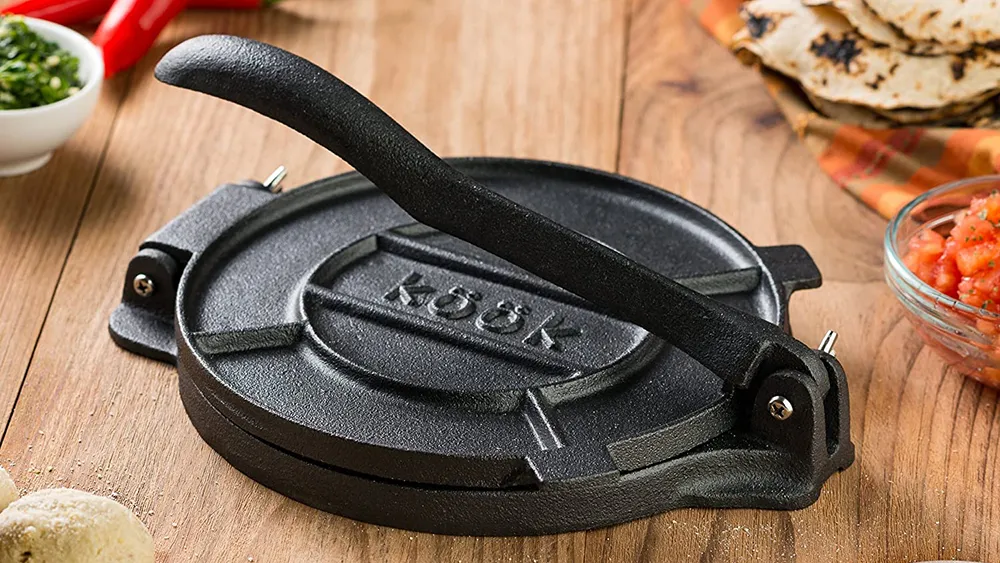
Making fresh tortillas at home is easier and more satisfying when you have the right tools. A cast iron tortilla press is a favorite among home cooks and professionals for its durability and ability to create perfectly thin, even rounds. Whether you’re new to homemade tortillas or looking to improve your technique, understanding the proper way to operate this kitchen essential can make a big difference in your results.
In this article, you’ll learn the practical steps to get the most out of your tortilla press, from prepping the dough to cleaning and maintaining your equipment. If you’re interested in smart kitchen solutions, you might also find value in exploring smart flood prevention technology for your home.
Why Choose a Cast Iron Tortilla Press?
A cast iron tortilla press offers several advantages over aluminum or wooden alternatives. Its weight provides the leverage needed to flatten dough evenly, resulting in consistent thickness and shape. Cast iron is also long-lasting and can be seasoned to develop a natural non-stick surface, making it easier to release tortillas without sticking.
For those who make tortillas regularly, this type of press is a worthwhile investment. It’s suitable for both corn and flour doughs, and its sturdy construction ensures it will last for years with proper care.
Getting Ready: What You’ll Need
Before you start, gather the following items:
- Cast iron tortilla press
- Tortilla dough (masa harina for corn, or flour-based dough)
- Two sheets of parchment paper or plastic (cut to fit the press)
- Mixing bowl and spoon
- Flat spatula or bench scraper
- Non-stick skillet or griddle for cooking
Using parchment or plastic sheets prevents the dough from sticking to the press and makes it easier to transfer the flattened tortillas to the pan.
Step-by-Step Instructions for Using Your Tortilla Press
Follow these steps to create homemade tortillas with your cast iron tortilla press:
- Prepare the dough: Mix your tortilla dough according to your recipe. For corn tortillas, combine masa harina with water and a pinch of salt. For flour tortillas, use flour, water, fat (like lard or oil), and salt. Knead until smooth and let the dough rest for 15-30 minutes.
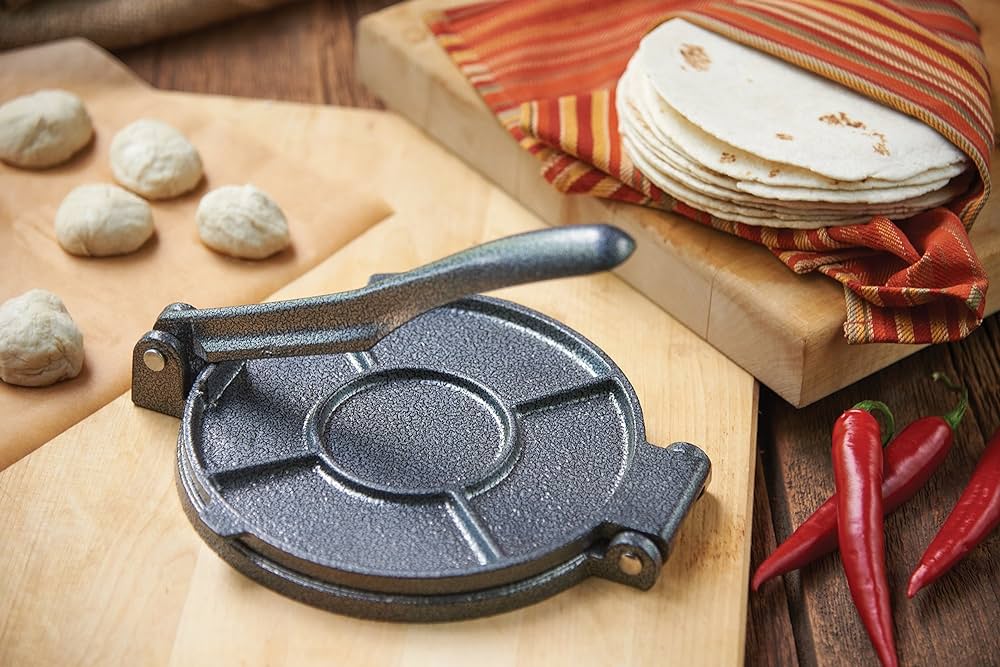
- Divide and shape: Pinch off small portions of dough (about the size of a golf ball). Roll each piece into a smooth ball for even pressing.
- Set up the press: Place one sheet of parchment or plastic on the bottom plate of the press. Position a dough ball in the center, then cover it with the second sheet.
- Press the tortilla: Lower the top plate and press down firmly using the handle. The weight of the cast iron will flatten the dough into a thin, round tortilla. If needed, rotate the dough ball slightly and press again for a more even shape.
- Remove the tortilla: Lift the top plate, peel off the top sheet, and gently remove the tortilla using the bottom sheet. Transfer it to your hand or a spatula.
- Cook immediately: Place the tortilla onto a hot, dry skillet or griddle. Cook for about 30-60 seconds per side, until lightly browned and cooked through.
- Repeat: Continue with the remaining dough balls, stacking cooked tortillas in a clean towel to keep them warm and pliable.

Tips for Perfect Tortillas Every Time
- Use the right dough consistency: If the dough is too dry, tortillas may crack. If too wet, they’ll stick. Adjust with small amounts of water or flour as needed.
- Don’t skip the resting step: Allowing the dough to rest relaxes the gluten (for flour tortillas) or hydrates the masa (for corn), making it easier to press.
- Keep the press clean: Wipe away any dough residue after each use to prevent sticking and maintain the seasoning.
- Experiment with thickness: Some prefer slightly thicker tortillas for tacos, while others like them paper-thin for quesadillas. Adjust your pressing force accordingly.
Cleaning and Maintaining Your Cast Iron Press
Proper care ensures your cast iron tortilla press stays in top condition. After each use, wipe the press with a dry or slightly damp cloth to remove any dough or flour. Avoid soaking in water or using soap, as this can strip the seasoning and lead to rust.
For stubborn residue, use a soft brush or non-abrasive scrubber. If your press develops rust, gently scrub with steel wool, rinse, dry thoroughly, and re-season with a thin layer of oil. For more detailed care instructions, see this guide to cleaning your cast iron tortilla press.

Common Mistakes and How to Avoid Them
- Pressing too hard: Excessive force can make tortillas too thin and prone to tearing. Use steady, moderate pressure.
- Skipping the liner sheets: Pressing dough directly on cast iron can cause sticking. Always use parchment or plastic for easy release.
- Not preheating the skillet: Cooking tortillas on a cold pan leads to tough, dry results. Ensure your skillet or griddle is hot before adding each tortilla.
- Neglecting maintenance: Failing to clean and season your press can result in rust and sticking issues over time.
Frequently Asked Questions
Can I use a cast iron tortilla press for flour tortillas?
Yes, a cast iron tortilla press works well for both corn and flour tortillas. For flour dough, ensure it is soft and pliable, and use parchment or plastic sheets to prevent sticking.
How do I prevent tortillas from sticking to the press?
Always use two sheets of parchment paper or plastic when pressing the dough. This creates a barrier between the dough and the cast iron, making it easy to lift the tortillas without tearing.
How should I store my cast iron press?
Store your press in a dry place. After cleaning, apply a light coat of oil to prevent rust. Avoid stacking heavy items on top to maintain alignment and prevent warping.
Conclusion
Mastering the use of a cast iron tortilla press can elevate your homemade tortillas, making them fresher and more authentic. With the right preparation, pressing technique, and care, you’ll enjoy delicious results every time. For more kitchen tips or to explore related home solutions, check out resources like best practices for home flood prevention and other smart home guides.