In today’s tech-savvy world, the demand for DIY solutions has seen a significant rise. One such solution gaining popularity is the DIY moisture meter. This handy tool is essential for homeowners, gardeners, and tech enthusiasts alike. Whether you’re a plant lover wanting to ensure your garden thrives or a homeowner keen to prevent water damage, building a moisture meter can be an invaluable project.

Understanding the Importance of a Moisture Meter
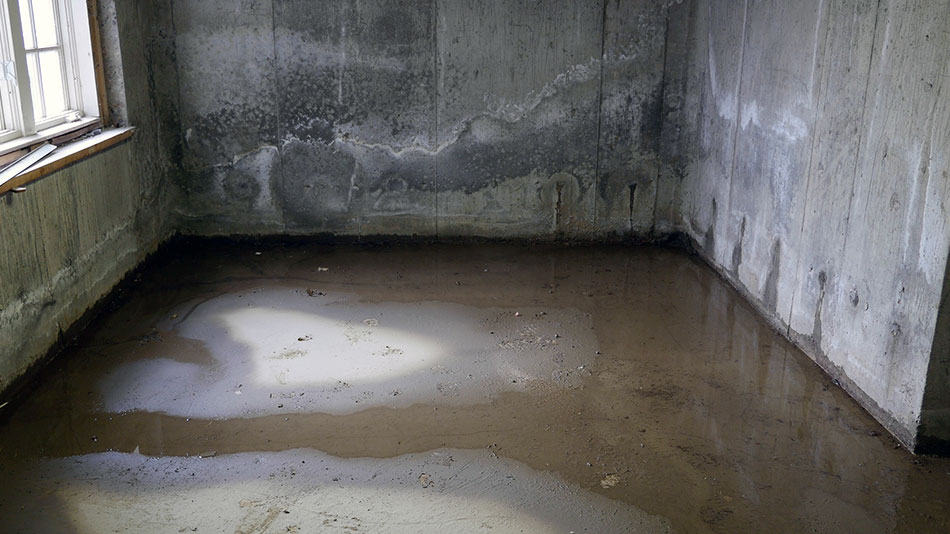
A moisture meter is a device used to measure the water content in materials. It plays a crucial role in various fields, including agriculture, construction, and restoration. For instance, in agriculture, it helps monitor soil moisture levels to ensure optimal plant growth. In construction, it aids in detecting potential water damage, ensuring the integrity of structures.
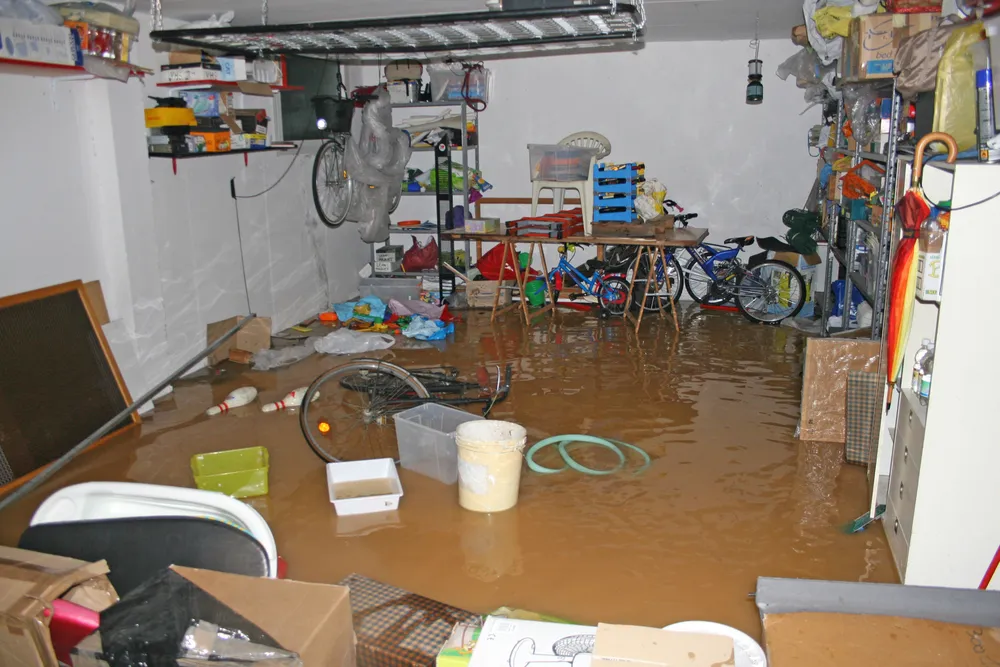
For those interested in home improvement, understanding how to measure moisture levels can prevent costly water damage. Knowing when and how to utilize a moisture meter is paramount. It can also be a critical tool when dealing with issues like black mold, which can result from undetected water leaks. For more on identifying and managing mold from leaks, check out this guide.
Components Needed for a DIY Moisture Meter
Creating a DIY moisture meter involves assembling a few essential components. Here is a list of what youll need:
1. Conductive Material
Typically, copper wires are used as the conductive material to detect moisture levels. They serve as the probes inserted into the material being tested.
2. Microcontroller
A microcontroller, such as an Arduino board, acts as the brain of the device, processing the data collected by the probes.
3. Display Module
An LCD screen to display the moisture levels detected by the probes.
4. Power Source
A battery pack to ensure your device functions properly.
With these components, you can start assembling your very own moisture meter. If youre new to electronics and microcontrollers, there are numerous resources available online to guide you through the process.
Step-by-Step Guide to Building Your DIY Moisture Meter
Now, let’s dive into the step-by-step process of creating your DIY moisture meter:
1. Gathering the Components
Ensure you have all the components listed above. You can purchase these from your local electronics store or order them online.
2. Setting Up the Microcontroller
Connect the microcontroller to your computer and install the necessary software to program it. Ensure you have the correct drivers installed for seamless operation.
3. Wiring the Probes
Attach the conductive materials (copper wires) to the microcontroller. These will serve as the probes for your moisture meter.
4. Programming the Microcontroller
Write a simple program to measure the resistance between the probes. This resistance will change depending on the moisture content, allowing you to gauge the moisture levels accurately.
5. Assembling the Device
Connect the display module to the microcontroller to show the readings. Ensure all components are securely attached to prevent any malfunction.
6. Testing Your Device
Once assembled, test your device on various materials to ensure it accurately measures moisture levels. Make any necessary adjustments to the program or components.
Applications of a DIY Moisture Meter
Once your device is functioning correctly, you can utilize it in various applications:
1. Gardening
Ensure your plants receive the right amount of water by regularly checking the soil moisture levels.
2. Home Maintenance
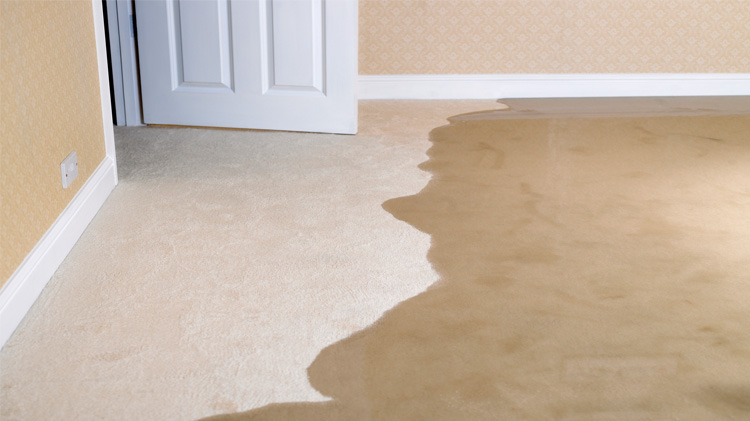
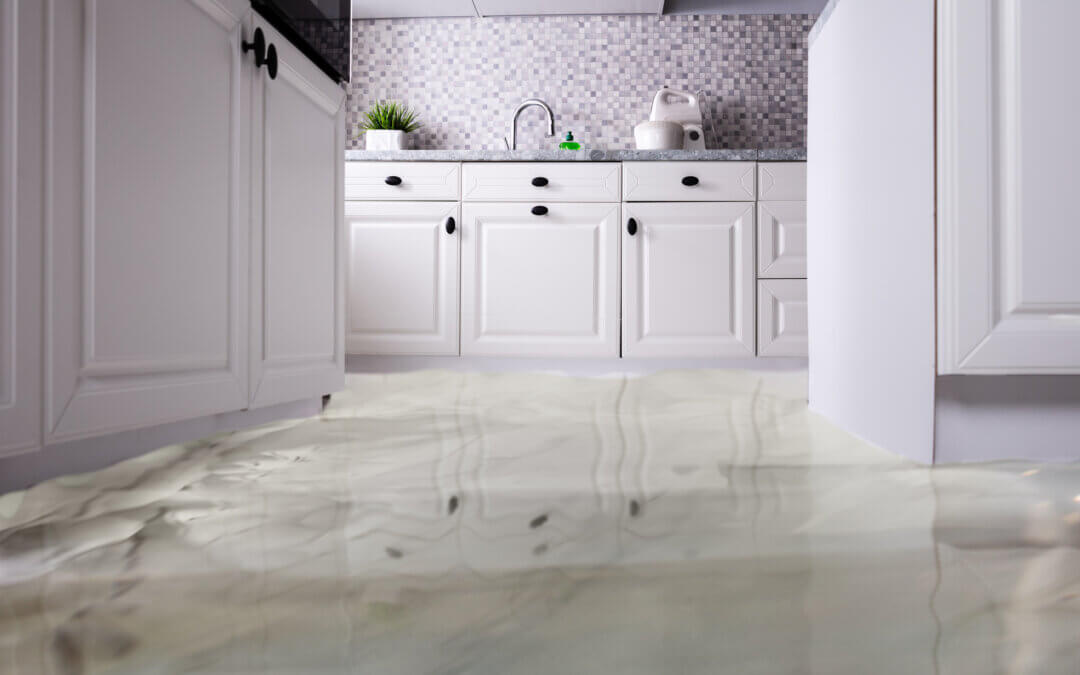
Detect potential leaks or water damage in your home by measuring the moisture content in walls or floors.
3. Construction
Ensure building materials are dry enough for use, preventing structural damage from excess moisture.
Understanding how to use a moisture meter effectively can save you from costly repairs and maintenance. For more tips on managing water damage, explore this article.
Benefits of Building Your Own Moisture Meter
Creating a DIY moisture meter offers several advantages:
1. Cost-Effective
Building your own device can be more affordable than purchasing a commercial one.
2. Customizable
You can modify your device to suit your specific needs and preferences.
3. Educational
Gain valuable knowledge in electronics and programming, which can be applied to future projects.
Embarking on a DIY project such as this can greatly benefit tech enthusiasts and homeowners alike. For more on how to handle water damage and prevention techniques, consider visiting this site.

Frequently Asked Questions (FAQs)
1. What is the primary function of a moisture meter?
A moisture meter measures the water content in materials, helping detect potential water damage or ensuring optimal conditions for plant growth.
2. Can I use a DIY moisture meter for different materials?
Yes, a DIY moisture meter can be used for various materials, including soil, wood, and building materials.
3. How accurate is a homemade moisture meter?
The accuracy of a homemade moisture meter depends on the quality of components and the calibration of the device. Proper assembly and testing can ensure reliable results.
Building a DIY moisture meter is an exciting and rewarding project that offers numerous benefits for tech enthusiasts and homeowners. By understanding the components, assembly process, and applications, you can create a device that suits your needs and helps maintain your home’s integrity.
This article contains affiliate links. We may earn a commission at no extra cost to you.