Ensuring that your sump pit is in good condition is crucial for preventing water damage in your home. If you’re unsure how to check sump pits for leaks, this guide will help you through the process. Regular inspection can prevent costly repairs and give you peace of mind, especially during heavy rainfalls.

Understanding the Importance of Sump Pits
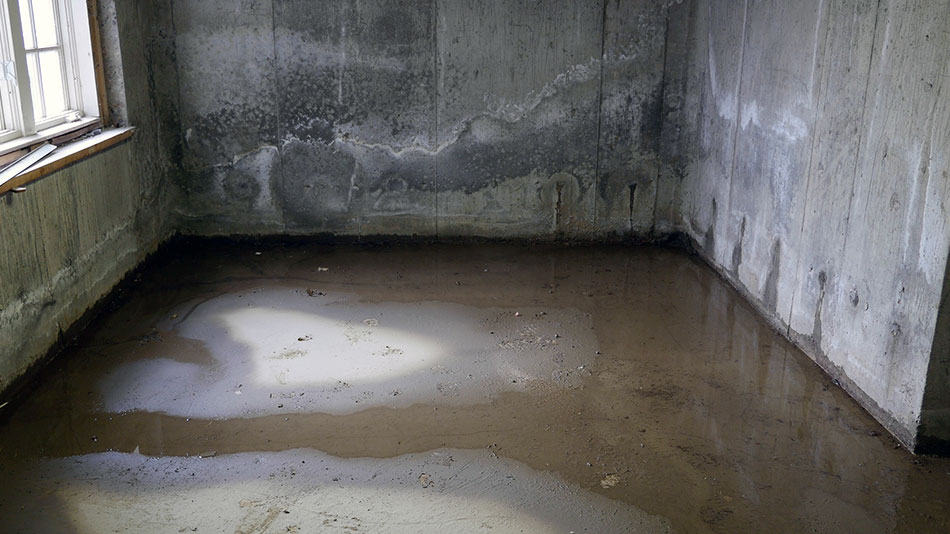
Sump pits play a vital role in keeping your basement dry. They collect excess water and prevent it from seeping into your home. However, like any other component of a home, sump pits can develop leaks over time.
Signs of a Leaking Sump Pit
Before diving into the how-to of checking for leaks, its important to recognize the symptoms of a leaking sump pit. Look for signs such as dampness around the pit, an unusual drop in water levels, or the presence of mold or mildew.
Why Regular Checks are Essential
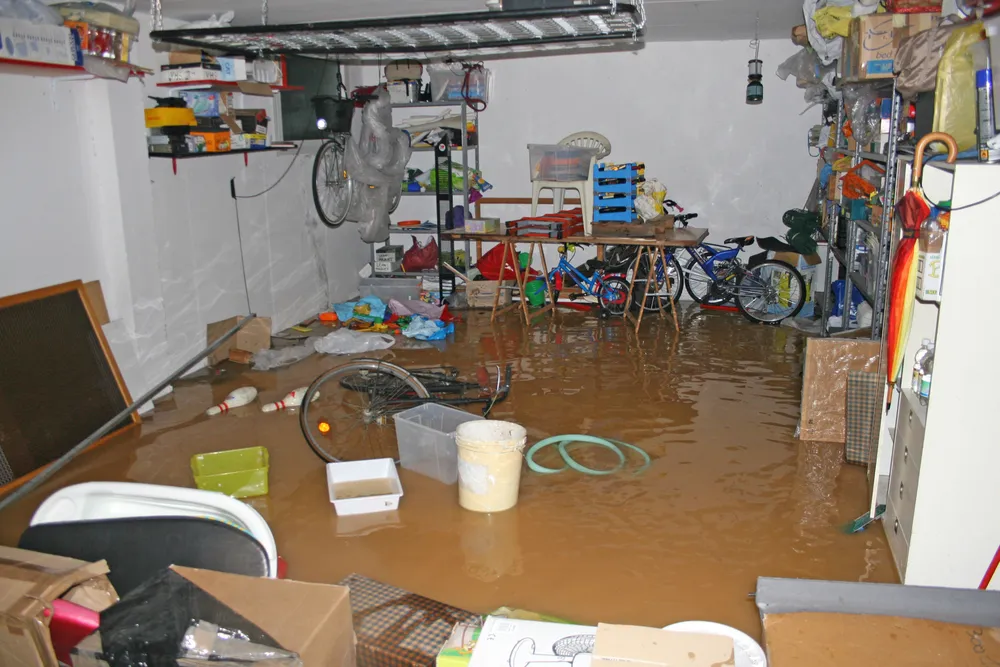
Regular checks are essential to identify leaks early. Unchecked leaks can lead to significant water damage which can be costly to repair. Moreover, a leaking sump pit can affect the efficiency of your sump pump.
How to Inspect Your Sump Pit for Leaks
Inspecting your sump pit doesnt require advanced technical skills. Heres a step-by-step guide:
Step 1: Visual Inspection
Begin with a simple visual inspection. Check the area around the sump pit for any visible signs of water leaks. Look for wet spots or discoloration around the pit.
Step 2: Check for Cracks
Cracks are a common cause of leaks. Carefully inspect the walls of the sump pit for any cracks or structural damage. Even a small crack can lead to significant water leakage.
Step 3: Test the Sump Pump
Test the sump pump to ensure its functioning correctly. Pour a bucket of water into the pit and observe whether the pump activates and efficiently removes the water. If the pump doesnt activate, it may be malfunctioning, which could lead to water overflow.
Step 4: Check the Discharge Line
Ensure the discharge line is free from blockages. A blocked discharge line can cause water to back up into the sump pit, leading to overflow and potential leaks.
Step 5: Inspect the Check Valve
The check valve ensures that water flows out of the sump pit without returning. Ensure its working correctly by pouring water into the pit and observing the valves operation.
Tools You May Need
Having the right tools on hand can make the inspection process easier. Consider using a flashlight, a bucket for testing, and a waterproof sealant for minor repairs.
When to Call a Professional
If you identify significant damage or if the problem persists after simple fixes, it might be time to call a professional. Professionals can offer a more thorough inspection and repair any serious issues.
Preventive Measures
Preventive measures can save you from future headaches. Regular maintenance, such as cleaning the sump pit and testing the pump, can prevent leaks and extend the life of your sump system.
Regular Cleaning
Keep the sump pit clean from debris and sediment. Regular cleaning prevents blockages and ensures the pump operates efficiently.
Seasonal Inspections
Conduct seasonal inspections, especially before the rainy season. This ensures your system is prepared to handle excess water efficiently.
Related Topics
For more information on preventing water damage, consider reading about how to stop musty odors after water damage and hard water damage to plumbing.
External Resources
For further reading, check out these tips to protect your home from water damage.

FAQ
What causes sump pits to leak?
Sump pits can leak due to cracks, malfunctioning pumps, or blocked discharge lines.
How often should I inspect my sump pit?
Its advisable to inspect your sump pit at least twice a year, particularly before heavy rainfall seasons.
Can I repair a leaking sump pit myself?
Minor leaks can often be fixed with waterproof sealant, but significant damage may require professional intervention.
This article contains affiliate links. We may earn a commission at no extra cost to you.