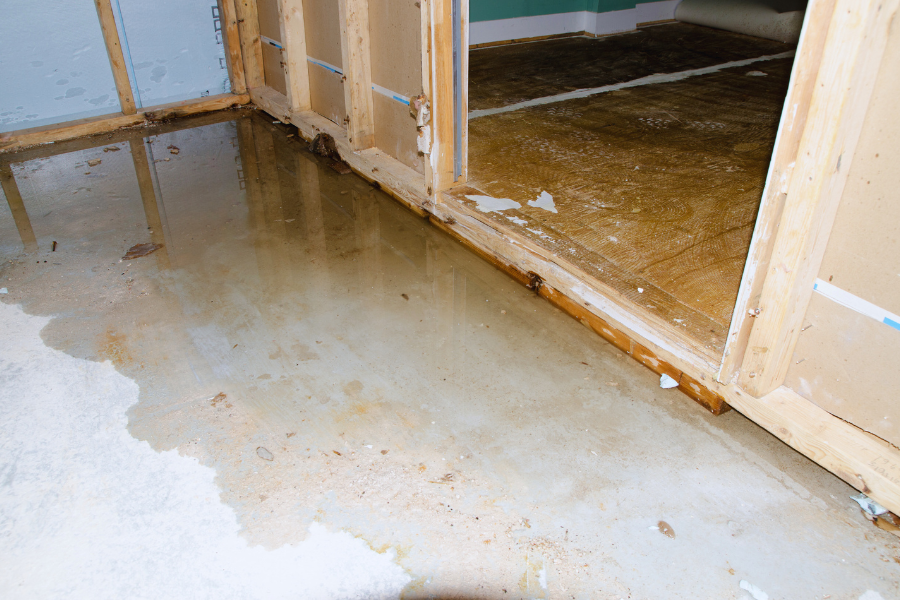
Detecting excess moisture in your living space is crucial for preventing mold, structural damage, and costly repairs. A moisture meter is a practical tool that helps homeowners identify hidden dampness in walls, floors, and other materials before problems escalate. Whether you’re dealing with a recent leak, planning renovations, or just want peace of mind, understanding how to use a moisture meter can make a significant difference in maintaining a healthy indoor environment.
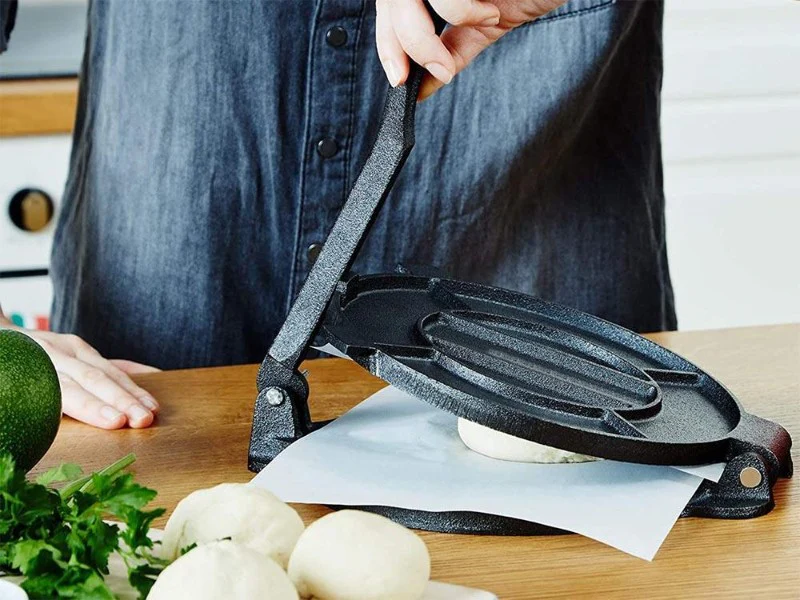
This guide offers step-by-step instructions, practical tips, and answers to common questions about using these devices effectively. If you’re also interested in kitchen tools, you might find our article on how to press tortillas for chilaquiles helpful for your next cooking project.
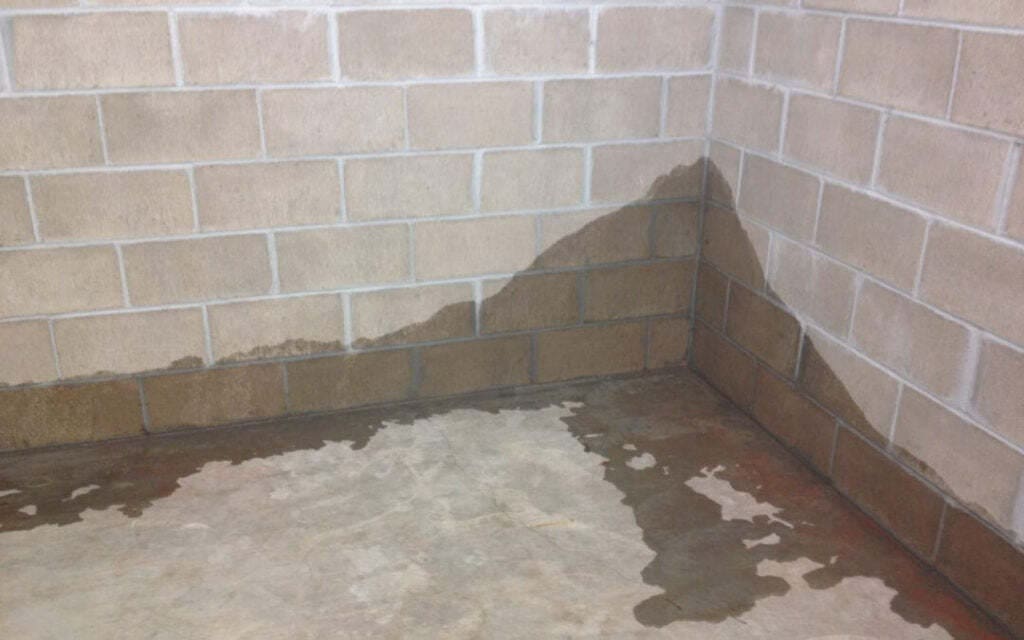
Why Moisture Detection Matters in Residential Spaces
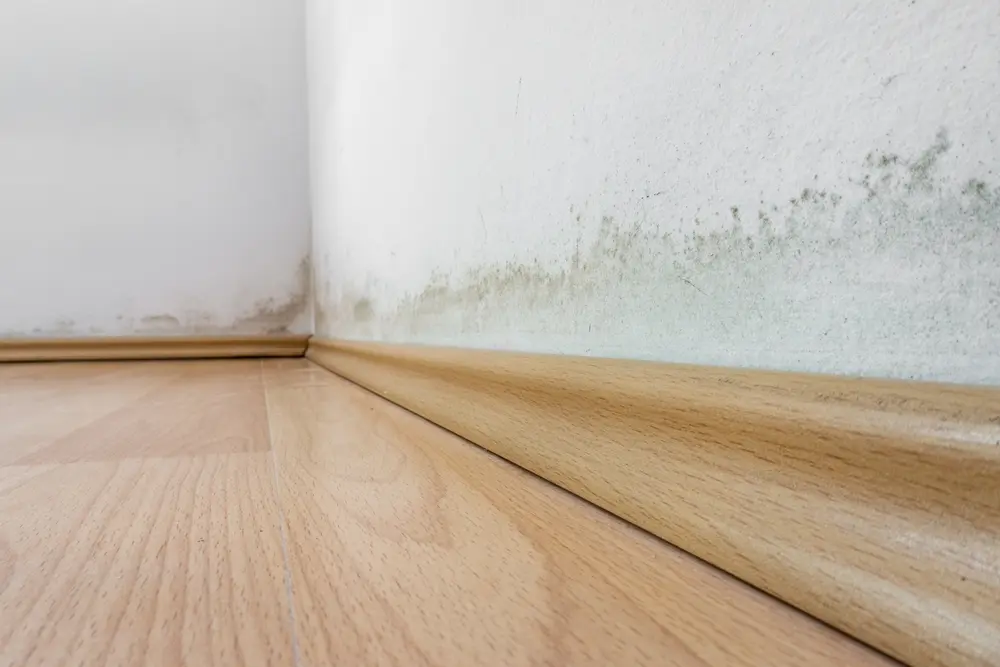
Unnoticed moisture can lead to a range of issues, including mold growth, wood rot, and even compromised structural integrity. Early detection allows you to address leaks or condensation before they cause lasting damage. Using a moisture meter empowers you to monitor problem areas, verify repairs, and maintain a safe, dry home.
According to expert tips for protecting your home interior from water damage, regular checks with a reliable device can help prevent expensive restoration work and health hazards.
Types of Moisture Meters and Their Applications
There are two main types of moisture meters commonly used in homes:
- Pin-type meters: These use two metal probes that must be inserted into the material. They measure electrical resistance to determine the moisture content. Ideal for wood, drywall, and masonry.
- Pinless meters: These use a flat sensor pad that sits on the surface. They work by emitting electromagnetic signals and are non-invasive, making them suitable for finished surfaces or delicate materials.
Some advanced models combine both technologies for greater versatility. When selecting a device, consider the materials you’ll be testing and whether you prefer a non-destructive method.
Step-by-Step Instructions for Accurate Moisture Readings
To get reliable results when checking for dampness, follow these steps:
- Prepare the area: Remove any surface debris, dust, or coverings that might interfere with readings. For painted or wallpapered surfaces, use a pinless meter to avoid damage.
- Calibrate the device: Many meters require calibration before use. Consult your user manual and follow the manufacturer’s instructions to ensure accuracy.
- Test a dry reference area: Start by measuring a spot you know is dry. This gives you a baseline for comparison.
- Take measurements: Place the probes or sensor pad firmly against the material. For pin-type meters, insert the pins to the recommended depth. For pinless meters, press the pad flat against the surface.
- Read the display: Most devices show moisture content as a percentage. Compare readings to recommended safe levels for the material you’re testing (e.g., wood is typically safe below 15%).
- Repeat in multiple locations: Check several spots, especially near plumbing, windows, or areas with past water issues.
- Record your findings: Note the locations and readings. This helps track changes over time and provides valuable information for professionals if repairs are needed.
Common Areas to Monitor for Hidden Moisture
Some parts of the home are more prone to dampness than others. Focus your checks on:
- Basement walls and floors
- Bathrooms, especially around tubs, showers, and toilets
- Under sinks and near dishwashers
- Attics, particularly after heavy rain
- Window sills and frames
- Areas near exterior doors
- Behind appliances like washing machines and water heaters
Regular monitoring in these locations can help you catch leaks or condensation before they become serious problems.
Interpreting Results and Next Steps
Understanding what your readings mean is essential. Here’s how to interpret common results:
- Low readings (generally under 15% for wood, under 1% for concrete): No action needed; area is dry.
- Moderate readings (15–20% for wood): Monitor for changes, especially after rain or plumbing use.
- High readings (above 20% for wood, above 1% for concrete): Investigate for leaks, condensation, or insufficient ventilation. Take steps to dry the area and repair sources of moisture.
If you discover persistent or widespread dampness, consult a water damage professional. Document your findings and consider using leak detectors in high-risk areas for ongoing monitoring.
Tips for Reliable Use and Maintenance
- Store your meter in a dry place and replace batteries as needed.
- Clean the sensor pads or pins after each use to prevent residue buildup.
- Test your device periodically on known dry and damp materials to verify accuracy.
- Follow the manufacturer’s recommendations for calibration and care.
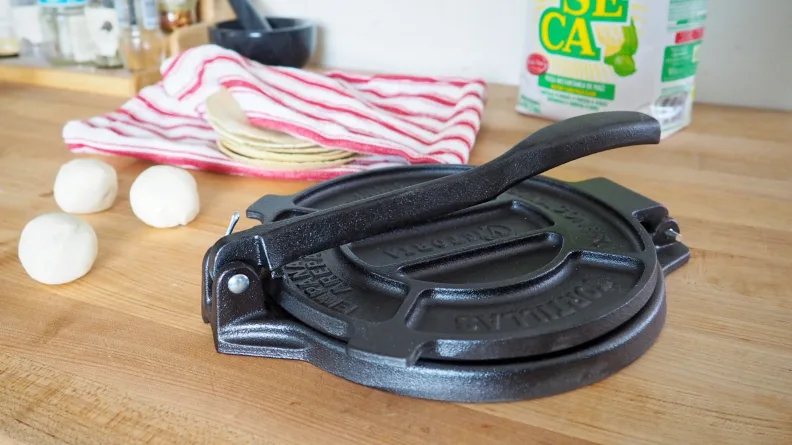
For those interested in kitchen maintenance, check out our advice on how to sanitize a cast iron press to keep your cooking tools in top shape.
Frequently Asked Questions
Can a moisture meter detect leaks behind walls?
Yes, these devices can help identify areas with elevated moisture levels, which often indicate hidden leaks or condensation. While they won’t pinpoint the exact source, they can guide you to problem spots that need further investigation.
How often should I check for moisture in my home?
It’s wise to test vulnerable areas at least twice a year, especially after heavy rain, plumbing repairs, or if you notice musty odors. Regular checks are especially important in basements, bathrooms, and kitchens.
What materials can I test with a moisture meter?
Most models are designed for wood, drywall, plaster, and masonry. Some can also be used on concrete or tile. Always consult your device’s manual to ensure compatibility with the material you want to test.
Is it possible to get false readings?
Yes, surface contamination, metal objects, or improper calibration can affect accuracy. Always clean the area, calibrate your device, and compare readings with a known dry spot for best results.
Conclusion
Using a moisture meter is a straightforward way to protect your home from hidden water damage. By following the steps outlined here, you can confidently monitor for excess dampness and address issues early. For more home maintenance insights, explore our guides on how to store corn masa for pressing and using a tortilla press for naan. Regular monitoring, combined with prompt action, helps ensure your living space remains safe, healthy, and comfortable.