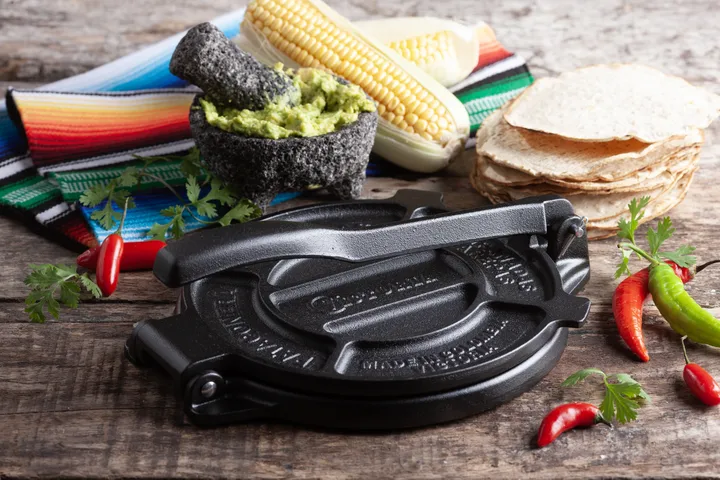
The idea of using a tortilla press for making pita bread is gaining attention among home bakers and kitchen experimenters. Both pita and tortillas are flatbreads, but their traditional preparation methods differ. Pita is known for its signature pocket, while tortillas are typically thinner and more flexible. This article explores whether a tortilla press can be a practical tool for shaping pita dough, the results you can expect, and tips for achieving the best outcome.
If you’re curious about alternative uses for your tortilla press or want to streamline your homemade pita process, you’re in the right place. We’ll look at how this method compares to traditional rolling, what to watch out for, and which steps are essential for success.
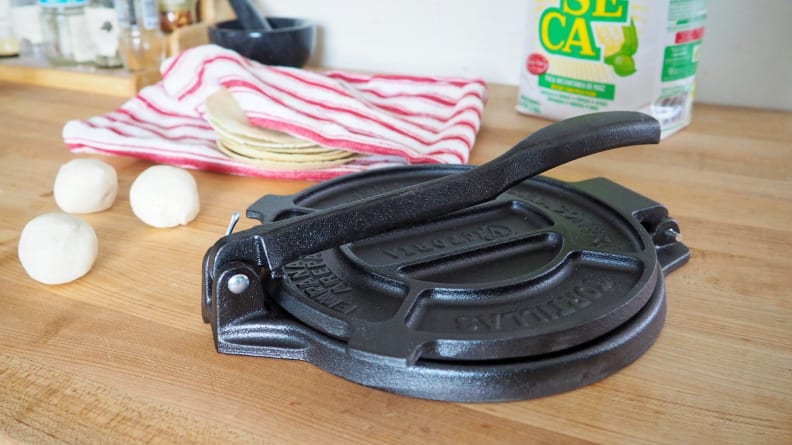
For those interested in the background of these handy kitchen tools, the history of the cast iron tortilla press offers insight into how these devices evolved and why they’re so effective for flatbreads.
Understanding the Differences: Pita Bread vs. Tortillas
Before diving into the method, it’s important to recognize the distinctions between pita and tortillas. Pita bread is a leavened flatbread, usually made with yeast, which creates air pockets during baking. These pockets are what allow pita to be split and filled. In contrast, tortillas—especially corn tortillas—are unleavened and pressed very thin, resulting in a flexible, pocketless bread.
The dough for pita is typically softer and more elastic than tortilla dough. While both can be shaped into rounds, the thickness and texture required for pita are different. The main challenge when using a tortilla press for pita is achieving the right thickness and ensuring the dough puffs up in the oven to form the classic pocket.
Using a Tortilla Press for Pita: Step-by-Step Guide
The central question—can you make pita bread with a tortilla press—comes down to whether the press can flatten the dough to the ideal thickness without compromising the rise needed for a pocket. Here’s a practical approach to testing this method at home:
- Prepare the Pita Dough: Use your favorite pita recipe. After kneading and the first rise, divide the dough into equal balls (about 60–80g each).
- Shape the Dough Balls: Let the dough balls rest for 10–15 minutes, covered, to relax the gluten. This makes pressing easier and prevents tearing.
- Press the Dough: Place a dough ball between two sheets of parchment or plastic (to prevent sticking) and gently press using your tortilla press. Aim for a round that’s about 1/4 inch (6mm) thick. Avoid pressing too thin, as this can prevent the pita from puffing.
- Final Adjustments: If needed, use a rolling pin to even out the edges or adjust the thickness. Uniform thickness is key for even puffing.
- Bake: Transfer the pressed rounds to a preheated baking stone or heavy baking sheet in a hot oven (475–500°F/245–260°C). Bake for 2–3 minutes until the pita puffs and is lightly golden.
The tortilla press can save time and effort, especially if you’re making multiple pitas. However, it’s essential to monitor the thickness and avoid over-pressing.
What to Expect: Results and Limitations
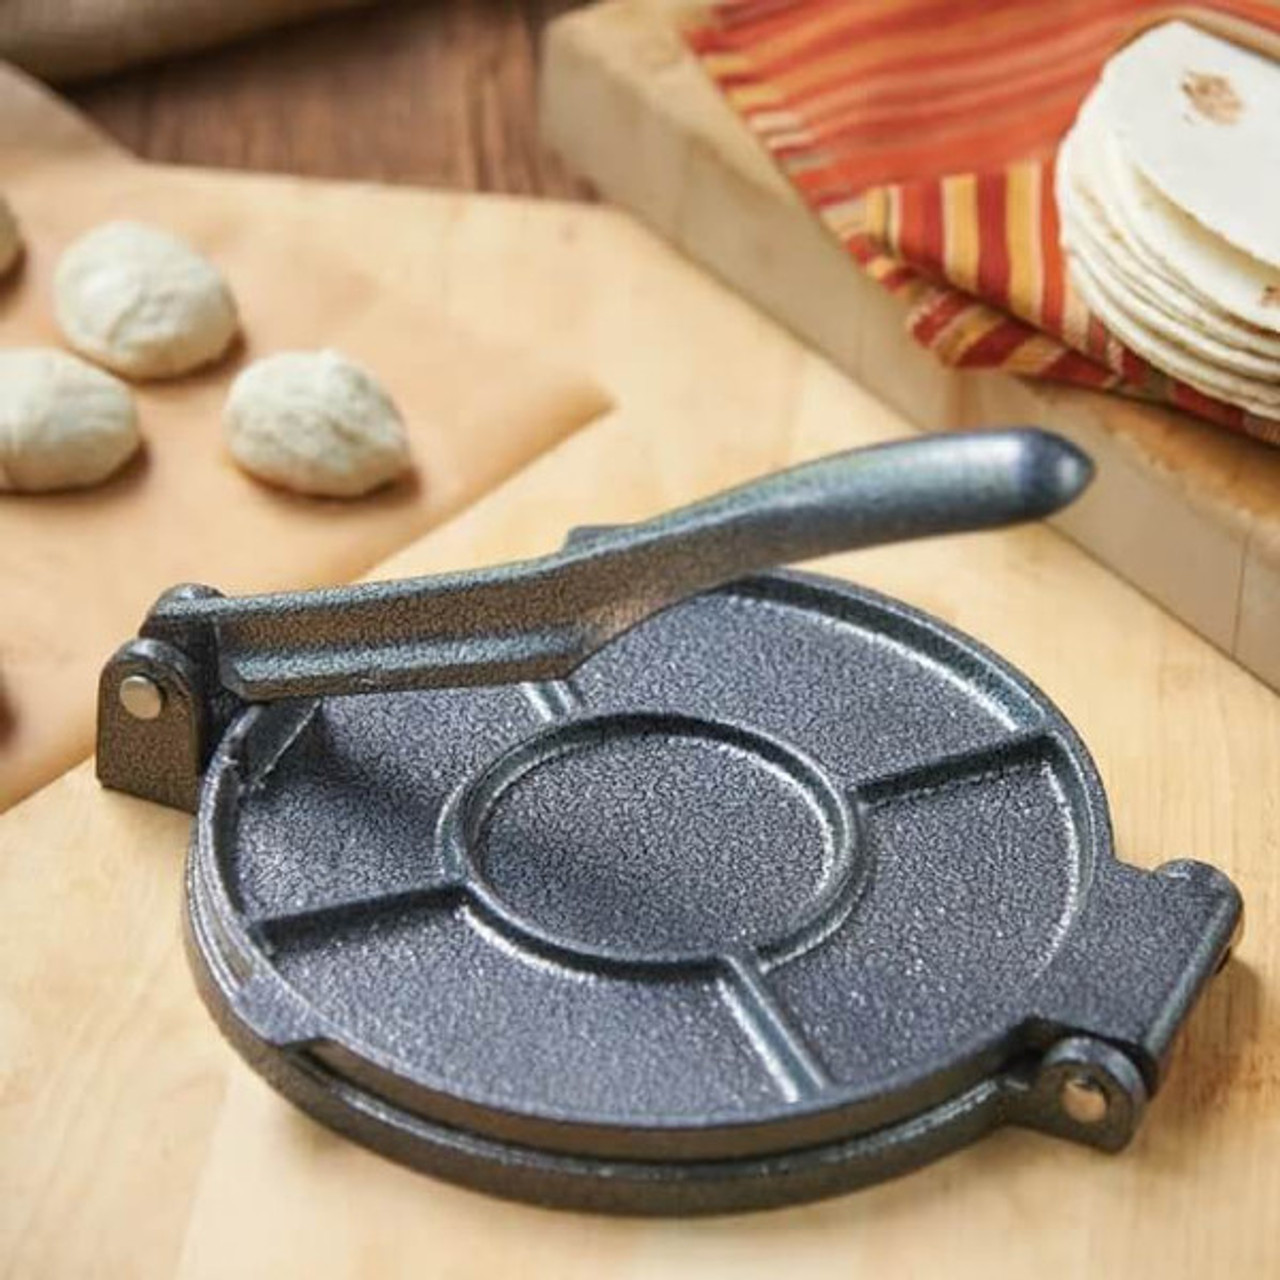
When using a tortilla press for pita, the results can be quite good if you pay attention to a few key details. The press helps achieve a consistent thickness, which is crucial for even baking and puffing. However, some limitations exist:
- Thickness Control: Pressing too hard can make the dough too thin, resulting in flat, pocketless bread. Aim for a slightly thicker round than you would for tortillas.
- Edge Uniformity: The press may create slightly uneven edges, which can be quickly fixed with a rolling pin.
- Texture: The pita may be a bit denser if the dough is overworked or pressed too thin, so handle gently.
For more advice on achieving the right thickness, see this guide on how thick should tortillas be pressed, which offers helpful tips that apply to pita as well.
Tips for Success When Pressing Pita Dough
To get the best results when shaping pita with a tortilla press, keep these tips in mind:
- Let the dough rest before pressing to relax gluten and prevent shrinkage.
- Use parchment or plastic to prevent sticking and tearing.
- Press gently—stop as soon as the dough reaches about 1/4 inch thick.
- Finish shaping with a rolling pin if needed for evenness.
- Bake in a very hot oven on a preheated surface for maximum puff.
- Cover baked pitas with a clean towel to keep them soft.
Proper care and maintenance of your press are also important for consistent results. For guidance on cleaning and upkeep, check out the manufacturer’s use and care recommendations.
Comparing Traditional Rolling vs. Pressing for Pita
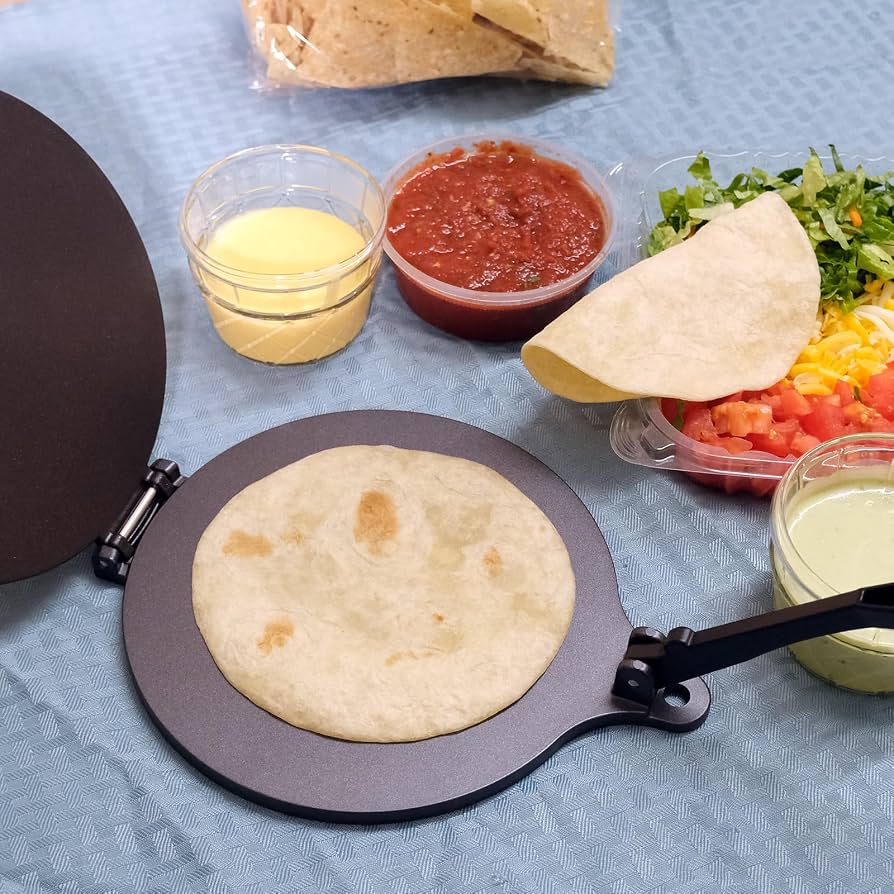
Traditionally, pita dough is rolled by hand with a rolling pin. This allows for precise control over thickness and shape, but can be time-consuming, especially when making a large batch. Using a tortilla press speeds up the process and ensures uniform rounds, but may require some finishing touches for perfect results.
If you’re new to using a press, you might find these tips for pressing corn tortillas helpful, as many techniques apply to pita dough as well.
Ultimately, both methods can yield excellent pita bread. The press offers convenience, while hand-rolling provides maximum control. Experiment to see which approach fits your workflow and preferences.
Frequently Asked Questions
Does a tortilla press work for all types of pita dough?
Most standard pita recipes can be shaped with a tortilla press, but doughs with very high hydration or added fats may be stickier and require extra care. Always use parchment or plastic to prevent sticking.
How thick should pita rounds be when using a press?
Aim for about 1/4 inch (6mm) thickness. Thicker rounds help create the signature pocket during baking, while thinner rounds may not puff properly.
Can I use a tortilla press for other flatbreads?
Yes, a tortilla press can be used for naan, roti, and other flatbreads. Adjust the thickness and pressing technique based on the specific bread you’re making.
How do I prevent pita dough from sticking to the press?
Place the dough between two sheets of parchment paper or plastic wrap before pressing. Lightly oiling the surfaces can also help.
Conclusion
Using a tortilla press to shape pita dough is a practical shortcut for home bakers seeking convenience and consistency. While it may require minor adjustments, such as finishing with a rolling pin or monitoring thickness, the results are often comparable to hand-rolled pitas. By following the tips outlined above and paying attention to dough thickness, you can enjoy fresh, homemade pita with less effort.
For more advice on storing your press and keeping it in top condition, see this guide on how to store a cast iron tortilla press.