Are you a tech enthusiast looking to dive into the world of DIY projects? If so, a DIY moisture meter guide might be just what you need. This guide will take you through the fascinating journey of creating and using your own moisture meter. Whether you’re a seasoned DIYer or just starting out, understanding how to measure moisture levels is crucial for various projects, from home renovations to gardening.

The Importance of a Moisture Meter
Before we delve into the DIY moisture meter guide, it’s essential to grasp why having a moisture meter is important. Moisture meters are invaluable tools for detecting the moisture content in materials such as wood, walls, and soil. This information can help prevent potential damage, ensure proper growing conditions for plants, and maintain the integrity of structures.
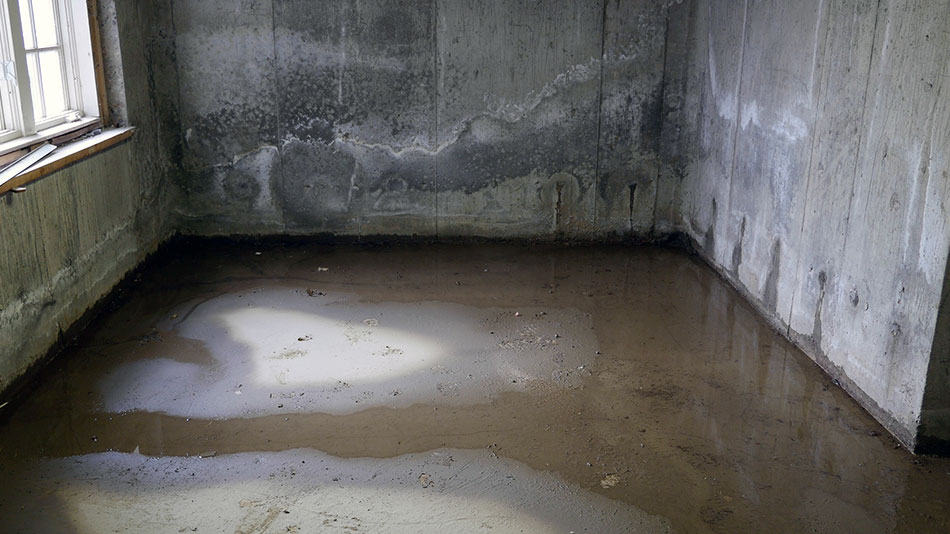
For instance, in woodworking, knowing the moisture content of the wood is crucial to avoid warping and cracking. In gardening, measuring soil moisture ensures that plants receive the right amount of water. Moreover, homeowners can use moisture meters to detect water damage early, preventing costly repairs. For more tips on managing water damage, check out how to sanitize after water damage.
Understanding How Moisture Meters Work
Moisture meters operate on the principle of measuring the electrical resistance or capacitance of a material. When a material contains moisture, it conducts electricity differently than when it is dry. Moisture meters use this difference to determine the moisture level. There are two main types of moisture meters: pin-type and pinless.
Pin-Type Moisture Meters
Pin-type moisture meters use two or more metal pins that are inserted into the material being tested. The electrical resistance between the pins changes based on the moisture content, allowing the meter to calculate the moisture level. These meters are best for materials where pin insertion won’t cause damage.
Pinless Moisture Meters
Pinless moisture meters, on the other hand, use sensors to scan the surface of the material without causing any damage. They work by measuring the capacitance of the material, which varies with moisture content. These meters are ideal for finished surfaces and delicate materials.
Building Your Own DIY Moisture Meter
Creating a DIY moisture meter can be a rewarding project. It allows you to customize the tool to your specific needs and gain a deeper understanding of how moisture measurement works. Here’s a step-by-step guide to building a basic moisture meter:
Gathering Materials
- An Arduino board or a similar microcontroller
- Two metal probes or nails
- Resistors (10k ohm)
- Wires
- A breadboard
- A power source
Assembling the Circuit
1. Connect the metal probes to the breadboard. These will act as the sensor.
2. Attach the resistors to the probes to control the current flow.
3. Connect the probes to the Arduino board using wires.
4. Install the Arduino software on your computer and write a simple code to read the sensor data.
5. Power up the circuit and test the moisture meter on various materials.
Using Your DIY Moisture Meter
Once your moisture meter is built, it’s time to put it to the test. Start by measuring the moisture content of different materials around your home. This hands-on experience will help you understand how moisture levels vary and how to interpret the readings.
For gardening enthusiasts, use your DIY moisture meter to monitor soil moisture and optimize watering schedules. In home improvement projects, check the moisture content of wood and walls to ensure they are at safe levels before proceeding with renovations.
Maintaining Your Moisture Meter
Like any tool, a moisture meter requires regular maintenance to ensure accurate readings. Here are some tips to keep your DIY moisture meter in top condition:
- Regularly clean the probes or sensors to remove dirt and debris.
- Calibrate the meter periodically to maintain accuracy.
- Store the meter in a dry place to prevent damage.

FAQs
What materials can I measure with a DIY moisture meter?
You can measure the moisture content of various materials, including wood, drywall, concrete, and soil.
How accurate is a DIY moisture meter?
The accuracy of a DIY moisture meter depends on the quality of the components used and the calibration process. Regular maintenance can improve accuracy.
Can I use a DIY moisture meter for professional purposes?
While DIY moisture meters are great for personal projects, professional-grade moisture meters are recommended for commercial or industrial applications due to their higher accuracy and reliability.
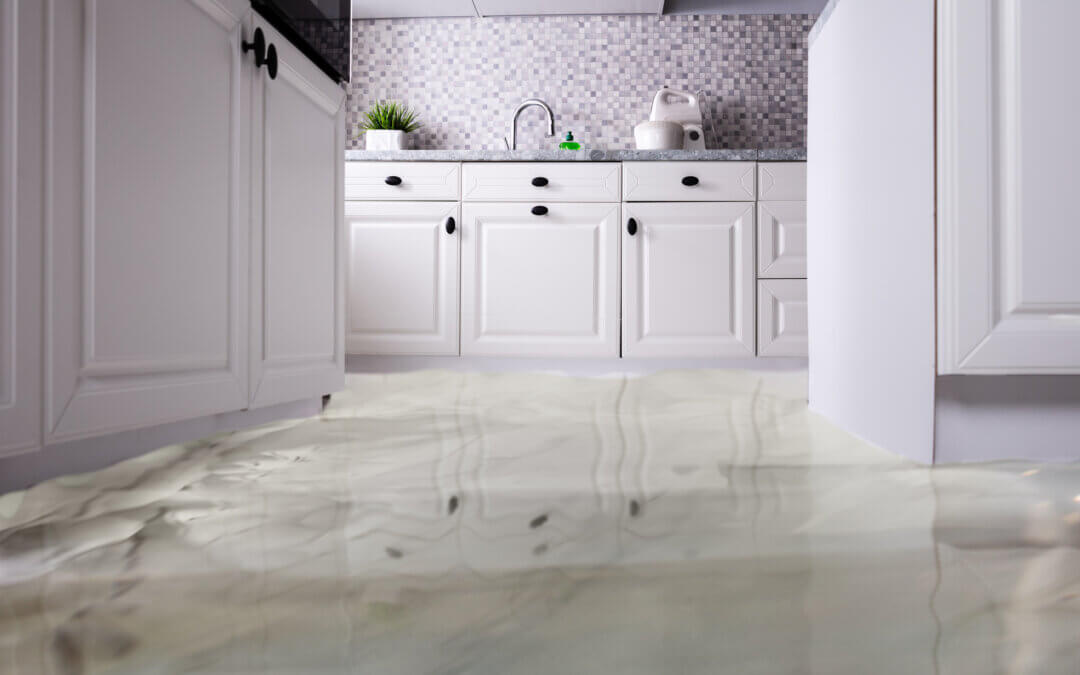
Understanding moisture levels is crucial for maintaining a safe and healthy environment. For more information on protecting your home from moisture-related issues, visit water damage prevention.
By following this DIY moisture meter guide, you’ll be well-equipped to tackle any project that involves moisture measurement. Embrace the world of DIY and enjoy the benefits of a personalized moisture meter!
This article contains affiliate links. We may earn a commission at no extra cost to you.