Water damage to drywall is a common issue for homeowners and property managers. Whether caused by a burst pipe, roof leak, or flooding, moisture trapped in drywall can quickly lead to mold growth, structural problems, and expensive repairs if not addressed promptly. Knowing how to dry out wet drywall efficiently can help you minimize damage and restore your space safely.
In this guide, you’ll learn the step-by-step process for removing moisture from drywall, when to attempt drying versus replacing, and the best practices to prevent future water issues. If you’re also interested in broader water safety, check out our resource on how to install a water shut-off valve for added protection.
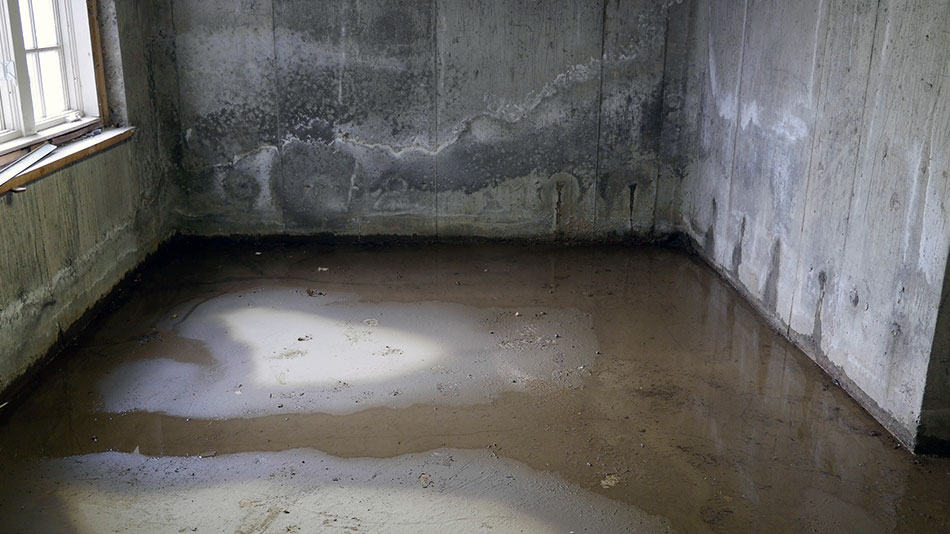
Recognizing Water Damage in Drywall
Before you start drying, it’s important to identify the extent of the water damage. Signs of moisture in drywall include:
- Visible stains or discoloration
- Soft or sagging areas
- Bubbling or peeling paint
- A musty odor, which may indicate mold
- Cracking or crumbling texture
If you notice any of these symptoms, act quickly. The longer drywall remains wet, the higher the risk of mold and structural issues.
Essential Steps for Drying Wet Drywall
The process of drying out water-damaged drywall involves several key steps. Follow these to ensure thorough moisture removal and reduce the risk of further complications.
1. Stop the Source of Water
Locate and fix the source of the leak immediately. This could be a broken pipe, roof leak, or appliance failure. Shutting off the water supply is often necessary. For tips on preventing future leaks, consider reading about replacing old hoses to prevent water damage.
2. Assess the Damage
Determine if the affected drywall can be salvaged. If the drywall is sagging, crumbling, or contaminated with sewage, it’s usually best to remove and replace it. However, if the damage is limited and the drywall is structurally sound, drying is possible.
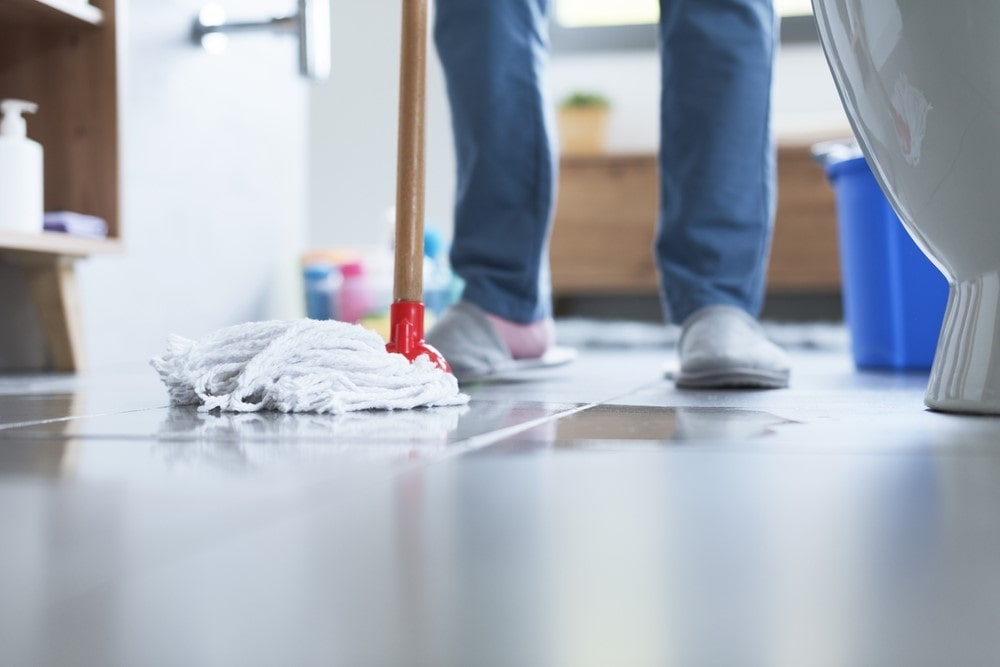
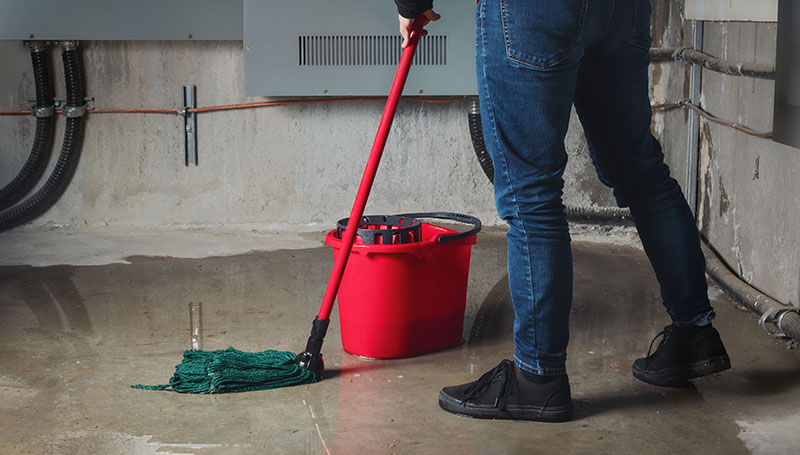
3. Remove Excess Water and Moisture
Use towels or a wet/dry vacuum to remove standing water from the area. Open windows and doors to increase ventilation. Remove baseboards and any insulation behind the drywall if it’s wet, as insulation can trap moisture and slow the drying process.
4. Increase Airflow and Dehumidification
Place fans around the affected area to circulate air. Position them so that air moves across the surface of the drywall. Use a dehumidifier to pull moisture from the air, which speeds up the drying process. If possible, run your HVAC system to help regulate humidity levels.
5. Remove Damaged Materials if Necessary
If sections of drywall are too saturated or show signs of mold, cut out the damaged areas using a utility knife. Remove any wet insulation and dispose of it properly. This step is essential for preventing mold growth and ensuring a safe repair.
6. Monitor Drying Progress
Use a moisture meter to check the drywall’s moisture content. Drywall should have a moisture reading below 1% before you begin repairs or painting. Continue running fans and dehumidifiers until the readings confirm the wall is dry.
When to Replace Instead of Drying
Not all water-damaged drywall can be saved. You should opt for replacement if:
- The drywall is soft, crumbly, or falling apart
- There is visible mold growth
- Contaminated water (such as from sewage) caused the damage
- The drywall remains wet after 48 hours of drying efforts
In these cases, removing and replacing the affected sections is the safest option to prevent health hazards and further property damage.
Tips to Prevent Future Water Damage
Once you’ve addressed the immediate problem, take steps to avoid future moisture issues in your home:
- Regularly inspect plumbing and appliances for leaks
- Install leak detectors near water sources; see our guide on how to use leak detectors near appliances
- Maintain gutters and downspouts to direct water away from your foundation
- Seal cracks in walls and foundations
- Replace old hoses and fittings as needed
For additional strategies, you can explore smart home devices for leak prevention to help monitor and protect your property.
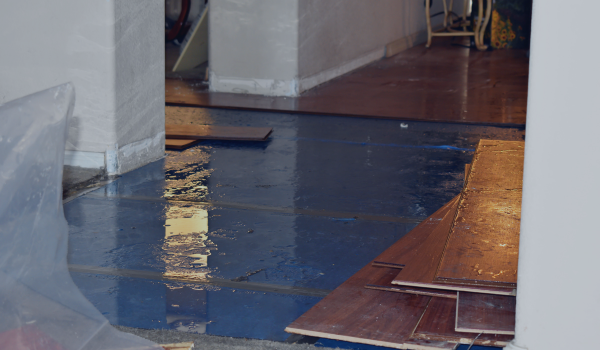
Understanding the Risks of Untreated Wet Drywall
Leaving drywall wet can have serious consequences. Mold can begin to grow in as little as 24–48 hours, posing health risks and making remediation more difficult. Structural integrity may also be compromised, leading to sagging walls or ceilings. Insurance claims for water damage can be costly and sometimes denied if proper steps aren’t taken quickly.
For more information on minimizing water damage and protecting your home, visit this comprehensive guide to preventing water damage.
Frequently Asked Questions
How long does it take to dry out wet drywall?
The drying process typically takes 3–5 days, depending on the extent of the moisture, airflow, and humidity levels. Using fans and dehumidifiers can speed up the process. Always use a moisture meter to confirm the drywall is fully dry before making repairs.
Can you dry drywall without removing it?
Yes, if the drywall is only slightly damp and not structurally compromised, you can dry it in place using fans and dehumidifiers. However, if the drywall is saturated or there is insulation behind it that got wet, removal may be necessary to prevent mold and ensure complete drying.
Is it safe to paint over previously wet drywall?
Only paint drywall after it is completely dry and has been checked for mold. Use a stain-blocking primer to cover any discoloration before applying paint. Painting over damp or moldy drywall can trap moisture and lead to further issues.
What should I do if I find mold on my drywall?
If you discover mold, cut out and dispose of the affected drywall immediately. Wear protective gear and follow local regulations for mold remediation. For extensive mold problems, consult a professional.
How can I prevent drywall from getting wet in the future?
Regular maintenance, leak detection, and prompt repairs are key. Installing leak detectors, replacing old hoses, and using smart home water monitoring devices can help you catch problems early and protect your property.