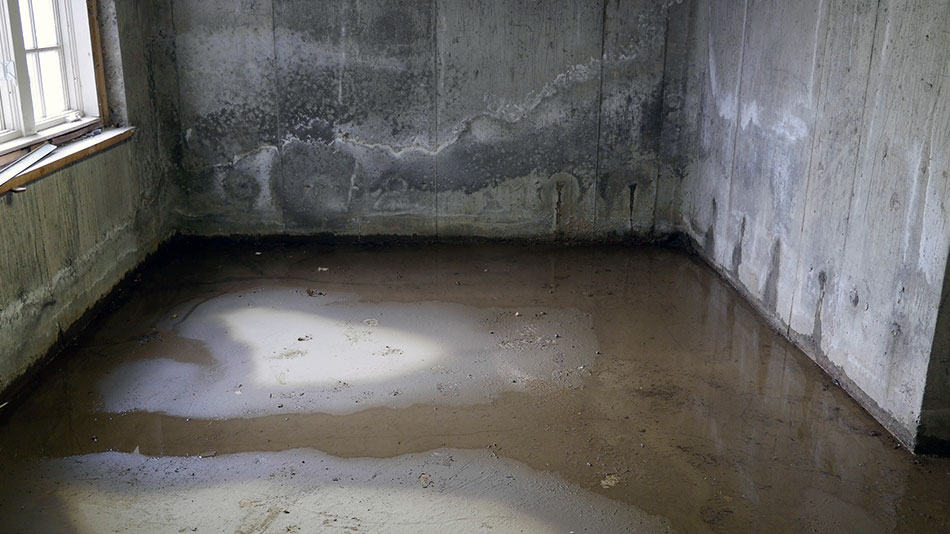
Discovering minor water damage on your walls can be unsettling, but with the right approach, you can restore your space and prevent further issues. Small leaks, condensation, or accidental spills often cause these problems, and addressing them early is crucial to avoid more extensive repairs. This guide walks you through the practical steps for repairing light moisture damage, restoring your wall’s appearance, and safeguarding your home from future leaks.
If you’re interested in broader protection strategies, you might also want to learn about how to install a water shut-off valve for added peace of mind.
Recognizing Signs of Light Water Damage on Walls
Before you begin repairs, it’s important to accurately identify the extent of the issue. Minor wall water damage typically presents as:
- Discoloration or yellowish stains
- Peeling or bubbling paint
- Soft or slightly swollen drywall
- Musty odors near the affected area
- Small patches of surface mold
If you notice extensive mold, crumbling drywall, or structural issues, it’s best to consult a professional. For small, contained spots, the following steps will help you restore your wall effectively.
Essential Tools and Materials for DIY Repairs
Gathering the right supplies will streamline the repair process. Here’s what you’ll need to address minor wall water damage:
- Protective gloves and mask
- Utility knife or scraper
- Sponges and towels
- Household cleaner or mild detergent
- Sandpaper (medium and fine grit)
- Joint compound or spackle
- Putty knife
- Primer (preferably stain-blocking)
- Matching paint
- Paintbrush or roller
Step-by-Step Guide to Repairing Small Water-Damaged Areas
Tackling light wall water damage involves careful drying, cleaning, and restoration. Follow these steps for best results:
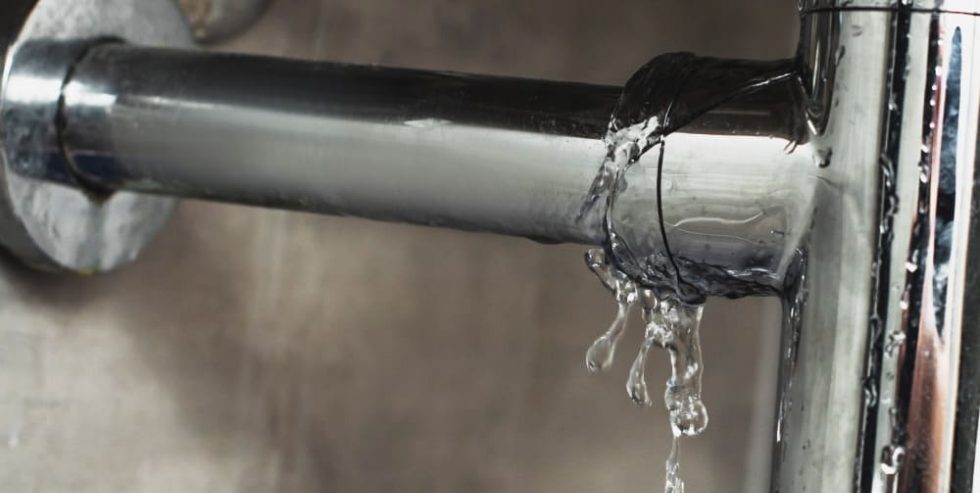
1. Locate and Eliminate the Source of Moisture
Before any repair, ensure the leak or moisture problem is resolved. Check for dripping pipes, faulty seals, or condensation. For ongoing issues, consider using replacing old hoses to prevent water damage or installing leak detectors for early warnings. Only proceed once the area is completely dry.
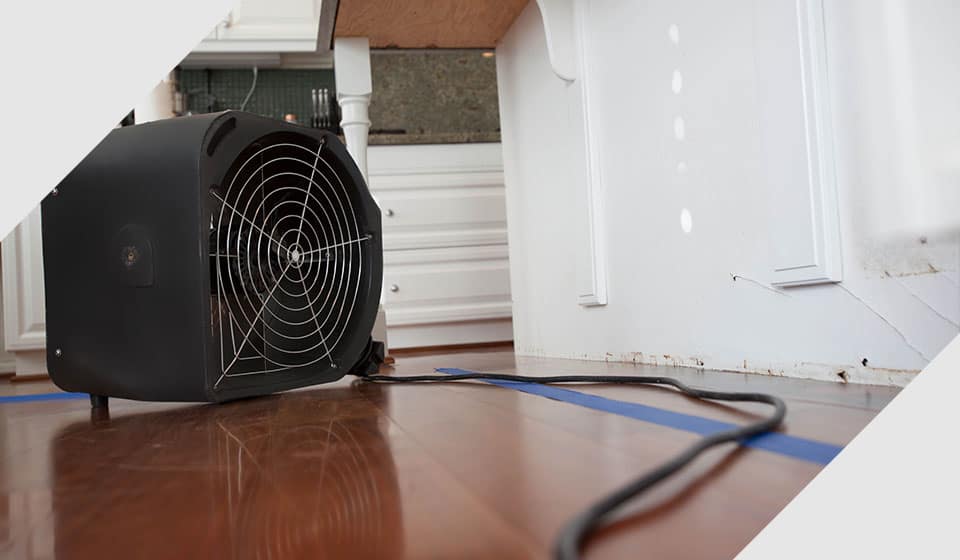
2. Dry Out the Affected Wall
Use towels to blot away surface moisture. Open windows, run fans, or use a dehumidifier to accelerate drying. For small areas, this may take 24–48 hours. Avoid sealing or painting over damp surfaces, as this can trap moisture and worsen the problem.
3. Remove Damaged Paint and Surface Material
Gently scrape away any peeling paint, bubbled drywall, or loose debris using a utility knife or scraper. Be careful not to gouge the wall. If the drywall feels soft but is not crumbling, let it dry further before proceeding.
4. Clean and Disinfect the Area
Wipe the spot with a mild detergent or household cleaner to remove stains and prevent mold growth. For visible mold, use a solution of one part bleach to three parts water, but ensure the area is well-ventilated and wear protective gear.
5. Sand and Smooth the Surface
Once the wall is dry and clean, sand the area with medium-grit sandpaper to remove rough edges. Follow up with fine-grit sandpaper for a smooth finish, feathering the edges into the surrounding wall.
6. Patch with Joint Compound or Spackle
Apply a thin layer of joint compound or spackle with a putty knife, filling any indentations or small holes. Allow it to dry completely, then sand again for a seamless surface.

7. Prime and Paint the Wall
Use a stain-blocking primer to prevent water marks from bleeding through. Once dry, paint over the area with a color that matches your existing wall. Two coats may be needed for complete coverage.
Tips for Preventing Future Water Issues
Repairing minor wall water damage is only part of the solution. Preventing recurrence is equally important. Here are some practical tips:
- Inspect plumbing fixtures and appliance hoses regularly for leaks or wear.
- Install smart leak detectors near appliances and under sinks. For guidance, see how to use leak detectors near appliances.
- Ensure good ventilation in bathrooms and kitchens to reduce condensation.
- Seal windows and exterior walls to keep out rainwater.
- Consider upgrading to smart home devices for leak prevention for added protection.
- Replace old hoses and supply lines as recommended by manufacturers.
For more comprehensive advice, learn how to prevent water damage from household fixtures with expert tips.
When to Call a Professional
While most small wall stains and surface issues can be handled with the steps above, there are times when expert help is necessary. Contact a licensed contractor or restoration specialist if you notice:
- Large areas of mold or mildew
- Persistent leaks that can’t be traced
- Structural damage or sagging walls
- Electrical outlets or wiring affected by moisture
Acting quickly can minimize repair costs and protect your home’s value.
Frequently Asked Questions
Can I repair water-damaged drywall myself?
Yes, if the damage is minor and limited to surface stains, peeling paint, or small soft spots, you can usually handle repairs on your own. Follow the steps for drying, cleaning, patching, and painting. For larger or recurring problems, consult a professional.
How do I know if the wall is completely dry before painting?
The wall should feel firm, not cool or damp to the touch. Use a moisture meter for accuracy, or wait at least 48 hours after the source of moisture is fixed. Painting over damp surfaces can lead to peeling and mold.
What’s the best way to prevent future water damage?
Regularly inspect plumbing, use leak detectors, and maintain good ventilation. Replacing worn hoses and using proper maintenance for appliance water lines can also help prevent future issues.