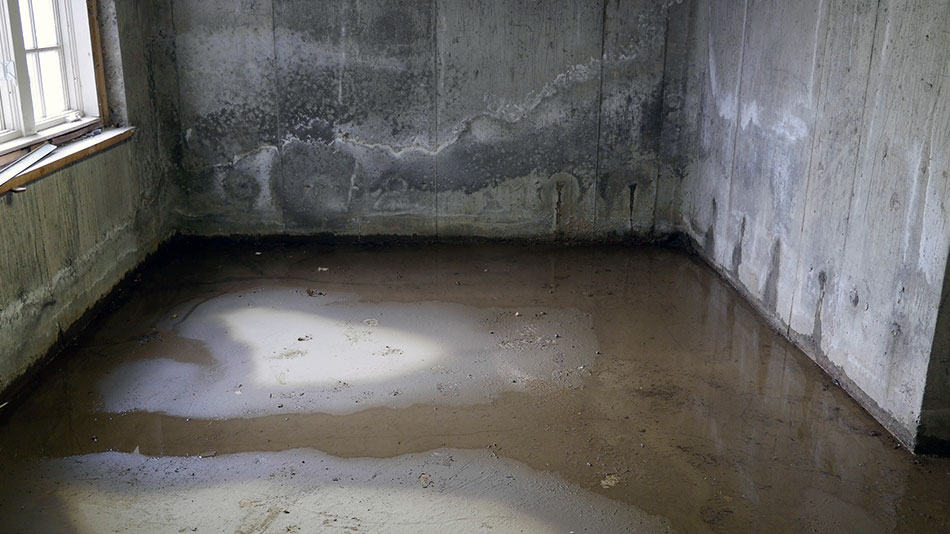
Keeping water where it belongs is crucial for any bathroom. Over time, gaps can form between tubs, showers, and the surrounding walls or floors. If left unsealed, these spaces allow moisture to seep in, leading to mold, mildew, and even structural damage. Learning how to seal around bathtubs and showers is a practical skill that helps protect your home from costly repairs and keeps your bathroom looking fresh.
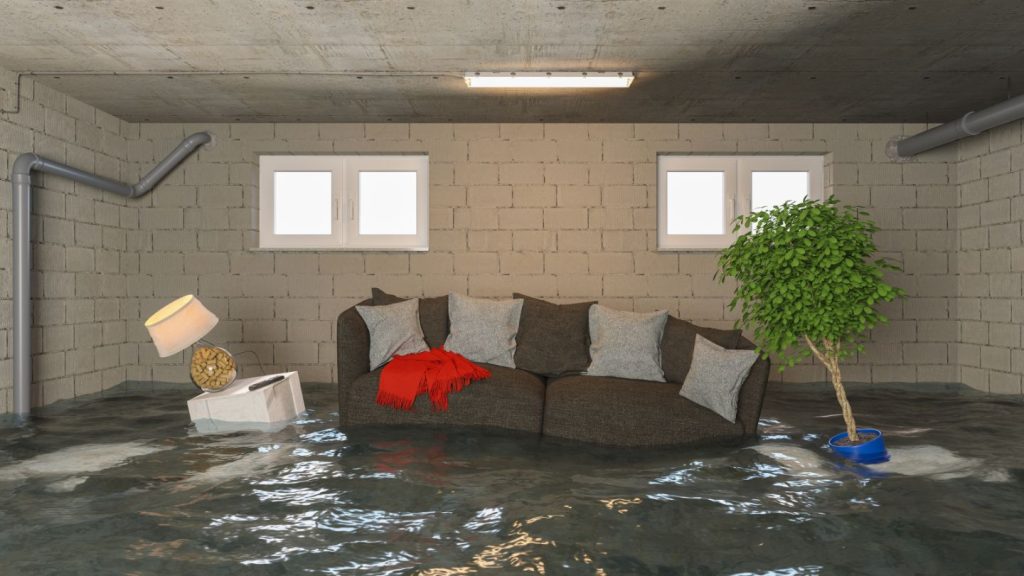
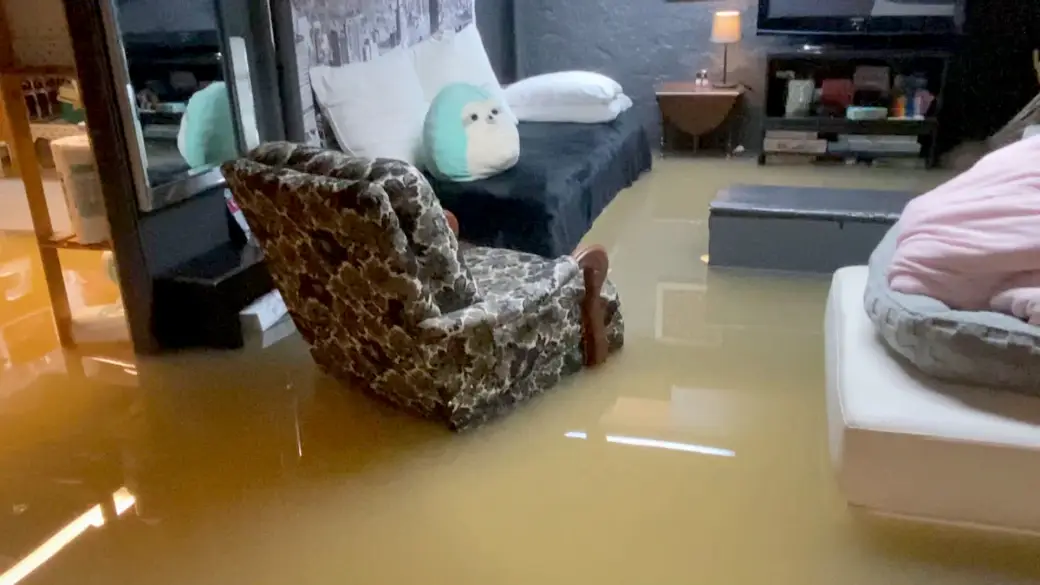
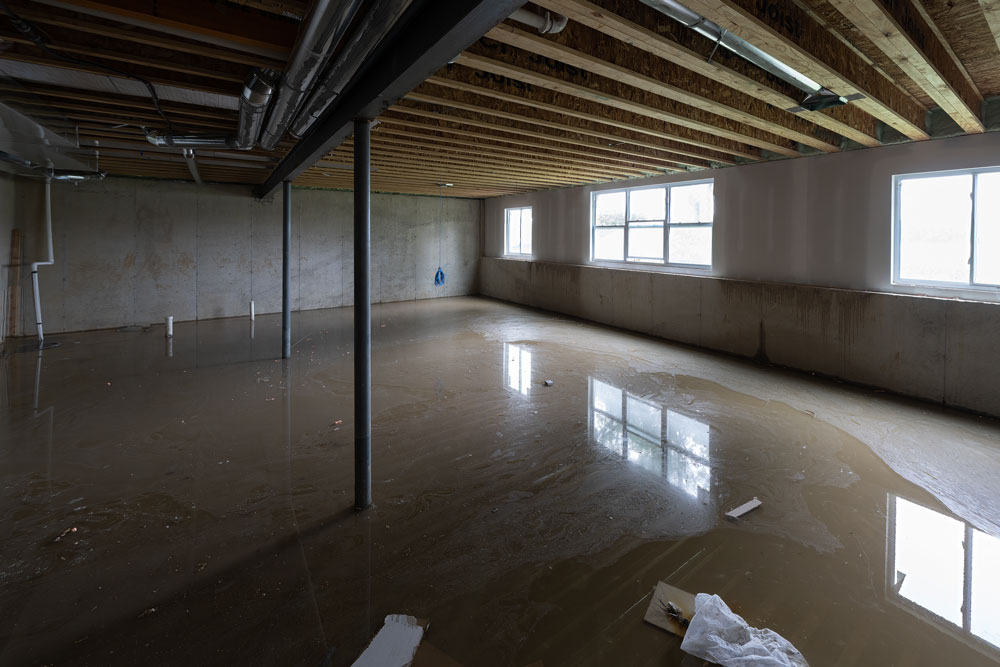
This guide covers the essential steps, tools, and materials needed to achieve a watertight finish. Whether you’re tackling a new installation or refreshing old caulk, following the right process ensures long-lasting results. Early attention to these details can prevent issues similar to those discussed in our roof inspection checklist, where water intrusion is a common concern.
Why Proper Sealing Matters in Bathrooms
The areas where your tub or shower meets tile, wall panels, or flooring are especially vulnerable to leaks. Water that seeps into these joints can cause:
- Mold and mildew growth behind walls or under flooring
- Damage to drywall, subfloors, and framing
- Unpleasant odors and unsightly stains
- Potential health risks due to prolonged moisture exposure
Addressing these issues early by sealing gaps helps maintain a healthy, attractive bathroom and protects your investment.
Choosing the Right Sealant for Tubs and Showers
Selecting the correct product is the first step in achieving a durable, watertight seal. For most bathroom applications, 100% silicone caulk is recommended. It offers superior water resistance, flexibility, and mold resistance compared to acrylic or latex options.
When shopping for sealant, look for labels indicating “bathroom,” “kitchen,” or “tub and tile” use. These formulas are specifically designed to withstand frequent moisture and temperature changes.
Tools and Materials Checklist
- Silicone caulk (bathroom grade, in your preferred color)
- Caulking gun
- Utility knife or razor scraper
- Painter’s tape
- Rubbing alcohol or bathroom cleaner
- Lint-free cloths or paper towels
- Caulk smoothing tool or a gloved finger
- Disposable gloves
Step-by-Step Instructions for Sealing Bath and Shower Edges
1. Remove Old Caulk and Clean the Area
Start by cutting away any existing caulk using a utility knife or razor scraper. Remove all residue to ensure the new sealant adheres properly. Clean the joint with rubbing alcohol or a bathroom cleaner, then dry thoroughly with a lint-free cloth.
2. Prepare the Joint
Apply painter’s tape above and below the seam to create clean, straight lines. This helps prevent excess caulk from spreading onto tiles or fixtures.
3. Apply New Silicone Caulk
Cut the tip of the caulk tube at a 45-degree angle, making the opening just wide enough for the gap you’re filling. Load the tube into your caulking gun. Hold the gun at a consistent angle and apply steady pressure, moving smoothly along the seam.
4. Smooth the Bead
Use a caulk smoothing tool or a gloved finger to gently press and shape the bead. This ensures good adhesion and a neat finish. Remove painter’s tape immediately after smoothing, before the caulk skins over.
5. Allow to Cure
Let the sealant cure according to the manufacturer’s instructions, usually 24 hours. Avoid using the tub or shower during this time to ensure a watertight bond.
Tips for a Long-Lasting Waterproof Seal
- Always use bathroom-grade silicone for best results.
- Replace caulk at the first sign of cracking, peeling, or mold.
- Keep the area dry and clean before and after application.
- Ventilate the bathroom to reduce humidity and prevent future mold growth.
- Inspect seals regularly, especially in high-use bathrooms.
For more advice on preventing water-related issues throughout your home, see our guide on how to prevent water damage from clogged gutters.
Common Mistakes to Avoid When Sealing Wet Areas
- Applying new caulk over old, loose, or moldy material
- Using the wrong type of sealant (e.g., acrylic instead of silicone)
- Not allowing enough curing time before using the shower or tub
- Skipping the cleaning step, which can lead to poor adhesion
- Leaving gaps or bubbles in the caulk bead
Avoiding these pitfalls will help you achieve a professional-looking, durable seal that stands up to daily use.
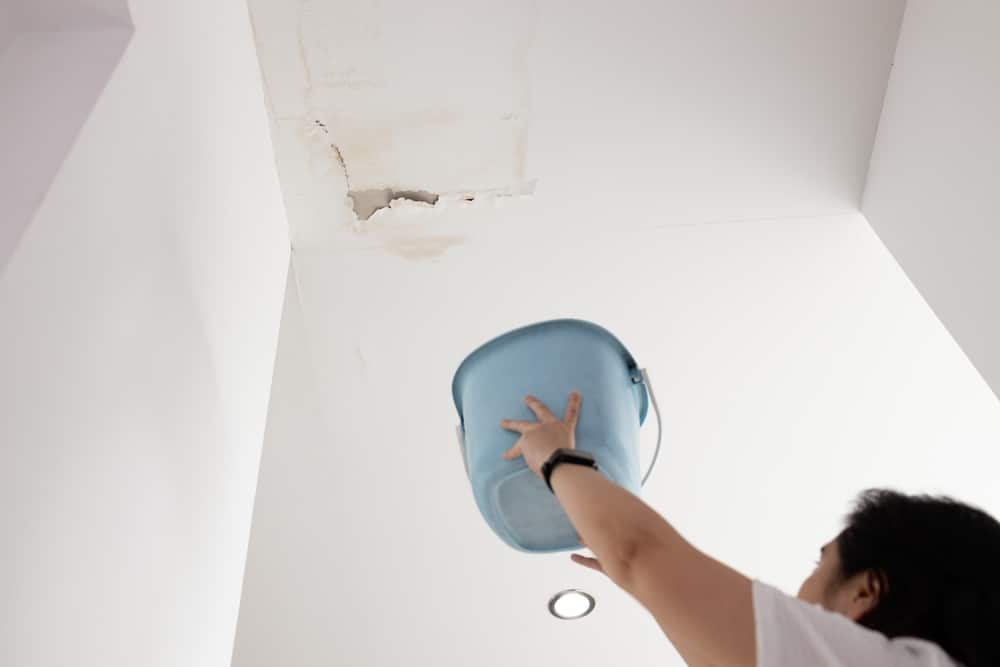
Extra Protection: Leak Detection and Home Safety
Even with careful sealing, hidden leaks can sometimes develop. Using smart devices like pipe or toilet leak detectors adds an extra layer of protection. These tools can alert you to water issues before they become serious, helping you maintain a dry, safe bathroom.
For more ways to safeguard your home, explore best practices to protect your home while you are away. Proactive steps, such as regular inspections and timely maintenance, are key to preventing water damage.
Frequently Asked Questions
How often should I reseal around my bathtub or shower?
It’s best to inspect the caulk every six months. Reseal whenever you notice cracks, peeling, or mold. In high-use bathrooms, annual resealing may be necessary for optimal protection.
Can I use any type of caulk for bathrooms?
No, always choose 100% silicone caulk labeled for bathroom or tub and tile use. Other types, like acrylic or latex, may not provide adequate water resistance and can deteriorate quickly in wet environments.
What should I do if I find mold behind the old caulk?
Remove all affected material and clean the area thoroughly with a mold-killing cleaner before applying new sealant. If mold persists or the substrate is damaged, consult a professional to address underlying issues.
Do I need to remove all old caulk before applying new?
Yes, for the best adhesion and a watertight seal, completely remove old caulk and clean the surface before applying fresh silicone.
Properly sealing wet areas is a straightforward but essential task for any homeowner. By following these steps and staying vigilant, you can prevent leaks, protect your bathroom, and maintain a healthy living space.