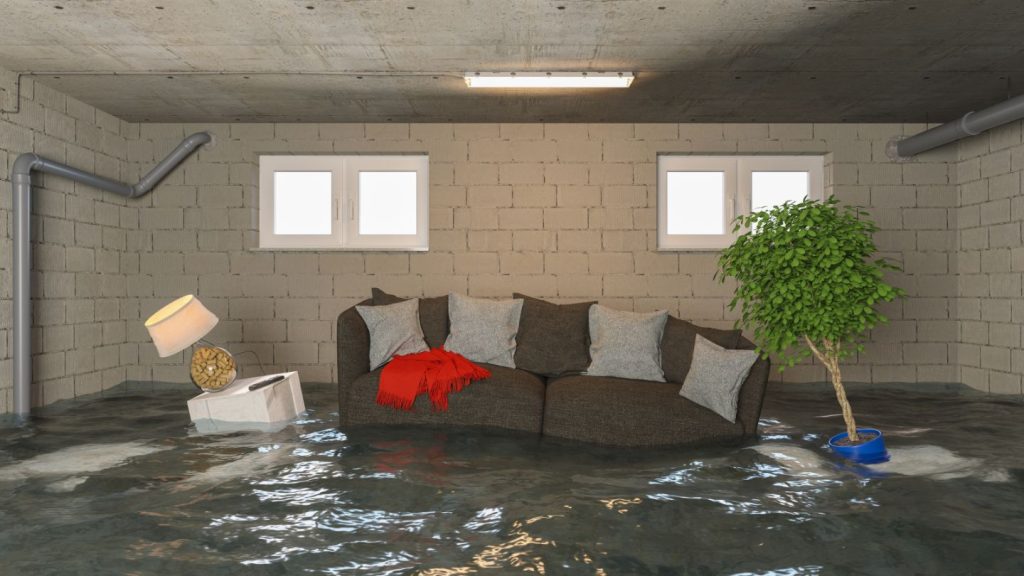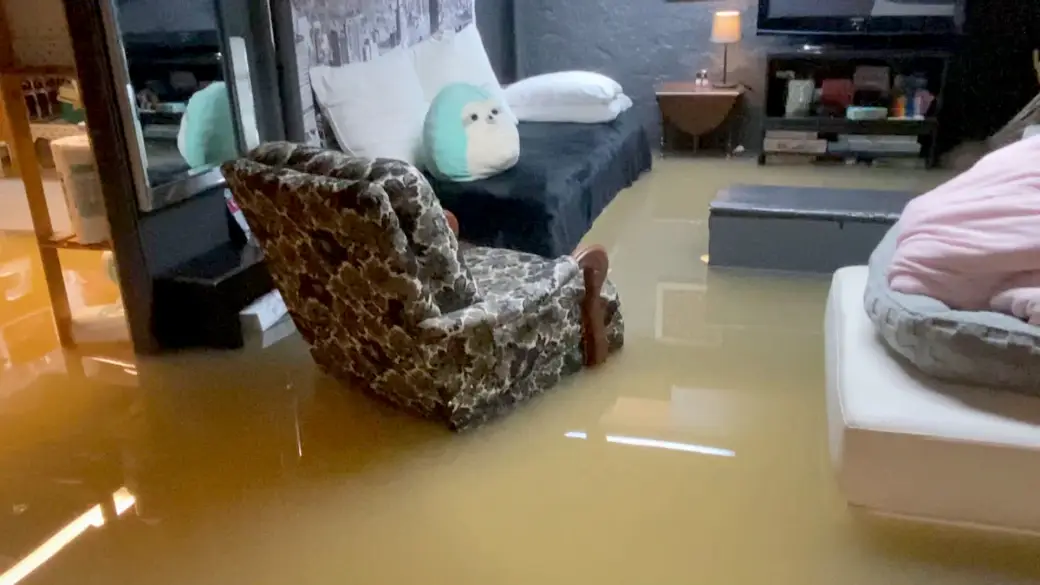
Excess moisture inside a house can lead to a range of problems, from warped flooring and peeling paint to the growth of mold and mildew. Detecting hidden dampness early is crucial for maintaining a healthy living environment and protecting your property from costly damage. One of the most effective tools for identifying and monitoring moisture levels is a moisture meter. Learning how to use a moisture meter properly empowers homeowners to pinpoint trouble spots, prevent water-related issues, and make informed decisions about repairs or renovations.
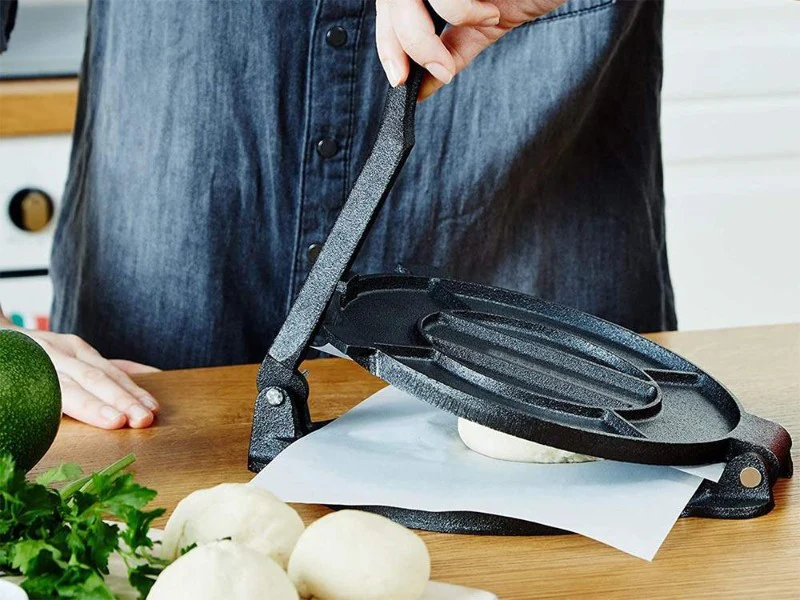
In this article, you’ll find a step-by-step guide to using these handy devices, tips for interpreting readings, and advice on where and when to check for moisture. We’ll also cover the different types of meters available and common mistakes to avoid, so you can confidently assess the condition of your home. For those interested in other practical home maintenance topics, you might also want to explore how to sanitize a cast iron press for safe kitchen use.
Understanding Moisture Meters and Their Benefits
A moisture meter is a device designed to measure the amount of water present in materials like wood, drywall, concrete, or even soil. Homeowners, contractors, and inspectors use these meters to detect hidden dampness that could lead to structural damage or health hazards. By regularly checking for abnormal moisture, you can prevent issues such as rot, mold growth, and even pest infestations.
There are two main types of meters commonly used in residential settings:
- Pin-type meters: These have two metal probes that are inserted into the material. They measure electrical resistance, which changes with moisture content.
- Pinless meters: These use a sensor pad placed on the surface. They work by sending electromagnetic signals into the material to detect moisture below the surface, without leaving holes.
Both types are effective, but pinless models are often preferred for finished surfaces, while pin-type meters are useful for probing deeper or testing small, hard-to-reach areas.
When and Where to Check for Moisture
Knowing how to use a moisture meter effectively means understanding where water problems are most likely to develop. Common areas to check include:
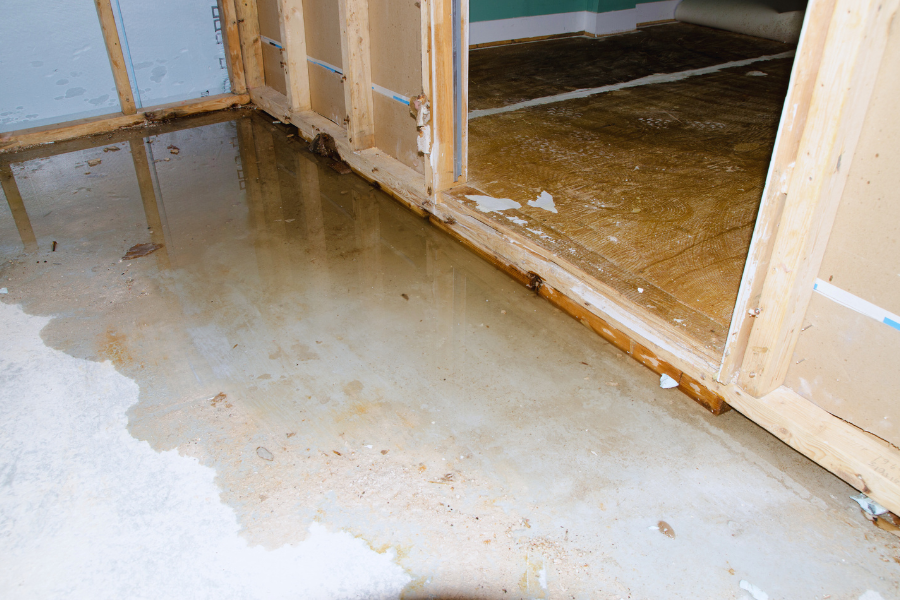
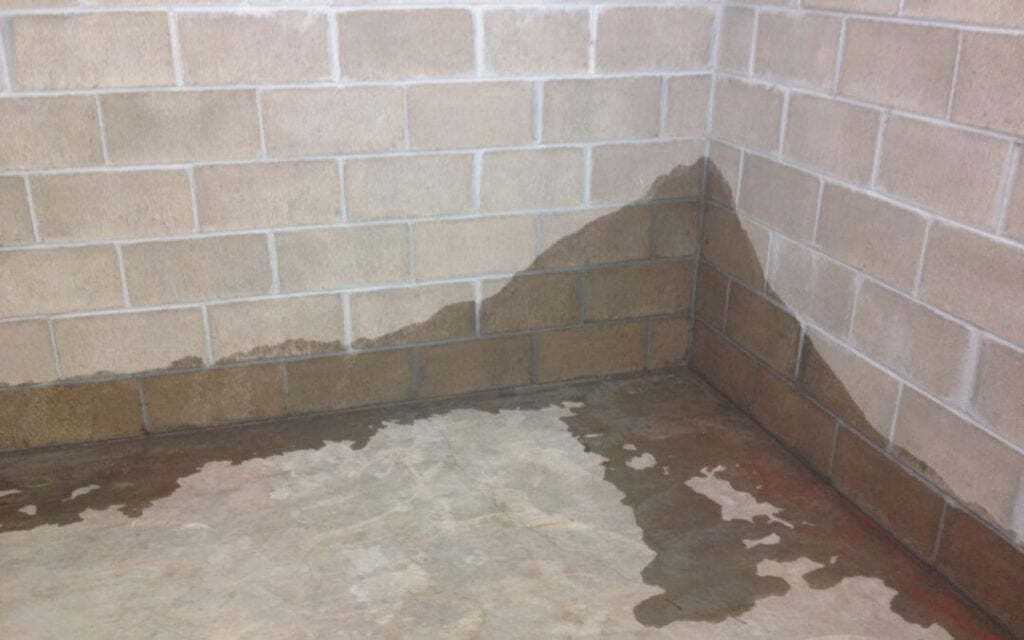
- Basements and crawl spaces, especially after heavy rain
- Bathrooms and kitchens near sinks, tubs, and toilets
- Under windows and around doors
- Attics, particularly beneath roof leaks or around vents
- Behind appliances like washing machines and dishwashers
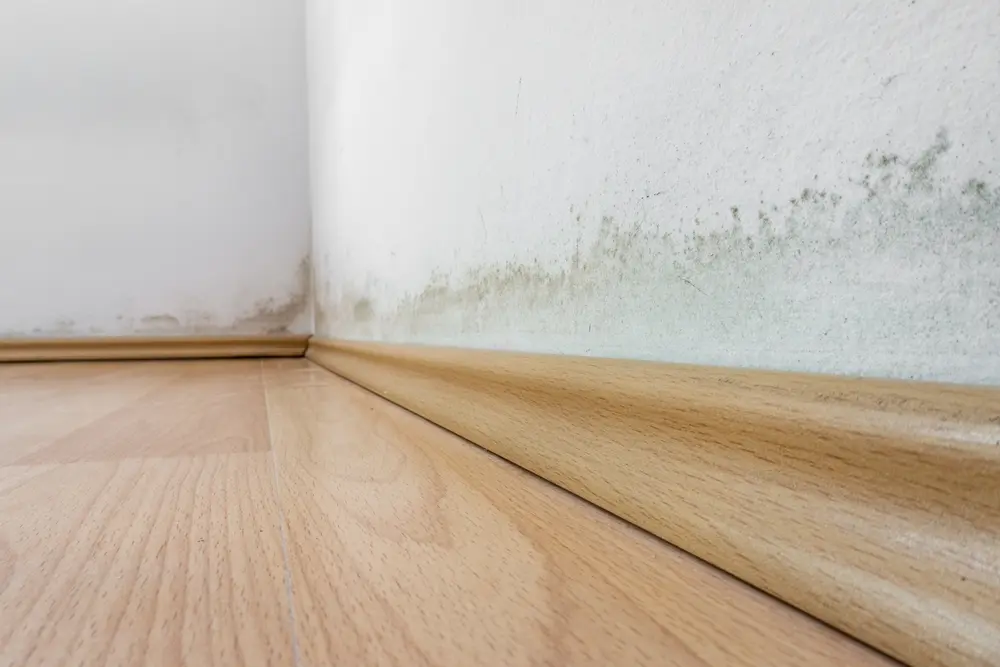
- Anywhere you notice stains, musty odors, or peeling paint
It’s wise to inspect these areas during seasonal changes, after plumbing leaks, or whenever you suspect excess humidity. Early detection can save you from expensive repairs down the road.
Step-by-Step Guide: Checking Moisture Levels at Home
Using a moisture meter is straightforward, but following the right steps ensures accurate results. Here’s how to get started:
- Read the manual: Each device has specific instructions. Familiarize yourself with its features, recommended calibration, and the materials it’s designed to test.
- Calibrate the meter: Some models require calibration before use. Follow the manufacturer’s guidelines to ensure reliable readings.
- Test a dry area first: Take a baseline reading on a section you know is dry. This helps you compare results and spot anomalies.
- Place the meter on the surface: For pinless meters, press the sensor pad flat against the material. For pin-type meters, insert the probes gently but firmly.
- Read the display: Most meters show moisture content as a percentage. For wood, readings above 16% usually indicate a problem. For drywall or masonry, even lower percentages can be a concern.
- Check multiple spots: Move the meter around the area to identify the extent of moisture. Pay special attention to corners, seams, and areas near known leaks.
- Record your findings: Keep notes or photos of readings, especially if you’re monitoring a problem over time or planning repairs.
If you discover elevated moisture, it’s important to identify the source and address it promptly. Sometimes, a professional inspection or remediation may be necessary.
Interpreting Results and Taking Action
Interpreting the numbers on your meter is key to making informed decisions. Here are some general guidelines:
- Wood: 6–16% is normal for indoor wood. Above 16% may indicate a risk for rot or mold.
- Drywall: Should generally be below 1%. Higher readings suggest a leak or condensation issue.
- Concrete: Acceptable levels vary, but anything above 4–5% could signal a problem.
If you find high readings, search for visible leaks, condensation, or plumbing issues. Consider using a guide to protecting your home from water damage for further prevention tips. Addressing moisture early can prevent mold growth and structural deterioration.
Common Mistakes and How to Avoid Them
Even with the right equipment, mistakes can lead to false readings or missed problems. Here are some pitfalls to watch out for:
- Not calibrating the meter: Skipping this step can result in inaccurate measurements.
- Testing only one spot: Moisture can be localized. Always check several areas for a complete picture.
- Ignoring surface contamination: Dirt, paint, or finishes can affect readings. Clean the area before testing.
- Misinterpreting readings: Understand what’s normal for each material. Consult the manual or manufacturer’s guidelines if unsure.
- Delaying action: If you find high moisture, address it quickly to prevent further damage.
By following best practices, you’ll get the most value from your meter and keep your home in top condition.
Additional Tips for Homeowners
Regular moisture checks are an important part of home maintenance. Here are a few extra suggestions:
- Use a moisture meter before buying or selling a home to uncover hidden issues.
- After water damage or flooding, monitor affected areas for several weeks to ensure they dry out completely.
- Combine moisture readings with visual inspections and your sense of smell—musty odors often signal hidden dampness.
- If you’re interested in other home care topics, you might also like our guide on how to store corn masa for pressing for kitchen enthusiasts.
Frequently Asked Questions
What is a safe moisture level for walls and floors?
For drywall, a moisture content below 1% is generally considered safe. For wood floors and framing, 6–16% is typical for indoor environments. If your readings are higher, investigate for leaks or condensation.
Can I use a moisture meter on concrete or tile?
Yes, many meters are designed to test concrete and other masonry materials. Look for models with settings for these surfaces. Acceptable moisture levels for concrete are usually below 4–5%, but always check your meter’s manual for specific guidelines.
How often should I check for moisture in my home?
It’s a good idea to test high-risk areas seasonally, after heavy rain, or whenever you notice signs of dampness. Regular checks help catch problems early and keep your home healthy.
Do I need a professional to interpret the results?
Most homeowners can use and interpret a moisture meter with a little practice. However, if you find persistently high readings or can’t locate the source of moisture, a professional inspection is recommended.