Making homemade wraps can elevate your sandwiches, burritos, and lunch options. If you want soft, pliable flatbreads without the hassle of rolling pins and uneven thickness, a tortilla press is a practical tool to add to your kitchen. This guide walks you through how to use a tortilla press for wraps, shares tips for perfect results, and introduces creative sandwich bread hacks for anyone looking to upgrade their lunch game.
Whether you’re a home cook or a meal-prep enthusiast, learning to use a tortilla press can save time and help you achieve consistent, delicious wraps. Before diving into the step-by-step process, it’s helpful to understand the basics of tortilla presses and why they’re so effective for making wraps and other flatbreads. For those interested in other creative uses, you might also want to explore how to use a tortilla press for tart shells for more pastry ideas.
Understanding Tortilla Presses and Their Benefits
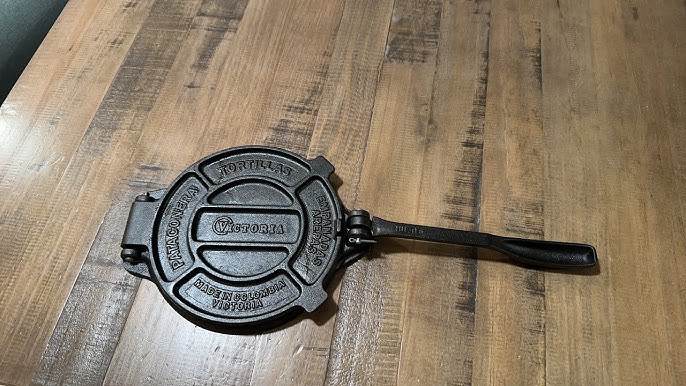
A tortilla press is a simple device, usually made of cast iron, aluminum, or wood, designed to flatten balls of dough into thin, even rounds. While originally intended for corn tortillas, these presses are equally effective for making wraps, sandwich breads, and other flatbreads. Using a press ensures uniform thickness, which is crucial for wraps that need to fold and roll without tearing.
Some key advantages of using a tortilla press for wraps include:
- Consistency: Even thickness means your wraps cook uniformly and are less likely to break.
- Speed: Pressing dough is much faster than rolling it out by hand.
- Versatility: You can use a press for flour wraps, gluten-free options, and even creative sandwich bread hacks.
If your press is vintage or cast iron, maintaining it is important. For restoration tips, see this guide to restoring vintage cast iron cookware.
Choosing the Right Dough for Wraps
Not all doughs are created equal when it comes to wraps. The ideal dough should be soft, elastic, and easy to press. Here are some popular options:
- Flour Tortilla Dough: Made with all-purpose flour, water, a bit of fat (oil or shortening), and salt. This is the classic choice for sandwich wraps.
- Gluten-Free Dough: Use a blend of gluten-free flours and a binding agent like xanthan gum for flexibility.
- Whole Wheat Dough: For a healthier option, substitute part or all of the flour with whole wheat flour.
Let your dough rest for at least 20 minutes before pressing. This relaxes the gluten and makes it easier to flatten without springing back.
Step-by-Step: Making Wraps with a Tortilla Press
Follow these steps for soft, pliable wraps using your tortilla press:
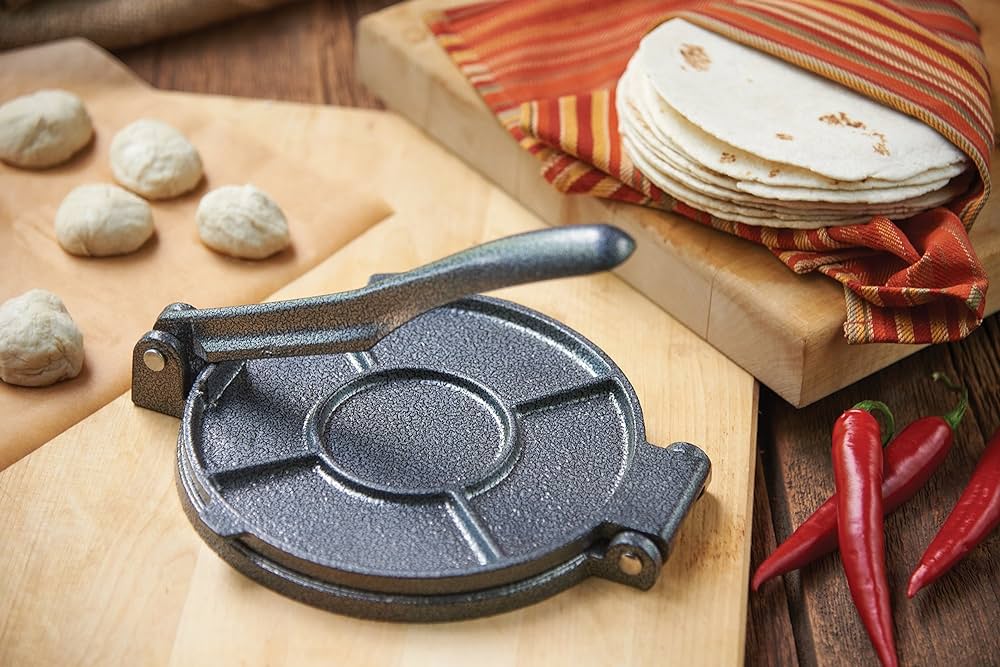
- Divide and Shape: Portion your dough into balls, about the size of a golf ball (roughly 40–50 grams each).
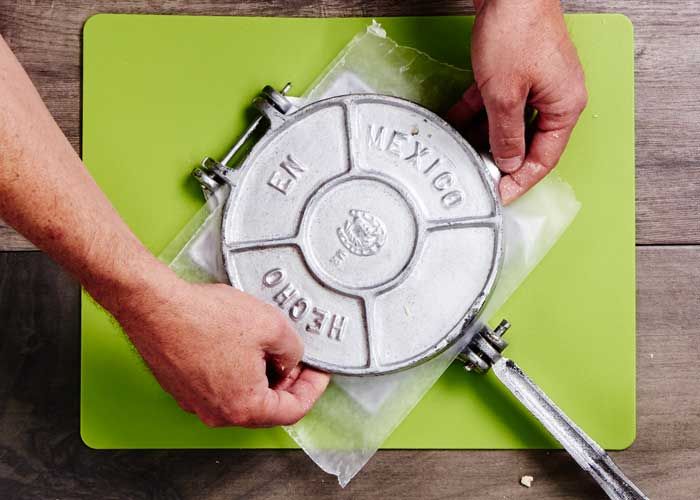
- Prepare the Press: Cut two pieces of parchment paper or plastic (from a zip-top bag) to fit the press. This prevents sticking.
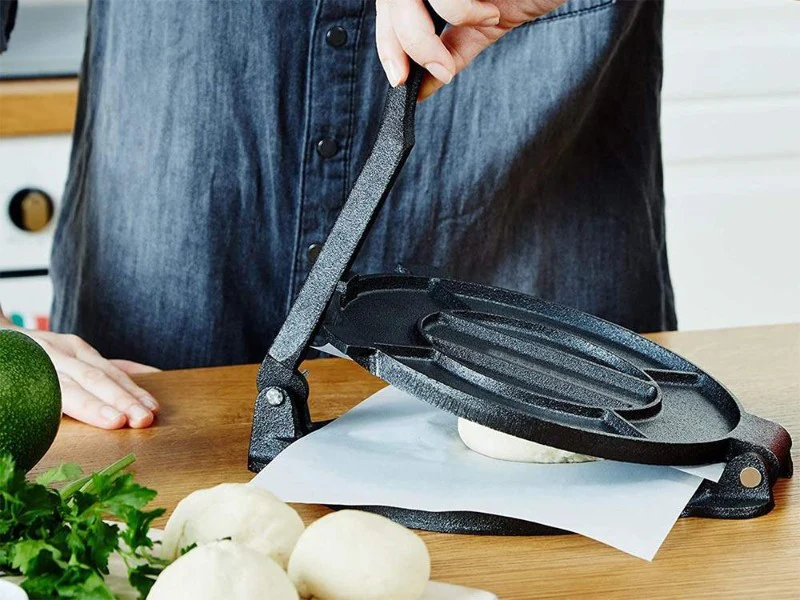
- Position the Dough: Place one dough ball between the sheets on the center of the press.
- Press Evenly: Close the lid and press down firmly. Open, rotate the dough 90 degrees, and press again for uniform thickness.
- Check Thickness: For wraps, aim for 2–3 mm thickness. Too thin and they may tear; too thick and they won’t roll well.
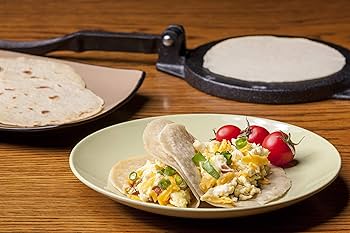
- Cook Immediately: Transfer the pressed wrap to a hot, dry skillet or griddle. Cook for 30–60 seconds per side until lightly golden and flexible.
- Keep Warm: Stack finished wraps in a clean towel to keep them soft until ready to use.
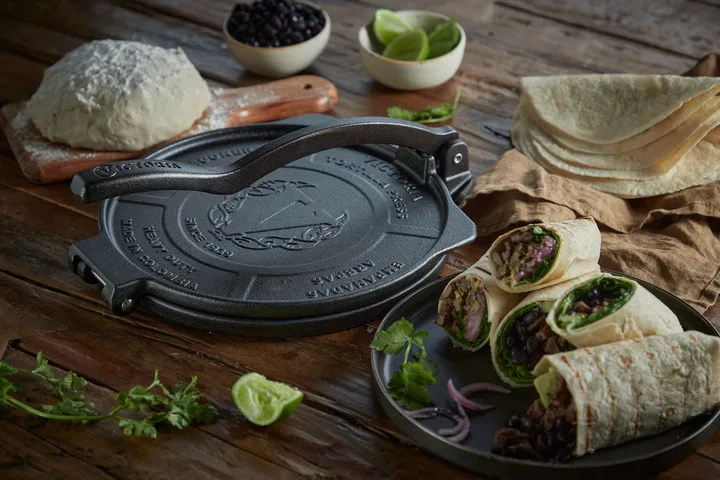
Sandwich Bread Hacks Using a Tortilla Press
Beyond classic tortillas, your press can help you create a variety of flatbreads perfect for sandwiches and wraps. Here are some creative ideas:
- Spinach or Beet Wraps: Add pureed spinach or beet to your dough for color and nutrition.
- Cheese-Stuffed Flatbreads: Place a small amount of shredded cheese between two thin dough rounds, press gently, and cook for a melty sandwich base.
- Herb-Infused Wraps: Mix chopped fresh herbs into your dough for extra flavor.
- Quick Pita-Style Breads: Use a slightly thicker dough ball and press gently for a soft, pocket-style bread.
For more inspiration on using your press for different recipes, check out this guide on how to press tortillas for chilaquiles and discover new ways to enjoy homemade flatbreads.
Tips for Success When Using a Tortilla Press for Wraps
To get the best results with your press, keep these tips in mind:
- Use Parchment or Plastic: Always use a liner to prevent sticking and tearing.
- Don’t Over-Press: Press just enough to flatten; too much force can make wraps too thin and fragile.
- Cook on High Heat: A hot skillet ensures wraps puff slightly and stay flexible.
- Store Properly: Keep cooked wraps wrapped in a towel or airtight container to maintain softness.
- Experiment: Try different flours, add-ins, and thicknesses to find your perfect sandwich bread.
If you encounter issues with your press, such as instability, you may find solutions in resources like how to fix a wobbly tortilla press base.
Cleaning and Maintaining Your Tortilla Press
Proper care will keep your press in top shape for years. Here’s how:
- Wipe After Use: Clean the press with a damp cloth. Avoid soaking, especially with cast iron models.
- Dry Thoroughly: Prevent rust by drying completely after cleaning.
- Season Cast Iron: Occasionally rub a thin layer of oil on cast iron presses to maintain the finish.
- Store Safely: Keep your press in a dry place, preferably wrapped in a towel or cloth bag.
For more on creative baking, you might like how to use a tortilla press for cookies for uniform treats.
Frequently Asked Questions
- Can I use a tortilla press for gluten-free wraps?
- Yes, a tortilla press works well with gluten-free doughs. Use a blend of gluten-free flours and a binding agent like xanthan gum to ensure flexibility. Press gently to avoid tearing.
- What size tortilla press is best for sandwich wraps?
- An 8-inch press is ideal for most sandwich wraps, providing enough surface area for fillings while fitting standard skillets. Larger presses can be used for bigger wraps or flatbreads.
- How do I prevent wraps from sticking to the press?
- Always use parchment paper or cut plastic sheets on both sides of the dough. This prevents sticking and makes transferring the pressed dough to the skillet much easier.
Conclusion
Mastering how to use a tortilla press for wraps opens up a world of homemade sandwich bread possibilities. With the right dough, a few simple techniques, and a bit of creativity, you can enjoy fresh, flexible wraps that take your lunches and snacks to the next level. Explore different flours, fillings, and sandwich bread hacks to make the most of your tortilla press and keep your meals interesting and satisfying.