Sealing your bathtub and shower is crucial for maintaining a clean and functional bathroom. Proper sealing not only prevents water damage but also enhances the aesthetic appeal of your bathroom. Understanding how to seal bathtubs and showers effectively is essential for every homeowner.
By learning how to seal bathtubs and showers, you ensure that water stays where its supposed toinside the tub or showerand doesnt seep into walls and floors, causing mold and structural damage. This guide will walk you through the process, ensuring your bathroom remains a sanctuary, free from leaks and water damage.

Why Sealing is Important
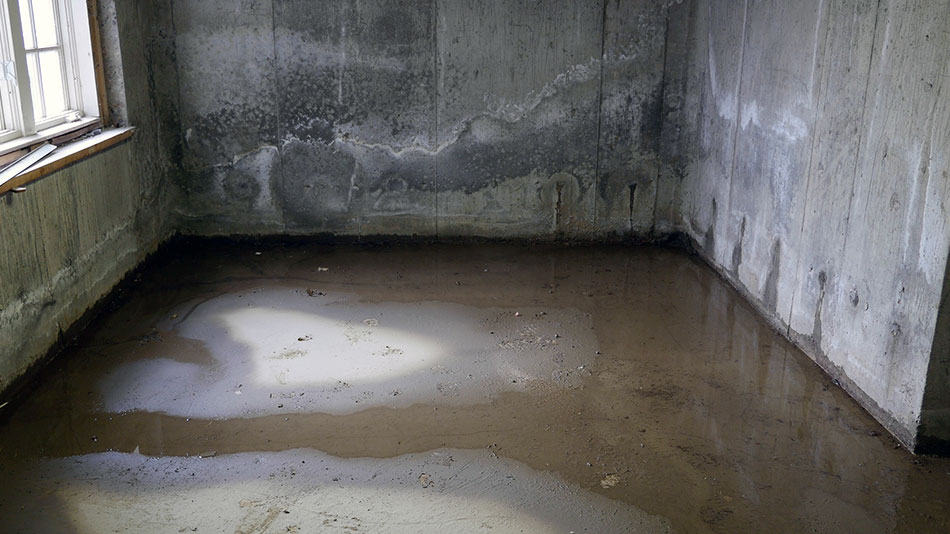
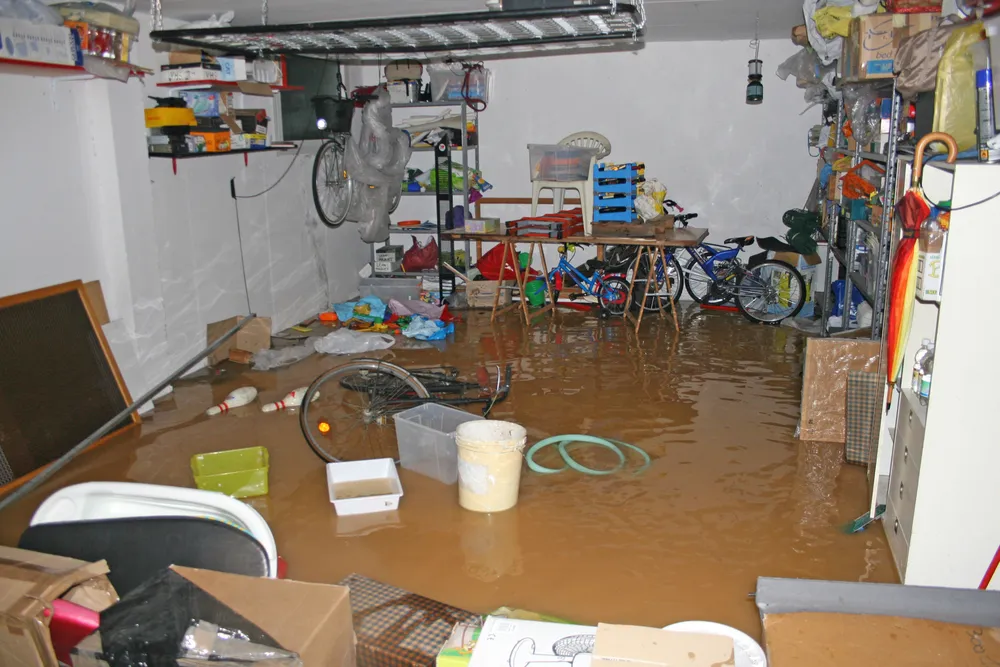
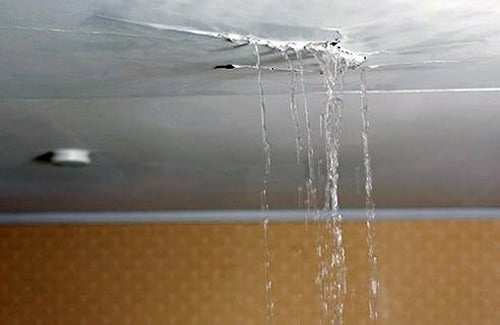
Sealing bathtubs and showers is not just about aesthetics; its about safety and maintenance. Water can be incredibly destructive if it seeps into areas where it shouldnt be. This can lead to issues like mold growth, structural damage, and even lead to costly repairs if not addressed promptly.
Preventing Water Damage
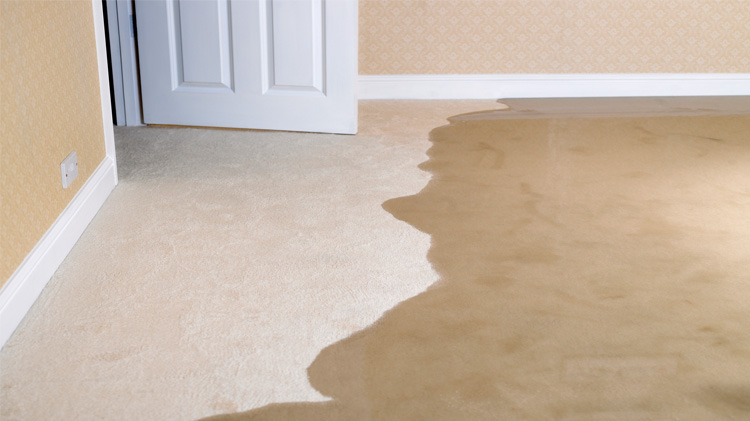
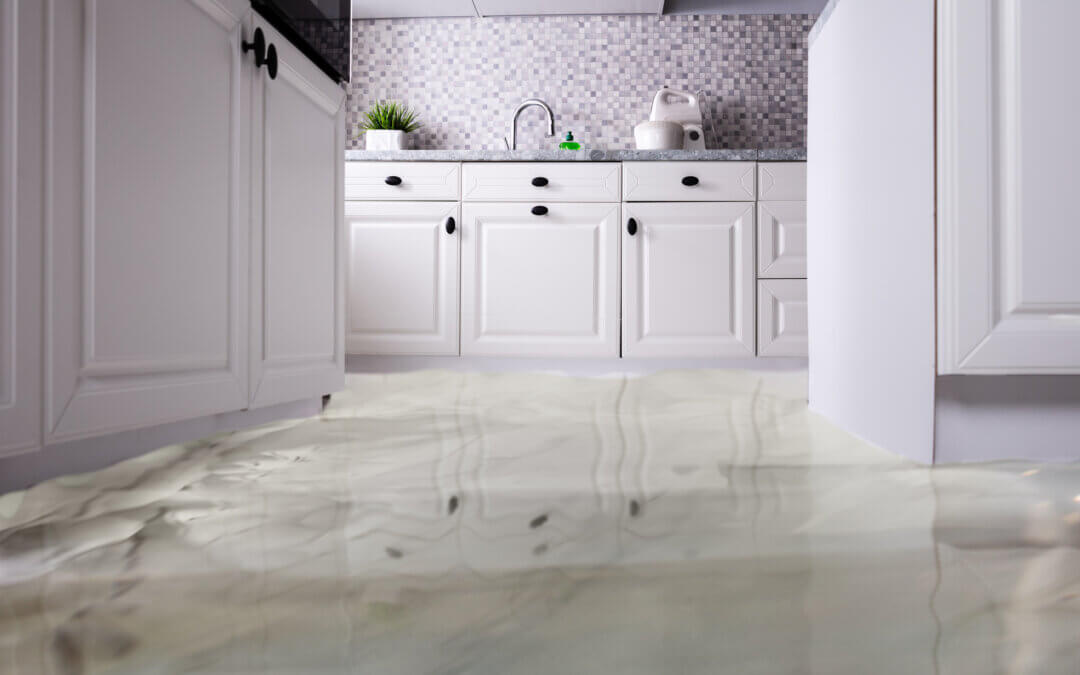
One of the primary reasons for sealing is to prevent water damage. Water can cause significant damage to your homes structure, especially if it penetrates walls and floors. Regular sealing helps to create a watertight barrier, ensuring that water remains in the bathtub or shower area.
For more insights on preventing water damage, you might find this external resource helpful.
Aesthetic Benefits
Beyond protection, sealing can significantly enhance the look of your bathroom. A well-sealed tub or shower looks cleaner and more polished, adding to the overall appeal of the space.
Materials Needed for Sealing
Before you begin, gather all necessary materials. You will need a high-quality silicone sealant, a caulking gun, a utility knife, and a cleaning solution to prepare the surfaces.
Choosing the Right Sealant
Choosing the right sealant is critical. Silicone sealants are often recommended for bathrooms due to their water-resistant properties. Ensure the sealant is designed for bathroom use, as these are formulated to resist mold and mildew.
Step-by-Step Guide to Sealing
1. Remove Old Sealant
Start by removing any old sealant. Use a utility knife to carefully cut away the old material. Be sure to remove all of it to ensure a clean surface for the new sealant.
2. Clean the Surface
Once the old sealant is removed, clean the area thoroughly. Use a cleaning solution to remove any soap scum, dirt, or mold. Allow the area to dry completely before proceeding.
For more tips on cleaning and preparing surfaces, you can check this useful guide.
3. Apply New Sealant
Load your caulking gun with the silicone sealant. Apply the sealant evenly along the seams where the tub or shower meets the wall. Use a steady hand and maintain a consistent speed to ensure an even application.
4. Smooth the Sealant
After applying the sealant, smooth it out with a wet finger or a tool designed for this purpose. This will help ensure that the sealant adheres properly and looks uniform.
Allow for Proper Drying
Once applied, allow the sealant to dry completely. This can take anywhere from 24 to 48 hours, depending on the product used. Avoid using the shower or bathtub during this time to ensure the sealant sets properly.
Maintenance Tips
Regular Inspections
Regularly inspect the sealant for any signs of wear or damage. Early detection can prevent more significant problems down the line.
Re-Sealing
Over time, sealants can degrade. Be prepared to re-seal your tub or shower every few years, depending on the wear and tear it experiences.
Common Mistakes to Avoid
While sealing is a straightforward task, there are common mistakes to avoid. Ensure you remove all old sealant, apply the new sealant evenly, and allow adequate drying time to prevent issues.

Faq Section
How often should I seal my bathtub?
It’s recommended to check the sealant annually and re-seal every few years or as needed.
Can I use any sealant for my bathroom?
No, it’s crucial to use a sealant designed specifically for bathrooms to prevent mold and mildew.
What if I notice mold behind the sealant?
If you discover mold, remove the sealant, thoroughly clean the area, and apply new sealant.
For more information on dealing with water issues in different parts of the house, you can explore this guide.
Understanding how to seal bathtubs and showers correctly can save you from future headaches and costly repairs. By following this guide, you ensure a durable and attractive finish to your bathroom, protecting it from water damage and keeping it looking its best.
This article contains affiliate links. We may earn a commission at no extra cost to you.