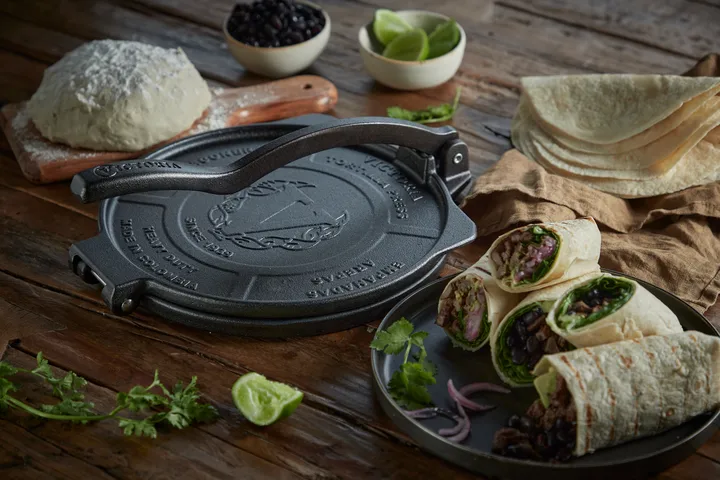
Pupusas are a beloved Salvadoran specialty, known for their delicious fillings and soft, thick corn dough. Achieving the perfect shape and thickness can be challenging, especially for beginners. Using a tortilla press can simplify the process, ensuring even, round discs and making it easier to stuff and seal the dough. In this guide, you’ll learn how to use a tortilla press for pupusas step by step, including tips for prepping the dough, adding fillings, and troubleshooting common issues.
Whether you’re new to making pupusas or looking to streamline your technique, mastering the tortilla press will help you create consistent, tasty results at home. If you’re interested in using a press for other dough-based recipes, you might also enjoy our article on how to press tortillas for gorditas de azucar, which covers sweet dough tips and similar pressing techniques.
Why Use a Tortilla Press for Stuffed Pupusas?
Traditional pupusas are made by hand, but using a press offers several advantages:
- Uniform Thickness: The press ensures each dough disc is the same thickness, leading to even cooking and a consistent bite.
- Speed and Efficiency: Flattening dough by hand can be time-consuming. A press speeds up the process, especially when making large batches.
- Easy Shaping: The round shape produced by the press makes it easier to add fillings and seal the edges without tearing.
While some purists prefer hand-shaping, a tortilla press is a practical tool for home cooks and anyone seeking reliable results. It’s also a great way to introduce children or beginners to Salvadoran cooking.
Choosing the Right Tortilla Press for Pupusas
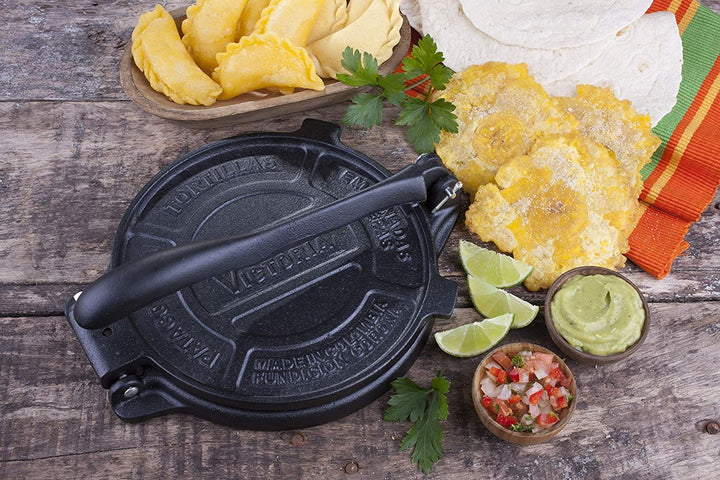
Not all presses are created equal. For stuffed pupusas, a heavy-duty cast iron or aluminum press works best. Look for these features:
- Size: An 8-inch press is ideal for most pupusas, providing enough space for stuffing and sealing.
- Weight: Heavier presses flatten dough more evenly with less effort.
- Material: Cast iron is durable and provides even pressure, but aluminum is lighter and easier to handle.
If you’re using a vintage or cast iron press, be sure to keep it clean and well-seasoned. For tips on maintaining cast iron cookware, check out this comprehensive guide to restoring vintage cast iron.
Preparing the Dough for Pressing
The dough for pupusas is made from masa harina (corn flour), water, and a pinch of salt. Here’s how to get it ready for the press:
- Mix the Dough: Combine 2 cups masa harina with 1.5 cups warm water and 1/2 teaspoon salt. Stir until a soft, pliable dough forms.
- Rest the Dough: Let the dough rest for 10 minutes, covered with a damp towel, to allow the flour to hydrate fully.
- Divide into Balls: Roll the dough into golf ball-sized portions (about 2 ounces each). Keep them covered to prevent drying out.
The dough should be soft but not sticky. If it cracks when pressed, add a tablespoon of water at a time until it’s smooth and pliable.
How to Use a Tortilla Press for Pupusas: Step-by-Step
Follow these steps to shape and stuff your pupusas using a press:
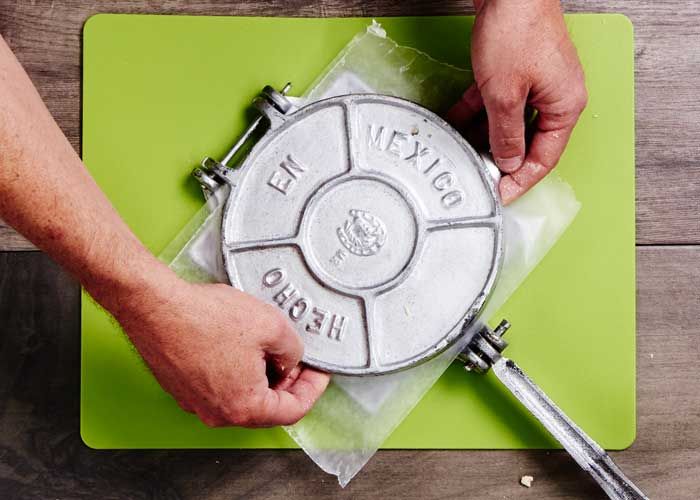
- Line the Press: Cut two squares of plastic (from a zip-top bag or parchment paper) to fit the plates of your press. Place one on the bottom plate.
- Flatten the Dough: Place a dough ball in the center, cover with the second piece of plastic, and gently press down. For pupusas, press only halfway—about 1/4 inch thick. You want a thick disc, not a thin tortilla.
- Add the Filling: Remove the top plastic, add 1–2 tablespoons of your chosen filling (beans, cheese, pork, or a mix) to the center.
- Seal and Shape: Carefully lift the dough with the bottom plastic, fold the edges up and over the filling, pinching to seal. Gently roll into a ball again, then flatten slightly by hand or with the press (using less pressure) to form a thick disc.
- Cook Immediately: Place the shaped pupusa on a hot, lightly greased griddle or skillet. Cook for 2–3 minutes per side, until golden and slightly puffed.
Using a press helps maintain an even thickness and prevents the dough from sticking to your hands, making the process less messy and more efficient.
Troubleshooting Common Issues with Stuffed Dough
Even with a tortilla press, you might encounter some challenges. Here’s how to address them:
- Dough Cracks When Pressed: The dough is too dry. Add a little more water and knead until smooth.
- Filling Leaks Out: Don’t overfill. Make sure the edges are well-sealed before flattening the stuffed ball.
- Pupusas Stick to the Press: Always use plastic liners. If sticking persists, lightly oil the liners or your hands.
- Uneven Thickness: Press gently and evenly. For final shaping, use your hands to adjust the thickness as needed.
With practice, you’ll find the right balance of dough hydration, filling quantity, and pressing pressure for perfect results every time.
Creative Filling Ideas for Homemade Pupusas
One of the joys of making pupusas at home is customizing the fillings. Here are some popular and creative options:
- Queso: Use a mild melting cheese like mozzarella or Salvadoran quesillo.
- Refried Beans: Black or red beans, mashed and seasoned.
- Chicharrón: Finely ground cooked pork, often mixed with tomato and spices.
- Vegetarian: Sautéed mushrooms, spinach, or zucchini with cheese.
- Fusion: Try roasted peppers, caramelized onions, or even spicy chicken for a twist.
Mix and match fillings to suit your taste. Just be sure not to overstuff, as this can make sealing and pressing more difficult.
Cleaning and Maintaining Your Tortilla Press
Proper care will keep your press working smoothly for years. After each use:
- Wipe down with a damp cloth to remove dough residue.
- Dry thoroughly to prevent rust, especially for cast iron models.
- Lightly oil the surface if needed, particularly if you notice any sticking or dullness.
If you notice buildup or rust, refer to a detailed cast iron restoration guide for safe cleaning methods.
For more ways to use your press, explore our tips for using a tortilla press for pastry dough and prepping thin crust pizza.
FAQs About Using a Tortilla Press for Pupusas
Can I use a tortilla press for other stuffed dough recipes?
Absolutely. The same technique works for other stuffed flatbreads, such as gorditas, arepas, and even dumpling skins. For more on dumpling wrappers, see our guide on using a tortilla press for dumpling skins.
What if I don’t have plastic liners for my press?
If you don’t have plastic bags, parchment paper or wax paper cut to size will also work. Avoid using aluminum foil, as it can tear and stick to the dough.
How thick should pupusas be after pressing?
Pupusas should be about 1/4 inch thick—thicker than tortillas, but not so thick that they won’t cook through. If you’re unsure, err on the side of slightly thinner, as they will puff up a bit during cooking.
Can I freeze pupusas after shaping?
Yes. Place shaped, uncooked pupusas between layers of parchment and freeze. Cook from frozen, adding an extra minute or two per side.
Conclusion
Mastering how to use a tortilla press for pupusas can transform your homemade Salvadoran cooking. With the right dough consistency, a quality press, and a bit of practice, you’ll enjoy perfectly shaped, deliciously stuffed pupusas every time. Experiment with different fillings, keep your press well-maintained, and enjoy sharing this classic dish with friends and family.