Setting up a cast iron tortilla press for the first time can feel a bit intimidating, but with the right instructions, you’ll have it ready to use in just a few minutes. Whether you’re making fresh tortillas at home or exploring new uses for your press, proper assembly ensures smooth operation and long-lasting performance. This guide covers all the steps you need to get your press ready, from unpacking to your first tortilla. We’ll also share tips for care, maintenance, and troubleshooting, so you can enjoy homemade tortillas and more with confidence.
Before diving into the assembly process, it’s helpful to understand the parts of your press and how they fit together. If you’re interested in expanding your skills, you might also want to learn about how to press tortillas for gorditas de azucar or explore using your press for other doughs.
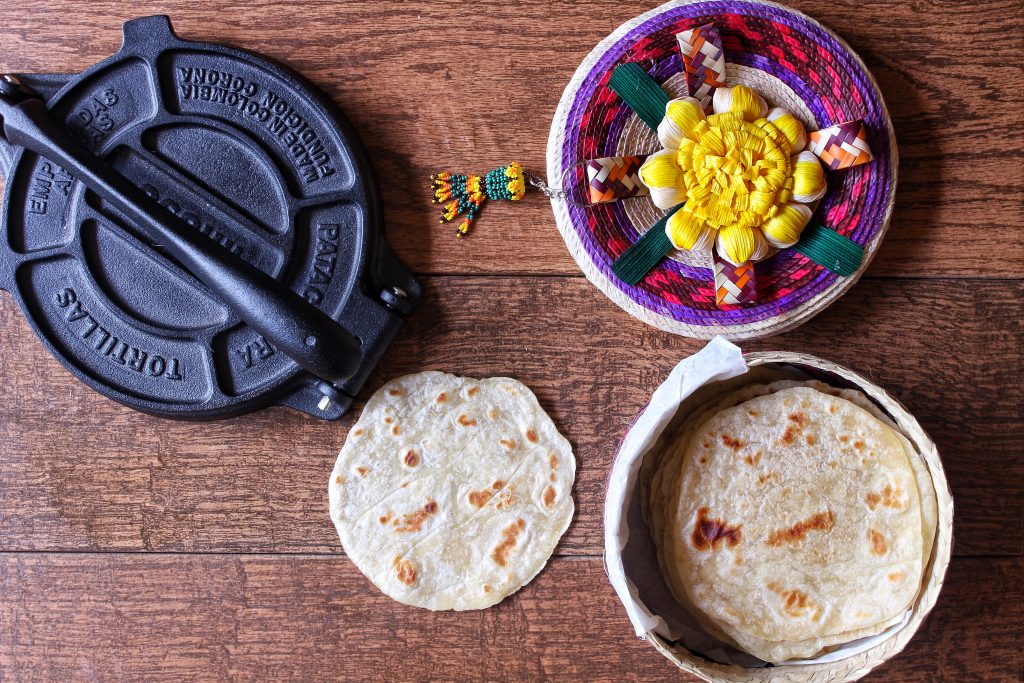
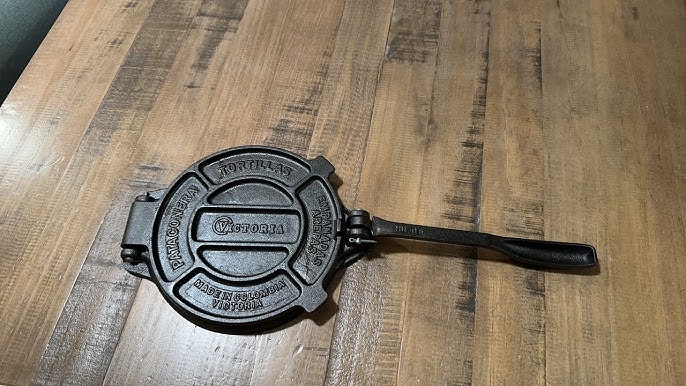
Understanding the Parts of Your Cast Iron Press
Most cast iron tortilla presses come with a few simple components:
- Top plate (lid)
- Bottom plate (base)
- Handle
- Hinge pin or bolt
- Handle bolt and nut (sometimes included separately)
Before assembly, lay out all the parts and check for any protective coatings or packaging materials. Some presses arrive with a light oil coating to prevent rust during shipping. Wipe this off with a clean, dry cloth or wash with mild soap and water if needed, then dry thoroughly.
Step-by-Step Guide: Setting Up Your Tortilla Press
Follow these steps to put your press together safely and correctly. This process is similar for most brands and sizes, including the popular 8-inch models.
1. Aligning the Plates
Place the bottom plate on a flat surface. Position the top plate above it so that the hinge holes line up. The plates should be oriented so the handle attachment point on the top plate faces outward, away from the hinge.
2. Inserting the Hinge Pin or Bolt
Slide the hinge pin or bolt through the aligned holes at the back of the plates. If your model uses a bolt and nut, tighten them securely but avoid over-tightening, which could restrict movement. The top plate should lift and lower smoothly on the hinge.
3. Attaching the Handle
Most handles are attached to the top plate using a bolt and nut. Insert the handle into the designated slot or hole on the top plate. Insert the bolt through the handle and plate, then secure with the nut underneath. Tighten until the handle feels stable and does not wobble.
4. Checking for Smooth Operation
Test the assembled press by opening and closing the lid with the handle. The motion should be smooth, and the plates should meet evenly. If you notice any sticking or misalignment, loosen the bolts slightly and adjust as needed.
Tips for First-Time Use and Maintenance
Before you start pressing dough, consider these tips for optimal results and long-term care:
- Seasoning: Some presses come pre-seasoned, while others may benefit from a light coating of food-safe oil. Wipe a thin layer of oil on the surfaces and heat in a low oven for about an hour, then let cool.
- Cleaning: After each use, wipe the press with a dry or slightly damp cloth. Avoid soaking or using harsh detergents, as this can cause rust.
- Storage: Store in a dry place. If you live in a humid area, consider placing a moisture absorber nearby.
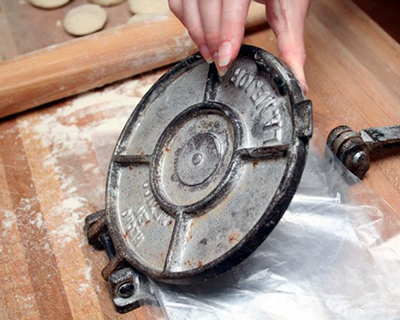
- Using Liners: Place a piece of plastic wrap, parchment paper, or a cut plastic bag between the dough and the plates to prevent sticking and make cleanup easier.
For more ideas on using your press, such as making dumpling skins or thin crust pizza, check out guides like how to use a tortilla press for dumplings skins and how to use a tortilla press for thin crust.
Common Issues and Troubleshooting
Even with careful assembly, you might encounter a few common problems. Here’s how to address them:
- Plates Not Closing Evenly: Loosen the hinge bolt slightly and adjust the alignment. Retighten once the plates meet flush.
- Handle Feels Loose: Double-check that the handle bolt is tightened fully. If it still wobbles, add a washer or check for missing hardware.
- Rust Spots: Remove rust with a scrub pad, rinse, dry thoroughly, and re-season the press with oil.
If you’re interested in more tips for making tortillas at home, you can find helpful advice in resources like these tortilla-making tips.
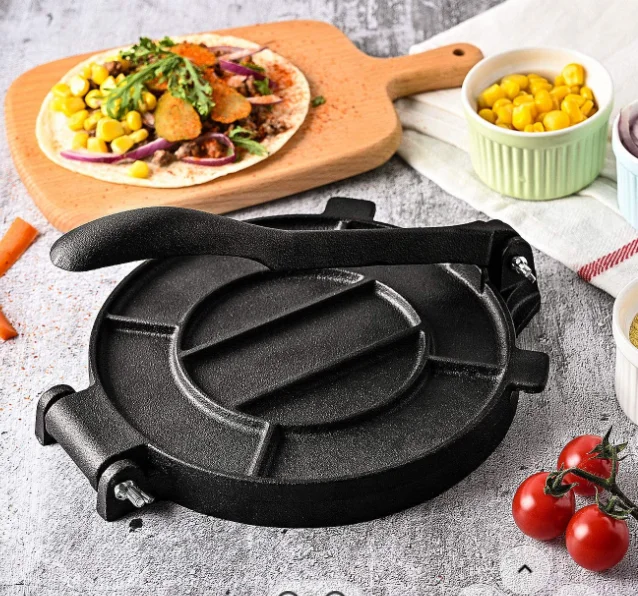
Expanding Your Press’s Uses
Once your press is assembled, you can use it for much more than just tortillas. Try it for:
- Pressing dough for fry bread or other flatbreads
- Making pastry dough for empanadas or hand pies (see how to use a tortilla press for pastry dough)
- Flattening dough for sweet treats like gorditas de azucar
Always use liners to prevent sticking, especially with softer or stickier doughs. This keeps your press clean and your dough perfectly shaped.
Frequently Asked Questions
Do I need to season my cast iron tortilla press before first use?
Many presses come pre-seasoned, but it’s a good idea to apply a thin layer of food-safe oil and heat the press in a low oven for about an hour. This helps prevent rust and creates a non-stick surface.
Can I wash my cast iron press with soap and water?
It’s best to avoid soaking your press or using harsh detergents. Instead, wipe it clean with a dry or slightly damp cloth. If you must wash it, dry it thoroughly and apply a light layer of oil to prevent rust.
Why are my tortillas sticking to the press?
Sticking is often caused by dough that’s too wet or by skipping liners. Use parchment paper or plastic wrap between the dough and the plates, and adjust your dough consistency if needed.
How do I fix a handle that keeps coming loose?
Check that the bolt and nut are tightened fully. If the handle still feels loose, add a washer or consult the manufacturer for replacement hardware.
Conclusion
Assembling a cast iron tortilla press is a straightforward process that sets you up for delicious homemade tortillas and a variety of other flatbreads. By following these steps and tips, you’ll ensure your press works smoothly and lasts for years. Don’t forget to experiment with different doughs and recipes to make the most of your new kitchen tool.