Making authentic arepas at home is easier than many people think, especially when you have the right tools. If you’ve ever wondered how to use a tortilla press for arepa preparation, this guide will walk you through every step, from choosing the right masa to pressing and cooking. Using a tortilla press not only saves time but also ensures even, consistent results—perfect for both beginners and experienced cooks looking to streamline their process.
While arepas are traditionally shaped by hand, a tortilla press can help you achieve uniform thickness and speed up your workflow. This article covers the essentials of using a press for arepas, tips for the best dough, and classic recipes you can try at home. If you’re interested in other flatbreads or masa-based dishes, you might also enjoy learning how to press tortillas for chilaquiles or how to store corn masa for pressing for maximum freshness.
Choosing the Right Tortilla Press for Arepas
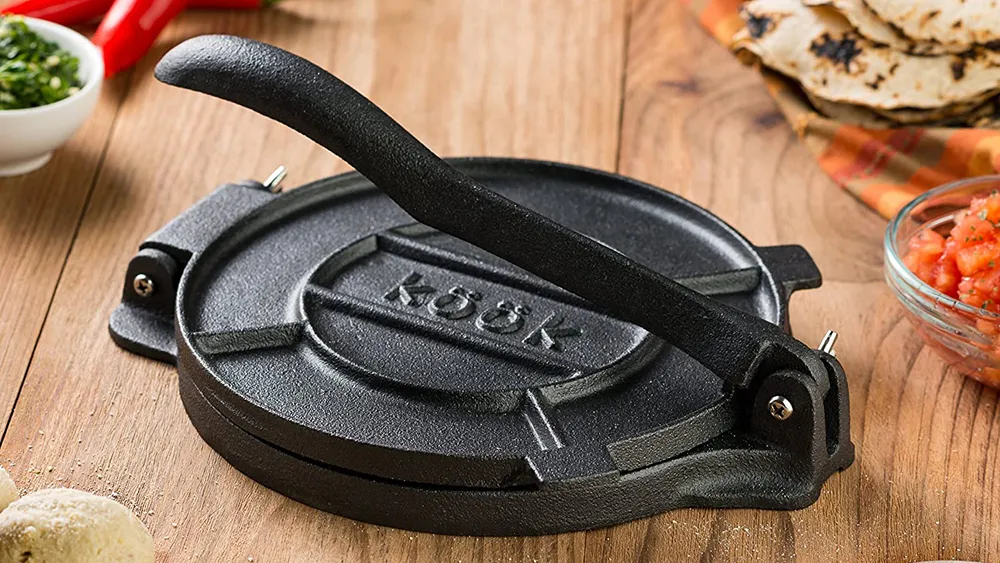
When considering how to use a tortilla press for area cooking, the type of press you select matters. Cast iron presses are the most popular due to their durability and even pressure, but aluminum or wooden presses can also work. The ideal size for arepas is typically 6 to 8 inches in diameter, which fits most presses designed for tortillas.
Before using your press, make sure it is clean and dry. If you’re using a cast iron model, proper maintenance is crucial for longevity and food safety. For tips on keeping your equipment in top shape, check out this guide to cleaning your cast iron tortilla press.
Preparing Arepa Dough for Pressing
The foundation of any great arepa is the dough, or masa. Traditionally, arepas are made from pre-cooked cornmeal (masarepa), water, and a pinch of salt. Some recipes include a bit of oil or butter for extra softness. Here’s a simple base recipe:
- 2 cups pre-cooked white or yellow cornmeal (masarepa)
- 2 1/2 cups warm water
- 1 teaspoon salt
- 1 tablespoon oil or melted butter (optional)
Combine the ingredients in a bowl, mixing until a soft, pliable dough forms. Let it rest for 5 minutes to fully hydrate. The dough should be moist but not sticky—if it cracks when shaped, add a little more water; if it sticks to your hands, sprinkle in more cornmeal.
Step-by-Step: Using a Tortilla Press for Arepas
Once your dough is ready, it’s time to shape the arepas. Here’s how to use your tortilla press for consistent results:
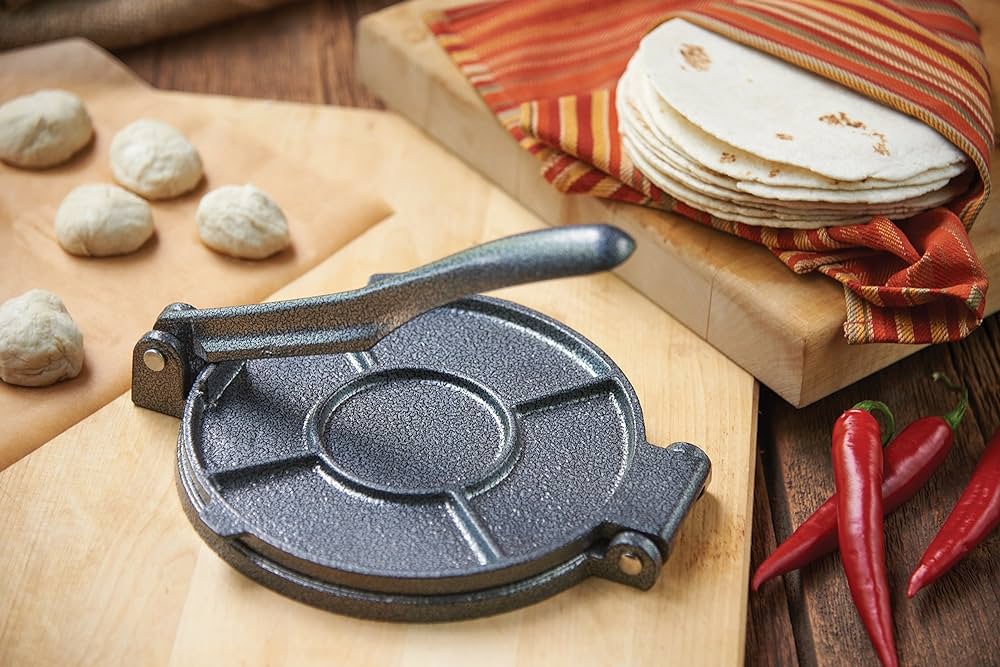
- Divide the dough into equal portions, about the size of a golf ball (roughly 2–3 ounces each).
- Roll each portion into a smooth ball.
- Cut two pieces of plastic (from a freezer bag or parchment paper) to fit your press. This prevents sticking and makes it easy to remove the arepa.
- Place one plastic sheet on the bottom plate of the press, set a dough ball in the center, and cover it with the second sheet.
- Gently close the press and apply even pressure. For arepas, you want a thickness of about 1/2 inch—thicker than tortillas, but not too thick to cook through.
- Open the press, peel off the top plastic, and carefully lift the arepa with the bottom sheet. It’s now ready for cooking.

Cooking Techniques for Pressed Arepas
After shaping, the next step is cooking. Arepas can be grilled, baked, or pan-fried. Here’s a basic stovetop method:
- Preheat a nonstick skillet or cast iron pan over medium heat.
- Carefully transfer the pressed arepa onto the hot surface. Cook for 4–5 minutes per side, until a golden crust forms.
- For thicker arepas, finish cooking in a 350°F (175°C) oven for 10–15 minutes to ensure the center is cooked through.
Once cooked, let the arepas cool slightly before slicing. They should be crisp on the outside and tender inside, ready to be filled or topped as desired.
Classic Arepa Fillings and Serving Ideas
Arepas are incredibly versatile and can be enjoyed plain or stuffed with a variety of fillings. Some traditional options include:
- Cheese (queso blanco or mozzarella)
- Shredded beef (carne mechada)
- Black beans and plantains
- Chicken salad (reina pepiada)
- Avocado and tomato
To fill, slice the arepa horizontally, leaving a hinge, and stuff with your favorite ingredients. Serve warm for the best texture and flavor.

Tips for Success When Using a Tortilla Press for Arepas
To get the best results, keep these practical tips in mind:
- Always use plastic or parchment to prevent sticking in the press.
- Don’t over-press—arepas should be thicker than tortillas for the right texture.
- If the dough cracks, it’s too dry; if it sticks, it’s too wet. Adjust with water or cornmeal as needed.
- Let the dough rest before pressing for better hydration and smoother shaping.
- Experiment with fillings and toppings to discover your favorite combinations.
If you’re interested in other uses for your press, you might want to read about using a tortilla press for naan or explore making blue corn tortillas with a press for more inspiration.
Cleaning and Maintaining Your Tortilla Press
Proper care extends the life of your kitchen tools. After each use, wipe down the press with a damp cloth. For cast iron models, avoid soap and dry thoroughly to prevent rust. If you need to sanitize your equipment between uses, see this detailed guide on how to sanitize a cast iron press.
Frequently Asked Questions
Can I use a tortilla press for arepas made with wheat flour?
Arepas are traditionally made with cornmeal, not wheat flour. While a press can flatten wheat-based doughs, the texture and cooking method will differ from authentic arepas. Stick to pre-cooked cornmeal for best results.
How thick should arepas be when pressed?
Arepas should be about 1/2 inch thick. This thickness allows them to cook through while maintaining a soft interior and crisp exterior. Pressing them too thin will make them more like tortillas, while pressing too thick may result in undercooked centers.
What’s the difference between a tortilla press and hand-shaping arepas?
Hand-shaping gives a rustic look and feel, but a press ensures even thickness and saves time. Both methods are authentic, but using a press is especially helpful for beginners or when making large batches.