Mini pizzas are a crowd-pleaser at any gathering, but shaping dozens of small dough rounds can be time-consuming. If you’re looking for a quick, consistent way to prep these bite-sized treats, a tortilla press offers a clever shortcut. This guide shares step-by-step instructions for making mini pizza crusts with a press, tips for the best results, and answers to common questions about this popular party food hack.
Whether you’re hosting a birthday, game night, or casual get-together, learning how to use a tortilla press for mini pizzas can save you time and deliver perfectly uniform bases for your favorite toppings. Before diving into the process, you might also be interested in related techniques, such as how to use a tortilla press for thin crust or how to press tortillas for gorditas de azucar for sweet dough variations.
Why Use a Tortilla Press for Mini Pizza Bases?
Traditional methods for shaping mini pizza crusts can be slow and inconsistent, especially when making large batches. A tortilla press, originally designed for flattening masa into tortillas, offers several advantages for party food prep:
- Speed: Pressing dough rounds is much faster than rolling each one by hand.
- Uniformity: Every mini pizza base comes out the same size and thickness, ensuring even baking.
- Ease: The process is simple enough for kids or helpers to join in, making prep more fun.
For more background on these handy kitchen tools, check out this guide to tortilla presses and their uses.
Choosing the Right Dough and Press
Not all doughs behave the same in a press. For mini pizzas, you’ll want a dough that’s soft but not sticky. Classic pizza dough works well, but you can also use store-bought or homemade versions. Let the dough rest so it’s easy to shape and doesn’t spring back.
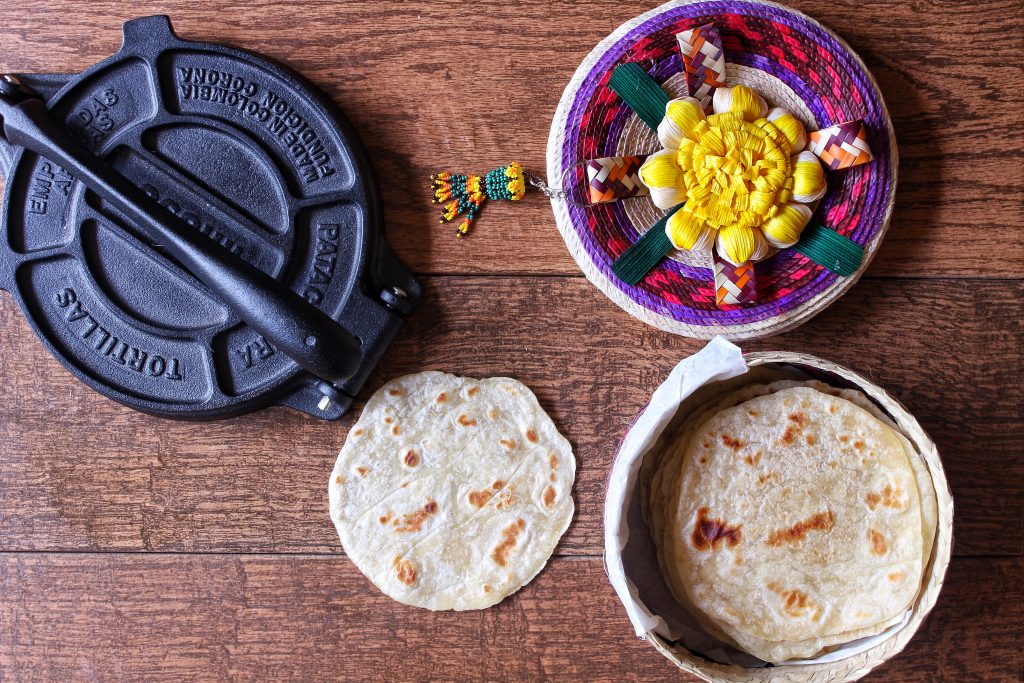
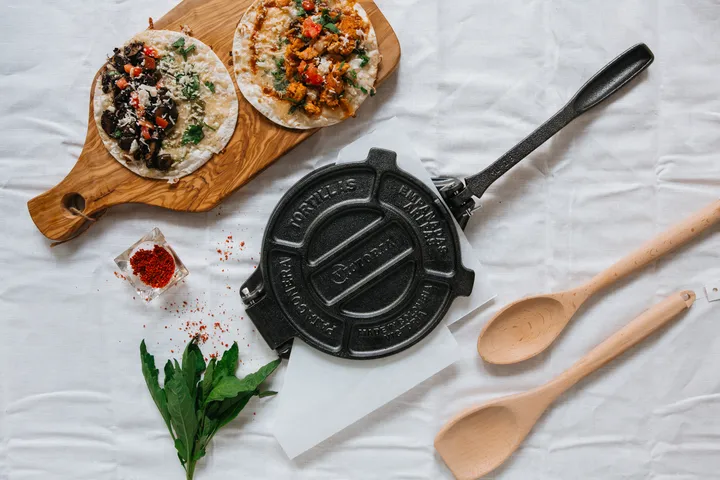
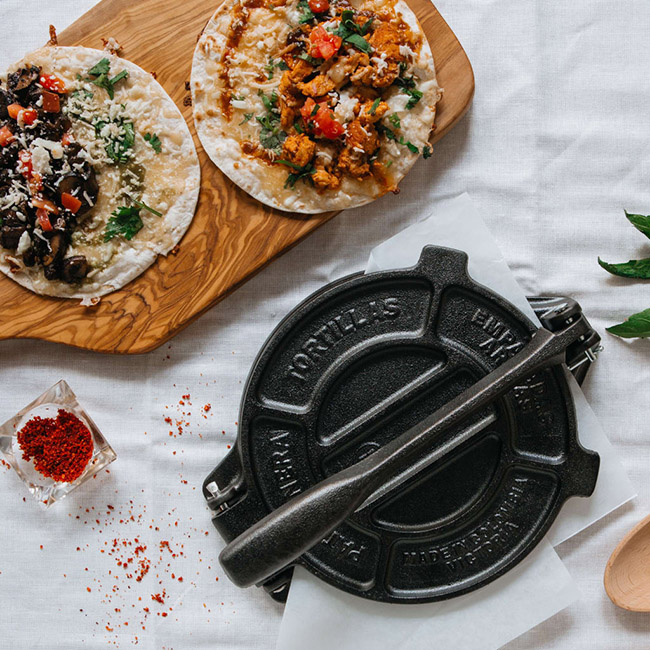
When selecting a press, an 8-inch or smaller model is ideal for mini pizzas. Cast iron presses provide even pressure and last for years. If you don’t have one yet, you can buy 8 inches tortilla press models online or at kitchenware stores.
Step-by-Step: Making Mini Pizza Crusts with a Tortilla Press
Follow these steps for consistent, easy mini pizza bases:
- Prepare the Dough: Divide your pizza dough into small balls, about 1 to 1.5 inches in diameter. Cover with a towel to prevent drying out.
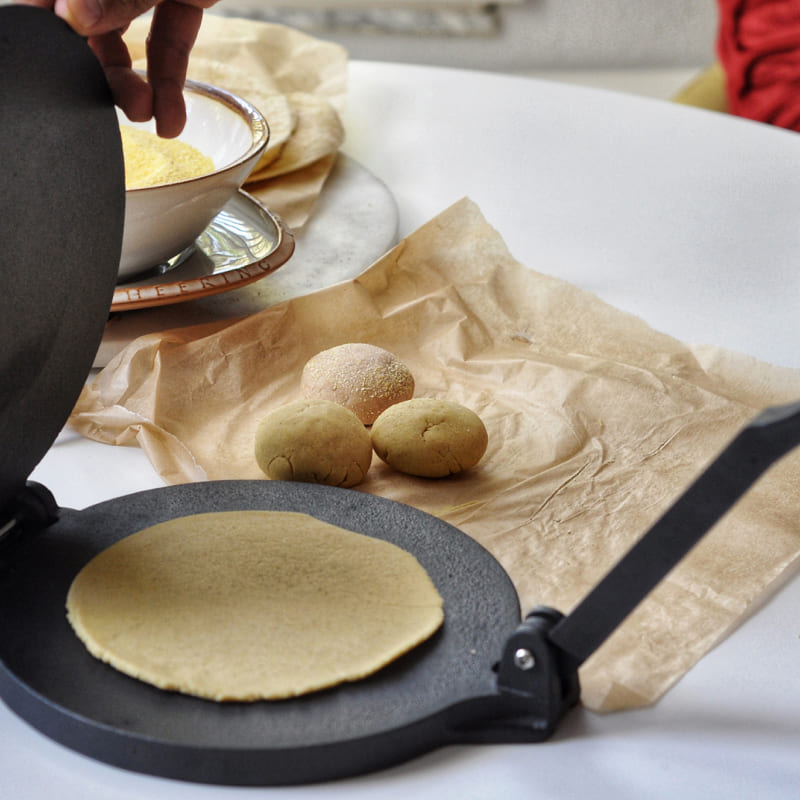
- Line the Press: Cut two squares of parchment or plastic wrap slightly larger than your press. Place one on the bottom plate.
- Press the Dough: Place a dough ball in the center, cover with the second sheet, and gently press down. For thicker crusts, press lightly; for thinner bases, use firmer pressure.
- Remove and Repeat: Peel off the top sheet and lift the crust carefully. Place on a floured tray. Repeat with remaining dough balls.
- Pre-Bake (Optional): For crispier results, bake the crusts at 425°F (220°C) for 3–5 minutes before adding toppings.
- Add Toppings and Finish: Top with sauce, cheese, and your choice of ingredients. Bake until golden and bubbly.
Tips for Best Results When Using a Press for Mini Pizzas
- Use parchment or plastic wrap to prevent sticking and make cleanup easy.
- Don’t over-press: Too much pressure can make the dough too thin and hard to handle.
- Keep dough covered while working to avoid drying out the surface.
- Experiment with thickness to find your preferred mini pizza style—thicker for chewy, thinner for crispy.
- Try different doughs: Gluten-free, whole wheat, or even pastry doughs can be used for variety. For more on alternative doughs, see how to use a tortilla press for pastry dough.
Creative Mini Pizza Ideas for Parties
Once you’ve mastered the basics, try these topping combinations to impress your guests:
- Classic Margherita: Tomato sauce, mozzarella, and fresh basil.
- Pepperoni Bites: Mini pepperoni slices and a sprinkle of Italian herbs.
- Veggie Supreme: Diced bell peppers, onions, olives, and mushrooms.
- BBQ Chicken: Shredded chicken, barbecue sauce, and red onion.
- Breakfast Minis: Scrambled egg, bacon bits, and cheddar cheese.
Set up a DIY topping bar so guests can build their own creations. This approach is fun for kids and adults alike, and the uniform crusts made with a press make assembly quick and easy.
Cleaning and Maintaining Your Tortilla Press
After using your press for mini pizzas, wipe it down with a damp cloth. If you used parchment or plastic, cleanup is minimal. For cast iron models, avoid soaking in water—just dry thoroughly and rub with a little oil to prevent rust. Proper care ensures your press will be ready for your next party or pizza night.
If you want to explore more ways to use your press, you might enjoy learning how to use a tortilla press for fry bread or how to use a tortilla press for dumplings skins for even more creative kitchen projects.
Frequently Asked Questions
Can I use store-bought pizza dough with a tortilla press?
Yes, most store-bought pizza doughs work well. Let the dough come to room temperature and rest for 20–30 minutes before pressing for best results.
How do I prevent the dough from sticking to the press?
Always use parchment paper or plastic wrap on both sides of the dough. This prevents sticking and makes it easy to remove the flattened crusts.
What size should I make mini pizza dough balls?
For party-sized pizzas, dough balls about 1 to 1.5 inches in diameter work well. This yields crusts roughly 3–4 inches across, perfect for appetizers or snacks.
Can I use a tortilla press for gluten-free or alternative doughs?
Absolutely. Many gluten-free and specialty doughs can be pressed, though you may need to adjust thickness and handle them gently as some are more delicate.
Do I need to pre-bake the mini pizza crusts?
Pre-baking is optional but helps achieve a crispier base, especially if you’re using wetter toppings. Bake for 3–5 minutes before adding toppings, then finish baking as usual.