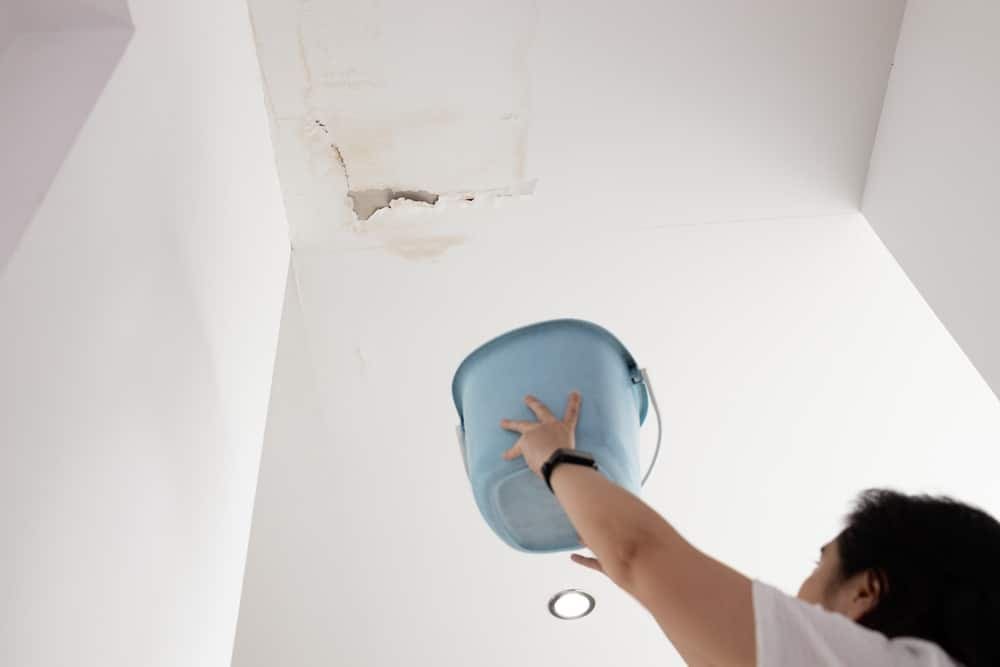
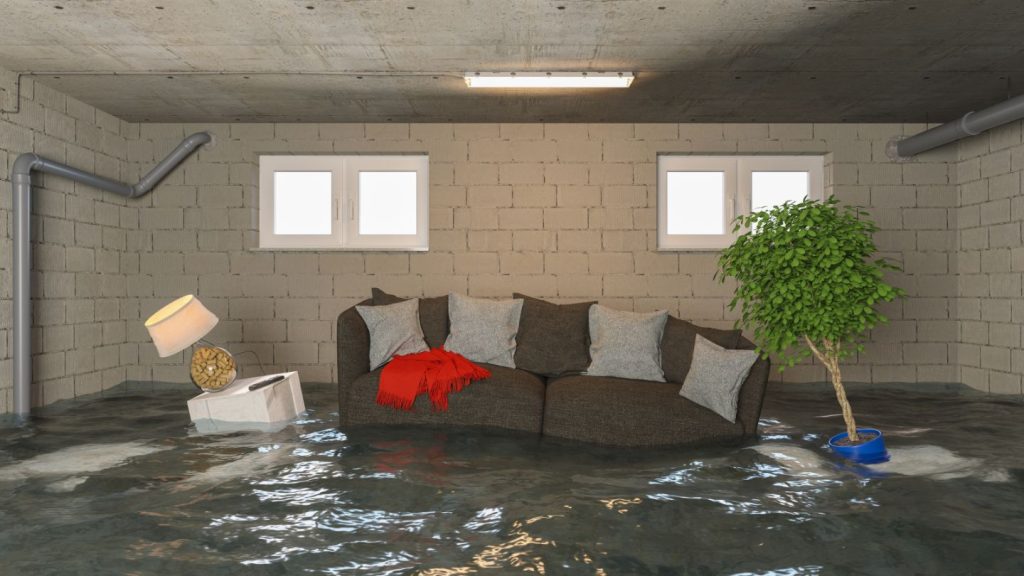
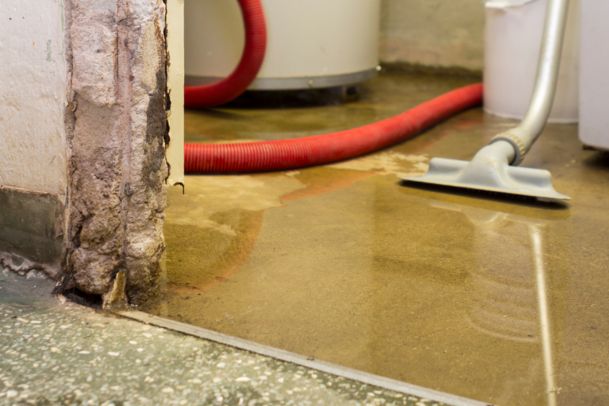
Basement flooding and sewer backups are costly, stressful problems for homeowners. One of the most effective ways to safeguard your property from sewage backflow is by installing a backwater valve. This device prevents wastewater from re-entering your home’s plumbing during heavy rain or municipal sewer overloads, offering peace of mind and potentially saving thousands in water damage repairs.
Understanding the process of backwater valve installation, its benefits, and what to expect can help you make informed decisions about protecting your home. In this article, we’ll break down the essentials, from how these valves work to step-by-step installation guidance and maintenance tips. If you’re interested in other practical home solutions, you might also find our guide on how to use a tortilla press for fry bread useful for your kitchen projects.

Why Install a Backwater Valve?
Heavy rainfall and aging sewer systems can overwhelm municipal infrastructure, causing sewage to flow backward into residential drains and basements. A backwater valve acts as a one-way gate in your main sewer line, allowing wastewater to exit your home but blocking any return flow from the city sewer system. This simple device can prevent catastrophic flooding, reduce cleanup costs, and may even lower your insurance premiums.
Some municipalities require these valves in flood-prone areas or offer rebates for their installation. It’s worth checking with your local authorities about regulations and incentives before starting your project.
How Backwater Valves Work
These valves are installed directly into the main sewer line where it exits your house. Under normal conditions, wastewater flows freely out to the municipal sewer. If backflow pressure is detected, a flap or gate inside the valve closes automatically, blocking sewage from entering your home. Once the pressure subsides, the valve reopens and normal drainage resumes.
Proper backwater valve installation ensures the device functions reliably. Poor placement or incorrect installation can lead to clogs, leaks, or even failure during a flood event.
Key Steps in Backwater Valve Installation
While some experienced DIYers may tackle this project, most homeowners should hire a licensed plumber. The process involves significant plumbing work, including excavation and pipe cutting. Here’s an overview of the typical steps:
- Assessment and Permits: A plumber inspects your plumbing system to determine the best location for the valve. Most cities require permits and inspections for this type of work.
- Excavation: The main sewer line is exposed, usually in the basement floor or outside the foundation. This may involve breaking concrete and digging down to the pipe.
- Pipe Cutting: A section of the main drain is removed to accommodate the valve.
- Valve Installation: The backwater valve is fitted into the pipe, ensuring it’s oriented correctly for one-way flow. All connections are sealed tightly to prevent leaks.
- Inspection: The installation is inspected by a municipal official to ensure compliance with local codes.
- Backfilling and Restoration: The area is refilled, and concrete is patched if necessary.
Proper installation is crucial for reliable operation. An incorrectly installed valve can fail to protect your home or cause drainage issues.
Choosing the Right Backwater Valve
There are several types of backwater valves on the market, including manual and automatic models. Most residential applications use automatic valves, which require less maintenance and respond instantly to backflow events. When selecting a valve, consider:
- Pipe Size: Match the valve to your home’s main drain diameter.
- Access: Choose a model with an accessible cover for cleaning and inspection.
- Certification: Look for valves approved by local plumbing codes and standards.
Consulting a professional ensures you select a valve that’s compatible with your plumbing system and meets local regulations.

Maintenance and Inspection Tips
Once installed, a backwater valve requires periodic maintenance to ensure it continues to function properly. Debris, grease, or foreign objects can obstruct the valve, preventing it from closing during a backflow event. Follow these tips for ongoing protection:
- Inspect the valve at least twice a year, especially before rainy seasons.
- Remove the access cover and clean out any debris or buildup.
- Check the flap or gate for smooth operation and signs of wear.
- Have a professional plumber perform a full inspection annually.
Regular maintenance is essential for reliable performance and may be required by your insurance policy or local building codes.
Cost Considerations and Rebates
The total cost of backwater valve installation varies depending on your home’s plumbing layout, the valve model, and local labor rates. On average, homeowners can expect to pay between $1,000 and $2,500 for professional installation, including permits and restoration. Some municipalities offer rebates or financial assistance to encourage flood prevention measures, so check with your local government for available programs.
While the upfront cost may seem high, the investment can prevent much more expensive damage from sewer backups and may reduce your insurance premiums over time.
Additional Flood Protection Strategies
Installing a backwater valve is just one part of a comprehensive flood protection plan. Consider these additional steps to further safeguard your home:
- Install a sump pump with a battery backup system.
- Grade your yard to direct water away from the foundation.
- Seal cracks in basement walls and floors.
- Use a water leak detector for early warning of leaks or flooding. (See the yellow button above for a recommended product.)
- Review your insurance coverage for sewer backup and flood protection.
For more detailed advice, visit resources like this guide on protecting your home from flooding.
Common Mistakes to Avoid
To maximize the effectiveness of your flood prevention efforts, avoid these frequent errors:
- Attempting installation without proper permits or professional help.
- Choosing the wrong valve size or type for your plumbing system.
- Neglecting regular inspection and cleaning of the valve.
- Failing to address other sources of water infiltration, such as poor grading or foundation cracks.
Taking a thorough, proactive approach ensures your home remains protected year-round.
FAQ
Do I need a professional plumber for backwater valve installation?
While some experienced homeowners may handle minor plumbing projects, installing a backwater valve typically requires excavation, pipe cutting, and compliance with local codes. Hiring a licensed plumber ensures the job is done safely and correctly, and most municipalities require professional installation for permit approval.
How often should I inspect or clean my backwater valve?
It’s best to inspect and clean the valve at least twice a year, especially before heavy rain seasons. Annual professional inspections are also recommended to ensure optimal performance and to comply with insurance or municipal requirements.
Will installing a backwater valve affect my insurance?
Many insurance companies view backwater valves as a proactive measure and may offer discounts or require them in flood-prone areas. Check with your provider to see if you qualify for reduced premiums or if installation is necessary for certain types of coverage.