Patacones, also known as tostones, are a beloved snack and side dish throughout Latin America. Traditionally, these twice-fried green plantains are flattened by hand or with a special wooden press. However, many home cooks and food enthusiasts have discovered a clever shortcut: using a tortilla press for patacones. This practical approach streamlines the process, delivering consistently shaped, crispy results with less effort. In this guide, you’ll learn how to use a tortilla press to make patacones, why it works so well, and tips for getting the most authentic flavor and texture.
If you’re curious about the differences between various types of presses, check out the difference between manual and electric tortilla press for a deeper dive into which tool might suit your kitchen best.
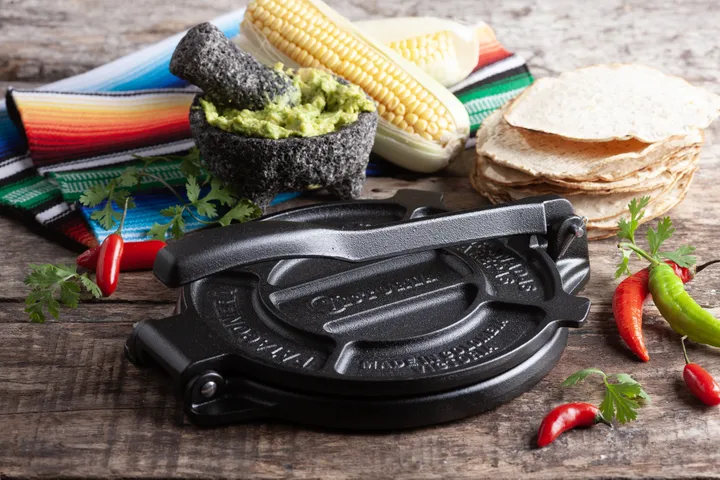
Why Use a Tortilla Press for Making Patacones?
Flattening green plantains can be messy and inconsistent when done by hand or with makeshift tools. A tortilla press offers a simple, effective way to achieve even thickness and round shapes, which helps the patacones cook evenly and crisp up beautifully. The sturdy construction of a press—especially cast iron models—applies uniform pressure, making the process much easier on your wrists and hands.
Many cooks also appreciate the speed and convenience. Instead of struggling with plates or the bottom of a mug, you can flatten each plantain slice in seconds. If you want to keep your press in top shape, learn about how to oil a cast iron tortilla press for longevity and performance.
Step-by-Step Guide: Flattening Plantains with a Tortilla Press
- Prepare the Plantains: Peel green plantains and cut them into 1-inch thick slices. Soak the slices in salted water for 10–15 minutes to help them crisp up and absorb flavor.
- First Fry: Heat oil in a deep skillet. Fry the plantain slices until they are golden but not fully crisp—about 2–3 minutes per side. Remove and drain on paper towels.
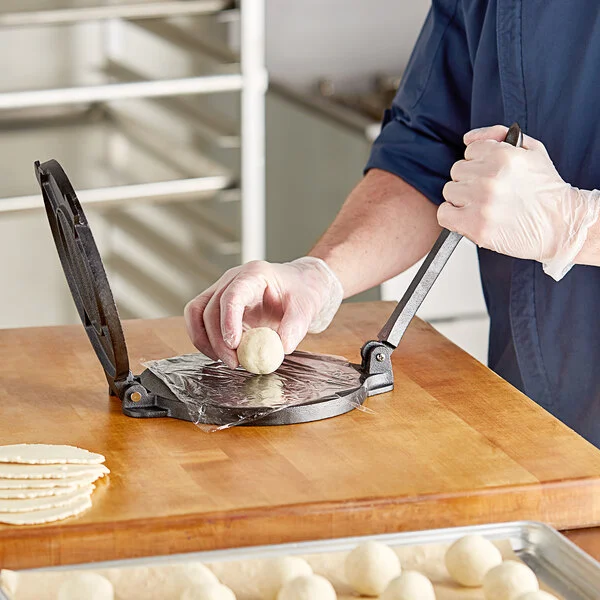
- Set Up the Press: To prevent sticking, line your tortilla press with parchment paper, plastic wrap, or homemade liners. For easy DIY options, see these diy tortilla press liners.
- Flatten the Slices: Place a fried plantain slice between the liners in the press. Gently press down until the patacón is about 1/4-inch thick. Avoid pressing too hard, as you want a thick, sturdy disk that won’t break apart.
- Second Fry: Return the flattened slices to the hot oil. Fry until crisp and golden brown on both sides, about 1–2 minutes per side. Drain and sprinkle with salt.
Tips for Success When Pressing Patacones
- Use the Right Plantains: Choose firm, green plantains for the best texture. Ripe plantains will be too soft and sweet for classic patacones.
- Don’t Over-Press: Apply gentle, even pressure. Over-flattened slices can crack or become too thin to handle.
- Keep the Press Clean: Sticky plantain residue can build up. For easy cleaning, see this guide on how to clean dough out of press hinges.
- Oil the Press: If you use a cast iron model, a light coat of oil prevents rust and sticking. Refer to the earlier link for best practices.
- Experiment with Thickness: Some prefer thinner, crispier tostones, while others enjoy a thicker, chewy bite. Adjust the pressure to suit your taste.
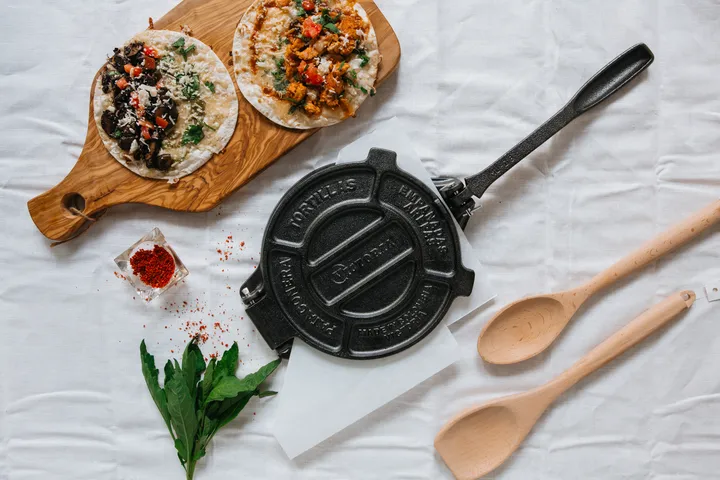
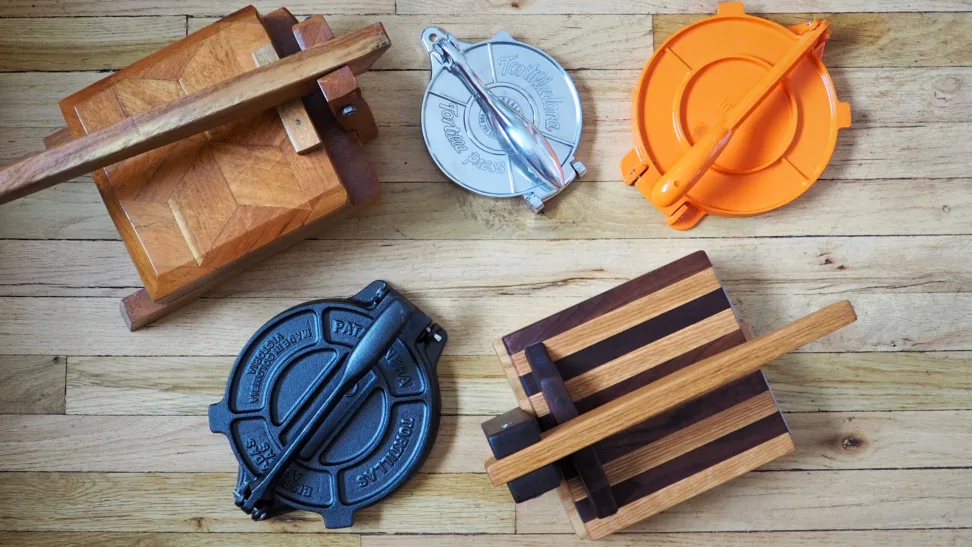
Choosing the Best Tortilla Press for Patacones
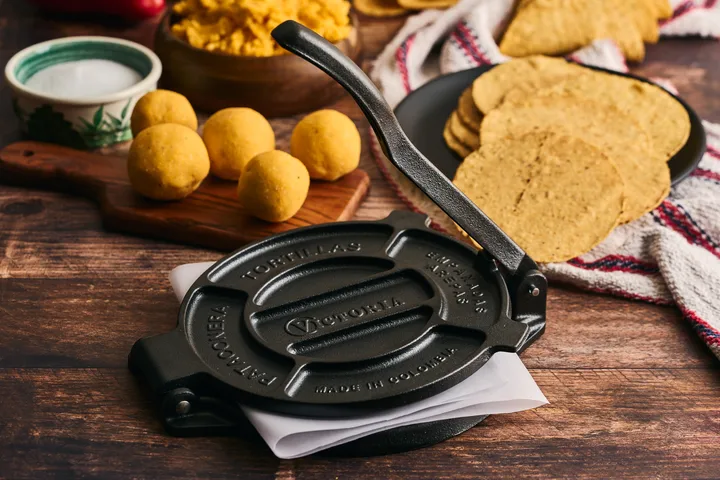
Not all presses are created equal. For plantains, a heavy-duty press—such as cast iron or heavy aluminum—delivers the best results. Lighter presses may require more effort and can produce uneven thickness. If you’re unsure about sizing, the cast iron tortilla press weight guide can help you select the right model for your kitchen needs.
When using a tortilla press for patacones, an 8-inch press is ideal for most home cooks. It provides enough surface area for large plantain slices without being cumbersome to store or use. For more information on proper technique, see this step-by-step tortilla press tutorial that covers setup and pressing tips.
Serving and Storing Your Homemade Patacones
Once your patacones are golden and crisp, serve them hot with a sprinkle of salt. They pair perfectly with guacamole, garlic sauce, or a simple salsa. For a more filling meal, top them with shredded chicken, beans, or cheese.
If you have leftovers, store them in an airtight container in the refrigerator. To re-crisp, bake in a hot oven or air fryer for a few minutes. Avoid microwaving, as this can make them soggy.
Common Mistakes When Using a Press for Patacones
- Skipping the First Fry: Pressing raw plantain slices can cause them to stick and break apart. Always fry first, then flatten.
- Not Using Liners: Direct contact with the press can lead to sticking and mess. Always use parchment, plastic, or a liner.
- Pressing Too Thin: Ultra-thin patacones may fall apart during the second fry. Aim for about 1/4-inch thickness.
- Using Overripe Plantains: Only green, unripe plantains give the classic savory flavor and texture.
FAQ: Tortilla Press Patacones and Tostones
Can I Use a Tortilla Press for Other Fried Plantain Dishes?
Yes, a tortilla press works well for any dish requiring flattened plantains, including Caribbean-style tostones and South American patacones. It can also be used for yuca, sweet potatoes, or other starchy vegetables that need flattening before frying.
What If I Don’t Have a Tortilla Press?
If you don’t own a press, you can use two flat plates, a heavy skillet, or even a rolling pin. However, a press makes the process faster and more consistent, especially if you make patacones regularly.
How Do I Prevent Patacones from Sticking to the Press?
Always use parchment paper, plastic wrap, or a dedicated liner between the plantain and the press. This prevents sticking and makes cleanup easier. For homemade liner ideas, refer to the earlier section on DIY options.
Is There a Difference Between Patacones and Tostones?
Both terms refer to twice-fried green plantains, but the name varies by region. “Patacones” is common in Colombia, Ecuador, and Panama, while “tostones” is used in the Caribbean and parts of Central America. The preparation is nearly identical.
Using a tortilla press for patacones is a smart kitchen hack that saves time and delivers authentic, delicious results. With the right tools and a few simple tips, you can enjoy perfectly crisp plantain rounds any time.