Making homemade pita pockets can be much simpler than you think, especially when you use a tortilla press. This kitchen tool, usually reserved for tortillas, is a game-changer for shaping uniform, round pita dough quickly and with minimal mess. If you’ve ever struggled to get your pitas evenly thin or to puff up perfectly, this guide will show you how a press can streamline the process and deliver consistent results.
Whether you’re a baking enthusiast or just looking for a shortcut to fresh, fluffy pitas, learning how to use a tortilla press for pita pockets can save you time and effort. In this article, you’ll discover the step-by-step method, tips for the best dough, and how to avoid common pitfalls. If you’re interested in exploring other creative uses for your press, you might also enjoy our guide on how to use a tortilla press for pastry dough.
Why a Tortilla Press Works for Pita Dough
Traditional pita bread relies on an even, round shape and a specific thickness to puff up and form a pocket during baking. Rolling dough by hand can be inconsistent, leading to uneven pitas that don’t always rise as expected. A tortilla press, designed to flatten dough balls into perfect circles, offers several advantages:
- Uniform Thickness: Ensures every pita is the same thickness, which helps them puff up evenly in the oven.
- Speed: Flattens dough in seconds, saving time compared to rolling each piece by hand.
- Less Mess: Keeps your workspace cleaner and reduces the need for excess flour.
With a press, you can make pitas that look and taste like they came from a bakery, even if you’re new to bread making.
Essential Tools and Ingredients
Before you start, gather the following:
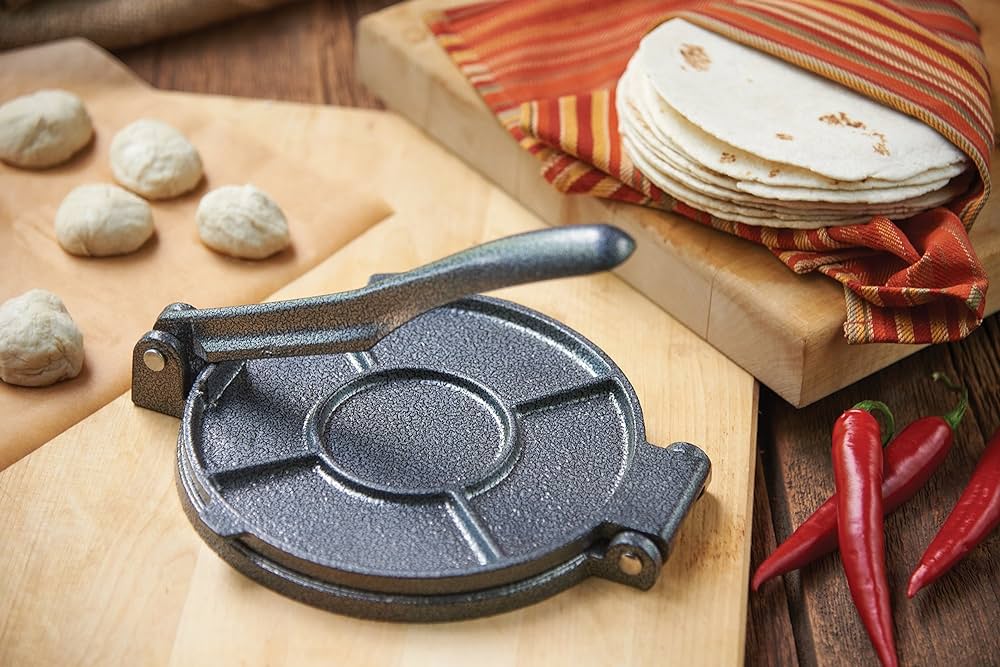
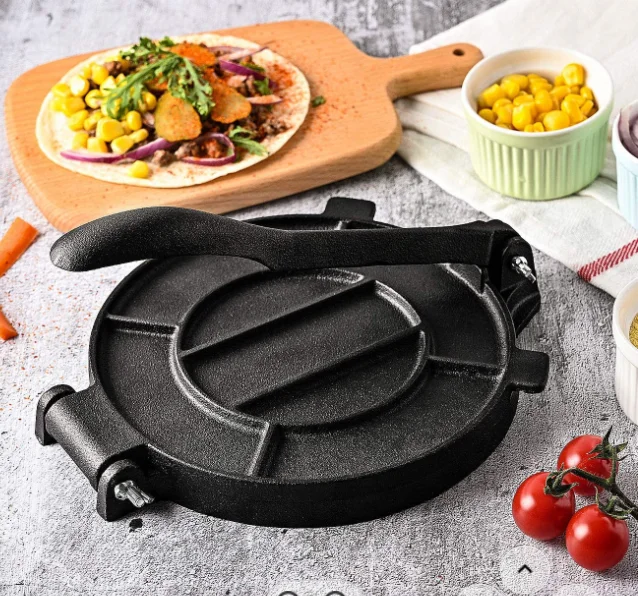
- Tortilla Press (8-inch size is ideal for pitas)
- Parchment paper or plastic sheets (to prevent sticking)
- Pita dough (homemade or store-bought)
- Rolling pin (optional, for final adjustments)
- Baking stone or heavy baking tray
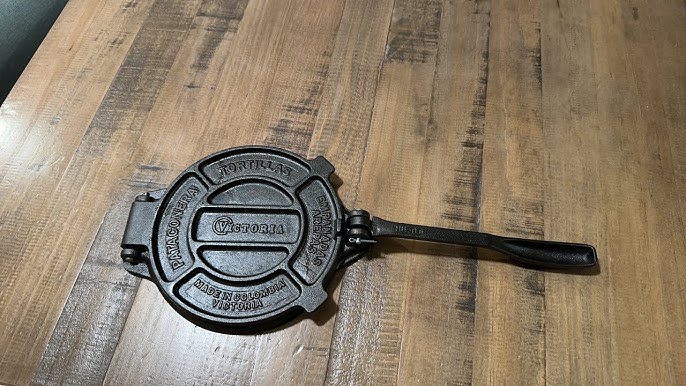
If you don’t have a press yet, consider the Victoria 8-inch tortilla press, which is sturdy and well-suited for this task.
Step-by-Step: Using a Tortilla Press for Pita Pockets
- Prepare the Dough: Use your favorite pita recipe or a reliable store-bought dough. Divide the dough into equal balls, about 2 ounces (55g) each for standard pitas. Let them rest, covered, for 10–15 minutes to relax the gluten.
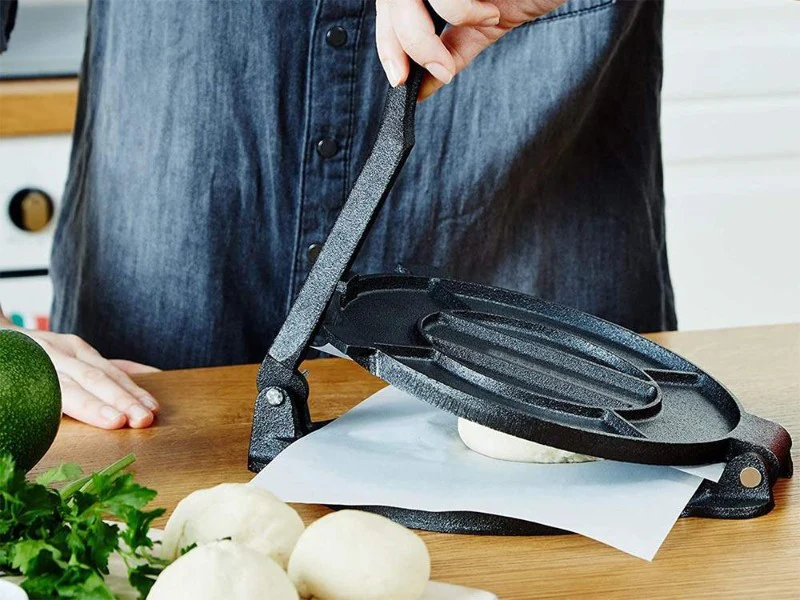
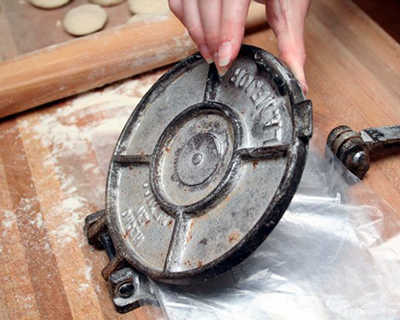
- Set Up the Press: Cut two squares of parchment paper or use plastic sheets. Place one on the bottom plate of the press.
- Flatten the Dough: Place a dough ball in the center, cover with the second sheet, and gently press down. Apply even pressure for a round, flat disk about 1/4 inch (6mm) thick. If needed, rotate and press again for uniformity.
- Adjust if Necessary: For slightly larger or thinner pitas, use a rolling pin to finish shaping after pressing.
- Transfer and Bake: Carefully peel off the dough and place it on a preheated baking stone or tray in a hot oven (475–500°F/245–260°C). Bake for 2–3 minutes until puffed and lightly golden.
This method ensures your pitas are evenly shaped and ready to fill with your favorite ingredients.
Tips for Perfect Pita Pockets with a Press
- Rest the Dough: Allowing the dough balls to rest before pressing makes them easier to flatten and prevents shrinking.
- Don’t Over-Press: Too much pressure can make the dough too thin, causing it to tear or not puff up properly.
- Use Parchment or Plastic: This prevents sticking and makes it easier to transfer the dough to your baking surface.
- Preheat Your Oven and Stone: A hot surface is crucial for the classic pita “puff.”
- Work Quickly: Once pressed, bake the dough right away to avoid drying out.
Common Mistakes and How to Avoid Them
Even with a press, a few issues can arise. Here’s how to troubleshoot:
- Pitas Not Puffing: Ensure the dough is not too thick or too thin, and that your oven and baking stone are fully preheated.
- Dough Sticking to the Press: Always use parchment or plastic sheets. If sticking persists, lightly oil the sheets.
- Uneven Edges: Center the dough ball before pressing and apply even pressure.
For more advice on dough handling, you can check out these tips for making tortillas at home, which also apply to pita preparation.
Creative Uses: Beyond Pita Pockets
Once you master this technique, your tortilla press can help with many other flatbreads and dough-based recipes. Try using it for:
- Homemade tortillas
- Flatbreads for wraps or gyros
- Thin pizza crusts (see our article on using a tortilla press for thin crust pizza prep)
- Dumpling wrappers (explained in our dumpling skins guide)
- Sweet doughs like gorditas de azucar (learn more here)
- Fry bread (see our quick prep guide)
Cleaning and Maintaining Your Tortilla Press
To keep your press in top condition:
- Wipe it clean after each use with a damp cloth.
- If made of cast iron, dry thoroughly and apply a thin layer of oil to prevent rust.
- Avoid submerging in water or using harsh detergents.
- Store in a dry place.
Regular care ensures your press lasts for years and is always ready for your next batch of pitas or other flatbreads.
Frequently Asked Questions
Can I use any tortilla press for pita dough?
Most standard tortilla presses, especially those 8 inches or larger, work well for pita dough. Smaller presses may not produce large enough rounds for traditional pitas, but they can still be used for mini versions or sliders.
Do I need to oil the press before use?
It’s not necessary if you use parchment or plastic sheets, but a light oiling can help prevent sticking, especially with wetter doughs. Avoid using too much oil, as it can affect the dough texture.
Why didn’t my pita bread puff up?
The most common reasons are dough that’s too thick or too thin, insufficient oven heat, or not enough moisture in the dough. Make sure to follow the dough recipe closely and always bake on a preheated stone or tray for best results.