Managing stormwater effectively is essential for protecting your property, preventing erosion, and supporting local ecosystems. One of the most practical and eco-friendly solutions is to create a rain garden—a shallow, planted depression designed to capture and filter runoff from roofs, driveways, and other hard surfaces. If you’re interested in learning how to install a rain garden, this guide will walk you through each step, from planning and site selection to planting and maintenance.
Rain gardens not only help with water management but also add beauty to your landscape and attract pollinators. Before diving into the process, it’s helpful to understand the basics and benefits of this sustainable landscaping feature. For those who enjoy hands-on home projects, you might also find value in exploring related guides like how to press tortillas for gorditas de azucar, which demonstrates the versatility of DIY skills in different contexts.
Understanding Rain Gardens and Their Benefits
A rain garden is a landscaped area designed to temporarily hold and soak in rainwater runoff. Unlike a typical garden bed, it is strategically located to intercept water flowing from impervious surfaces. The plants and soil in a rain garden filter pollutants, reduce flooding, and recharge groundwater. By learning how to install a rain garden, you can:
- Reduce stormwater runoff and erosion on your property
- Filter out pollutants before they reach local waterways
- Support native plants and wildlife, including pollinators
- Enhance curb appeal and property value
Rain gardens are especially valuable in urban and suburban areas where paved surfaces prevent natural water absorption. They are a simple yet powerful way to contribute to local water conservation efforts.
Choosing the Right Location for Your Rain Garden
Site selection is a crucial step in the installation process. The ideal spot is a low area at least 10 feet away from your home’s foundation to prevent water from seeping into your basement. Avoid placing the garden over septic systems or near large tree roots. Observe your yard during a rainstorm to identify where water naturally flows and pools—these are often the best candidates for your project.
Consider the following when choosing a location:
- Proximity to downspouts, driveways, or patios that generate runoff
- Distance from structures and utilities
- Sunlight exposure (most rain garden plants prefer full to partial sun)
- Soil drainage—perform a percolation test by digging a hole and filling it with water; if it drains within 24 hours, it’s suitable
Designing and Sizing Your Rain Garden
Proper design ensures your rain garden functions efficiently and complements your landscape. The size depends on the area of roof or pavement draining into it and your soil’s drainage rate. As a general rule, the garden should be about 10–20% of the area draining into it. For example, if your roof is 1,000 square feet, a rain garden of 100–200 square feet is usually sufficient.
Shape the garden in a gentle oval, kidney, or teardrop form. The depth typically ranges from 6 to 12 inches, with the center being the deepest point. Use the excavated soil to build a berm on the downhill side, helping to contain and slow the water.
Step-by-Step Guide to Building a Rain Garden
- Mark the Area: Use a rope or hose to outline the shape. Mark the boundaries with spray paint or stakes.
- Remove Sod and Dig: Remove existing grass and dig to the desired depth, sloping gently from the edges to the center.
- Test and Amend Soil: Mix in compost or sand if your soil is heavy clay to improve drainage. A well-draining mix is essential for plant health.
- Create a Berm: Use the soil you removed to build up the lower edge of the garden, forming a berm to keep water in place during storms.
- Direct Runoff: Extend downspouts or create a shallow swale to channel water into your rain garden.
- Plant Selection: Choose native plants that tolerate both wet and dry conditions. Group them by moisture preference, with the most water-tolerant species in the center.
- Mulch and Water: Apply a 2–3 inch layer of shredded hardwood mulch to retain moisture and suppress weeds. Water thoroughly after planting.

Best Plants for Rain Gardens
Plant selection is key to a thriving rain garden. Native species are best because they are adapted to local conditions and support pollinators. Consider these categories:
- Center (Wettest Zone): Blue flag iris, swamp milkweed, cardinal flower
- Mid-zone (Occasionally Wet): Black-eyed Susan, bee balm, New England aster
- Edge (Driest Zone): Little bluestem, purple coneflower, butterfly weed
Arrange plants in groups for visual impact and easier maintenance. Mulch well and water regularly during the first growing season to help roots establish.
Maintaining Your Rain Garden for Long-Term Success
Once established, rain gardens require minimal upkeep. In the first year, keep the area weeded and watered during dry spells. After that, maintenance mostly involves removing invasive plants, replenishing mulch, and checking for sediment buildup. Inspect after heavy rains to ensure water is soaking in and not overflowing.
Regular care will keep your rain garden attractive and functional for years. If you notice persistent standing water, consider amending the soil further or adjusting the garden’s depth.
Additional Tips for Effective Water Management
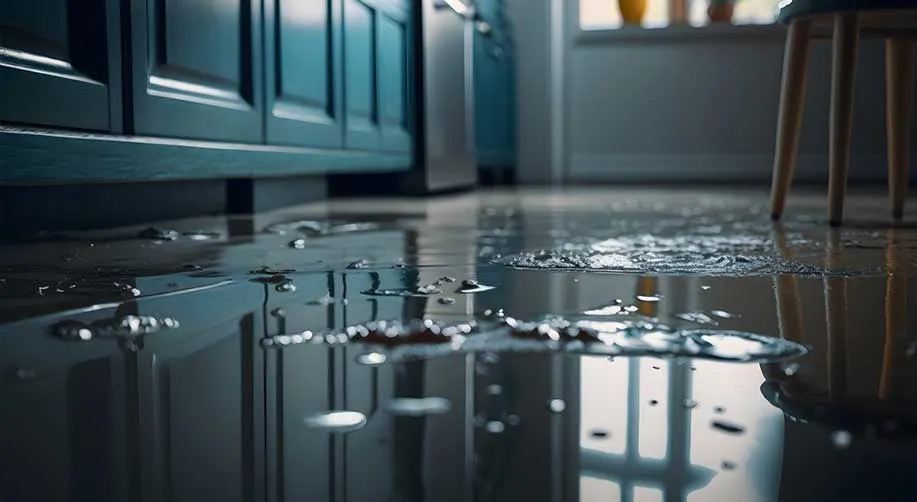
Rain gardens are just one part of a comprehensive approach to managing water around your home. Other strategies include installing rain barrels, maintaining gutters, and using permeable paving materials. For more advice on protecting your property, see this comprehensive guide to preventing water damage at home.
Combining these methods can significantly reduce runoff, prevent flooding, and safeguard your home’s foundation. Consider integrating a rain garden with other sustainable landscaping features for maximum benefit.
Frequently Asked Questions
How large should my rain garden be?
The ideal size depends on the area draining into it and your soil’s absorption rate. As a general guideline, aim for a garden that is 10–20% of the impervious surface area (such as your roof or driveway) that will direct water into the garden.
Do rain gardens attract mosquitoes?
No, a properly constructed rain garden should not create standing water for more than 24–48 hours after a rain. Mosquitoes require stagnant water for several days to breed, so well-drained gardens do not become mosquito habitats.
What are the best plants to use?
Native perennials and grasses that tolerate both wet and dry conditions are ideal. Examples include blue flag iris, swamp milkweed, and black-eyed Susan. Group plants by their moisture needs for best results.
Can I install a rain garden myself?
Yes, most homeowners can complete the installation with basic gardening tools and a little planning. For larger projects or challenging sites, consulting a landscape professional may be helpful.
Conclusion
Learning how to install a rain garden empowers you to take control of stormwater on your property while enhancing your landscape’s beauty and supporting local ecosystems. With careful planning, the right plants, and a commitment to maintenance, your rain garden will provide years of environmental and aesthetic benefits. For those interested in further home improvement projects, check out related resources such as how to use a tortilla press for pastry dough for more DIY inspiration.